
Related Manuals for Aqualisa AQ150


Summary of Contents for Aqualisa AQ150
- Page 1 AQ150:Midas 15/9/15 12:15 Page 1 AQ150 Thermostatic bar mixer valve with adjustable head Installation guide...
-
Page 2: Safety Information
AQ150:Midas 15/9/15 12:15 Page 2 Important information Introduction The product is an exposed bar valve shower complete with fixed and adjustable height shower heads. The thermostatic valves provide close temperature stability and fail safe protection on appropriate high pressure systems. - Page 3 ‘drop tight’ PRV must be fitted on the supply pipe after the main stopcock. A setting of 3 bar is recommended. It should be noted that daytime pressures approaching 8 bar can rise above the stated maximum overnight. A suitable PRV is available from Aqualisa. ! This product is not suitable for mixed supply systems, e.g. gravity hot and mains cold.
- Page 4 AQ150:Midas 15/9/15 12:15 Page 4 Typical system diagrams Typical gravity system installation Water level 0.5m 1.5m Typical pumped system installation Water level 0.5m 1.5m...
- Page 5 AQ150:Midas 15/9/15 12:15 Page 5 Typical system diagrams continued Typical combination boiler system installation Typical UVHW system installation Typical thermal storage unit system installation...
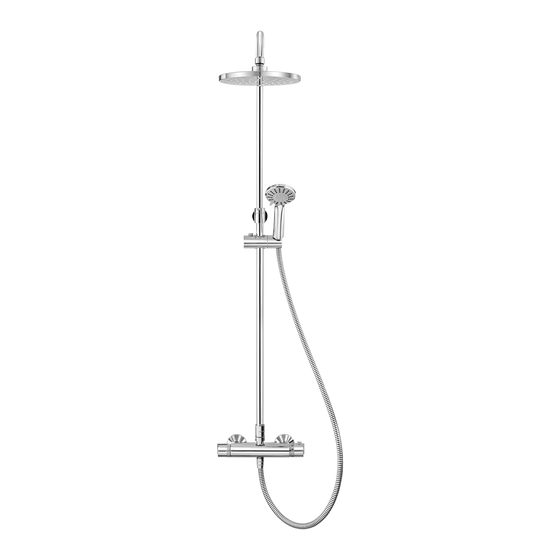
- Page 6 AQ150:Midas 15/9/15 12:15 Page 6 Components - AQ150 Please note: Literature not shown. Components may vary.
- Page 7 12:15 Page 7 Aqualisa bar valve installation In addition to the guide below it is essential that the written instructions overleaf are read and understood and that you have all the necessary components (shown overleaf) before commencing installation. Failure to install the product in accordance with these instructions may adversely affect the warranty terms and conditions.
- Page 8 AQ150:Midas 15/9/15 12:15 Page 8 Place the cover plates onto the exposed ¾” threads, flush with the finished wall surface and apply a thin bead of mastic if re- quired. Ensuring the washers are positioned within the valve inlets, offer the valve into position. Tighten the fixing nuts using a suitable tool taking care not to overtighten.
- Page 9 AQ150:Midas 15/9/15 12:15 Page 9 Push the riser tube onto the valve top outlet and push fully home. Carefully mark out the screw holes for the wall fixing bracket ensuring it is in the correct position to accept the fixed riser wall stay support.
- Page 10 AQ150:Midas 15/9/15 12:15 Page 10 Ensuring the flat washer is in place, carefully screw the shower head to the formed arm taking care not to damage the plated surface. Carefully tighten the shower head with a suitable tool taking care not to overtighten.
-
Page 11: Trouble Shooting Guide
AQ150:Midas 15/9/15 12:15 Page 11 Trouble shooting guide Symptom Possible cause Action Check that the supplies Water output is either all hot or Reversed inlet supplies correspond with the inlet all cold, or cold only markings The temperature of the hot... - Page 12 Part No: 701843 Issue 01 Aug 15 Please note that calls may be recorded for training and quality purposes The company reserves the right to alter, change or modify the product specifications without prior warning ® Registered Trademark Aqualisa Products Limited...
Need help?
Do you have a question about the AQ150 and is the answer not in the manual?
Questions and answers