Sign In
Upload
Download
Table of Contents
Contents
Add to my manuals
Delete from my manuals
Share
URL of this page:
HTML Link:
Bookmark this page
Add
Manual will be automatically added to "My Manuals"
Print this page
×
Bookmark added
×
Added to my manuals
Manuals
Brands
MyGate Manuals
Gate Opener
myAster 3
Installation manual
MyGate myAster 3 Installation Manual
Hide thumbs
1
2
Table Of Contents
3
4
5
6
7
8
9
10
11
12
13
page
of
13
Go
/
13
Contents
Table of Contents
Bookmarks
Table of Contents
Table of Contents
1 General Safety Precautions
2 Intended Use and Application
Technical Features
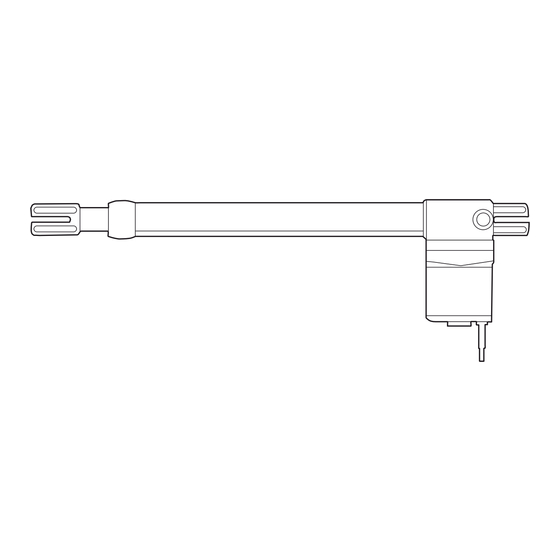
Operator Dimensions
3 Installation
Preliminary Checks
Tools and Materials (Not Included)
Wiring
Installing the Operator
Quotes from Ground
Pillar Brackets
Outward Opening
Pillar Bracket T1
Gate Bracket S3
4 Manual Release
5 Maintenance
6 Warranty
7 Phasing out and Disposal
8 Conformity Declaration
Advertisement
Quick Links
1
Intended Use and Application
2
Wiring
3
Installing the Operator
4
Manual Release
Download this manual
Installation manual
myAster
AUTOMATION FOR SWING GATES
Table of
Contents
Previous
Page
Next
Page
1
2
3
4
5
Advertisement
Table of Contents
Need help?
Do you have a question about the myAster 3 and is the answer not in the manual?
Ask a question
Questions and answers
Related Manuals for MyGate myAster 3
Gate Opener MyGate myAster 4 Installation Manual
(13 pages)
Gate Opener MyGate myHook Series Installation And Use Manual
Automation for swing gates (10 pages)
Gate Opener MyGate myFlow Series Installation And Use Manual
Automation for swing gates (10 pages)
Gate Opener MyGate Kit LIBRA Manual
(26 pages)
This manual is also suitable for:
Myaster series
Myaster 4
Myaster 6
Myaster 5
Table of Contents
Print
Rename the bookmark
Delete bookmark?
Delete from my manuals?
Login
Sign In
OR
Sign in with Facebook
Sign in with Google
Upload manual
Upload from disk
Upload from URL


Need help?
Do you have a question about the myAster 3 and is the answer not in the manual?
Questions and answers