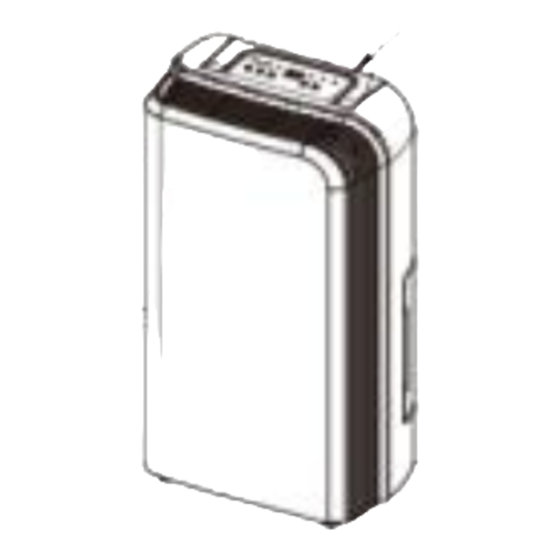
Summary of Contents for Sheffield PL611
-
Page 1: Table Of Contents
CONTENTS 02 Welcome 03 Package Contents 03 Technical Specifications 04 Important Safety instructions 07 Assembly and parts 08 Instructions 11 Cleaning and Maintenance 13 Troubleshooting AFTER SALES SUPPORT Email: service@prolinkasia.com Phone: 0508 776 546 - Mon-Fri 8:30am – 4.30pm Page 1... -
Page 2: Welcome
WELCOME Congratulations on choosing to buy a Sheffield product. All products brought to you by Sheffield are manufactured to the highest standards of performance and safety, and, as part of our philosophy of customer service and satisfaction, are backed by our comprehensive 24 Month warranty. -
Page 3: Package Contents
1 x Warranty Card Confirm all parts before disposing of carton. Safely dispose of all plastic bags and other packaging components. They may be potentially dangerous to children. TECHNICAL SPECIFICATION Model: PL611 Rated voltage: 220-240V~50Hz Power consumption: 220W Protection class:... -
Page 4: Important Safety Instructions
IMPORTANT SAFETY INSTRUCTIONS READ CAREFULLY AND KEEP FOR FUTURE REFERENCE Carefully read this manual before using this appliance. Ensure that you know how the appliance functions and how to operate it. Maintain the appliance in accordance with the instructions to ensure that it functions properly. - Page 5 Earth Safety This appliance must be earthed. Only connect to a suitably earthed 220-240V ~ 50Hz supply socket. Use and Environment Operate the Dehumidifier on a flat and stable surface. The appliance must be operated the right way up. Do not tip over. Do not use outdoors. Do not operate the dehumidifier in a closed area such as inside a closet, as it may cause a fire.
- Page 6 Water Do not immerse the appliance or its supply cord in water. Do not use with wet hands or use in damp situations. Do not use near a bath, shower or swimming pool. Cleaning Do not try to clean the inner part of the air inlet or outlet with a sharp object. Do not spray the dehumidifier with water, pesticide or flammable liquid.
-
Page 7: Assembly And Parts
ASSEMBLY AND PARTS 1. Front Shell 5. Filter 2. Outlet 6. Back Shell 3. Handle 7. Water Tank 4. Control Panel 8. Supply Cord LED Indicators 1. Water Full (Red) 4. Timer (Green) 2. Power (Green) 5. Low Fan (Green) 3. -
Page 8: Instructions
Humidity Level & Timer 2 digit display The indicator features 3 functions: When the unit is plugged in, it will indicate the room humidity level. When you set the humidity, it will indicate the humidity that you have selected. ... - Page 9 Using Your Dehumidifier The Power indication light will turn green when the unit is plugged in, regardless of whether the unit is operating or not. Press button once to start operation. Press it again to stop operation. Press button as follows: Press to set the desired fan speed. It can be adjusted between high speed and low speed.
- Page 10 Emptying the Drainage Tank Lightly press on the sides of the tank with both hands and pull the tank out gently. Discard the collected water NOTE Do not remove the float from the water tank. The water full sensor will no longer be able to detect the water level correctly without the float and water may leak from the water tank.
-
Page 11: Cleaning And Maintenance
Continuous Water Drainage The unit features a continuous drainage port. Using a plastic pipe (with an inner diameter of 10mm) insert it into drain hole (on intermediate plate), and out from the side of water tank, install it in place, and arrange the drain pipe (A pre-cut tab will need to be snapped off for fitting) The water in the drainage tank can be continuously drain out from the port on the unit. - Page 12 To Clean the Air Filter Open the inlet grill and remove the air filter Clean the air filter Run a vacuum cleaner lightly over the surface of the air filter to remove dirt. If the air filter is exceptionally dirty, wash it with warm water and a mild cleanser and dry thoroughly.
-
Page 13: Troubleshooting
TROUBLESHOOTING If a condition listed below occurs, please check the following items before calling customer service. Problem Possible Cause Solution Has the power cord been Plug the power cord into the disconnected? outlet. Is the tank full indication Empty the water in the lamp blinking? (The tank is drainage tank and then The unit...


Need help?
Do you have a question about the PL611 and is the answer not in the manual?
Questions and answers