Table of Contents
Advertisement
Quick Links
Advertisement
Table of Contents

Related Manuals for F&U MPF3473HU


Summary of Contents for F&U MPF3473HU
- Page 1 High Definition Digital Receiver MPF3473HU User Manual...
- Page 2 Important Safety Instructions 1) Read these instructions 2) Keep these instructions. 3) Heed all warnings. 4) Follow all instructions. 5) Do not use this apparatus near water. 6) Clean only with dry cloth. 7) Do not install near any heat sources such as radiators, heat registers, stoves, or other apparatus (including amplifiers) that produce heat.
-
Page 3: Notice About Recycling
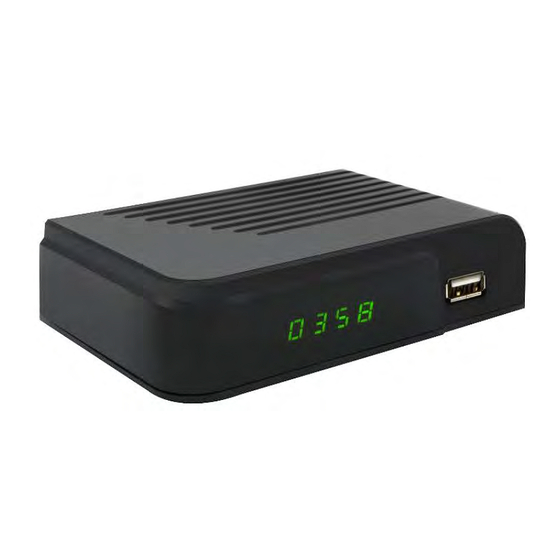
This symbol indicates that dangerous voltages constituting a risk of electric shock are present within this unit. This symbol indicates that there are important operating and maintenance instructions in the literature accompanying this unit. This symbol indicates that this product incorporates double insulation between hazardous mains voltage and user accessible parts. - Page 4 1. Control Elements Front Panel USB Port Rear Panel Aerial connection ANT IN HD-OUT/ HDMI out SCART connection DC IN...
- Page 5 2.Learning remote control. Quick setup. 1. STANDBY: Switch to Standby Mode 2. USB: Enter into the USB mode / RED 3. SUB: Display the subtitles / GREEN 4. TTX: Teletext / YELLOW 5. BLUE 6. REV: Backward movement 7. FWD: Forward movement 8.
-
Page 6: Batteries Installation
BATTERIES INSTALLATION 1. Open the battery compartment cover. 2. Insert 2xAAA size batteries. Make sure the battery polarities match the polarity markings inside the compartment. 3. Close the battery compartment cover. Notes: Do not mix different types, or used batteries. Remove the batteries if the remote control is not going to be used for extended period of time. -
Page 7: Installation
MAIN MENU QUICK INSTALLATION If you are using the receiver for the first time or have restored the receiver to factory settings, the welcome screen will appear on your TV screen. Press OK to start scanning channels. Region: Select your Country. Language: Select your Language. - Page 8 Select a channel and press FAV button on the remote control. Then press OK. A favorite list will be displayed. Choose one of the lists and press OK. Then press EXIT button to confirm changes. The selected channel will be saved in that list (it is now marked with an icon). Use left and right buttons on the remote control to switch between channel lists.
- Page 9 Edit Select a channel and press the BLUE button. The below options will appear: Sort: Press the RED button on the remote control. Now you can sort the channels by Name (A-Z), Name (Z-A), Free/Scramble, Lock. Edit: Press the GREEN button on the remote control and then press OK. Now you can change the name of the channel.
-
Page 10: System Setup
Auto Standby Set the time the receiver will automatically enter in Standby Mode (1 hour, 2 hours, 3 hours, 4 hours or 5 hours). The default setting is 3 hours. SYSTEM SETUP Language: Select the language of the Menu, First and Second Audio, Subtitles and Teletext. - Page 11 Wake up channel: Set the channel. Wake up date: Set the date. On Time: Set the start time. Duration: Set the duration of displaying or recording a channel. Note: It is also possible to set the Timer from the EPG menu (see EPG section). Parental lock Menu Lock: When enabled, the access to channel editing and searching menu, will be protected by a password.
- Page 12 activated in Music and Video. Setup: Press 3 on the remote control, to set the pictures based on Slide Show Time and Slide Show Repeat. This option is activated in Image. MultiView: Press 4 on the remote control to display the Multi pictures together on TV. This option is activated in Image.
- Page 13 TIMESHIFT Timeshift function allows to stop and rewind TV programs using the USB flash drive which is connected to the USB port of the device. 1.Make sure the USB flash drive is connected to the device. 2. Enter PVR Settings and turn ON Timeshift function 3.
- Page 14 TROUBLESHOOTING...
Need help?
Do you have a question about the MPF3473HU and is the answer not in the manual?
Questions and answers