
Related Manuals for Verity Audio MUSE P Series


Summary of Contents for Verity Audio MUSE P Series
- Page 1 Verity Audio reserves the right to make any changes to the product specifications without prior notice. Final specifications to be found in the user manual.
- Page 2 MUSE P active loudspeaker series User’s manual www.verityaudio.fr...
-
Page 3: Specifications
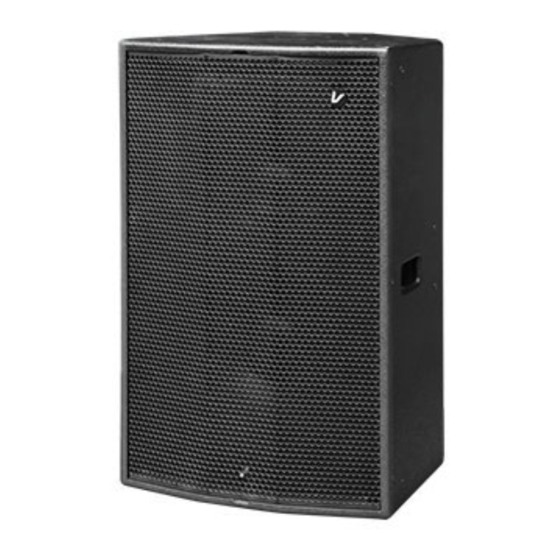
X-over point, it's very good for near field amplification.MUSE P series can output a very deep and warm low frequency when install close to the wall, because of special designed of the vent in cabinet.The SUB P series active subwoofer used the 15"... -
Page 4: Connection Panel
CONNECTION PANEL MUSE8P/10P12P/15P Power amplifier Temperature/Volume Status indication OLED indicating Volume Front LED (On/Off) MIC Input(combo) Max input:50mV Signal input thru (20 kΩ balanced 10 kΩ unbalanced) 96-265 The power input(On/Off) SUB115P/SUB215P Power amplifier Status indication Front LED Temperature/Volume (On/Off) OLED indicating Volume Xover frequency... -
Page 5: Installation
INSTALLATION Angle adjustment: MUSE P series loudspeaker have a rotatable horn, so you can adjust it by yourself when you need to change the angle. Default angle: Horizon 90° Vertical 60° Logo Angle adjustment: MUSE series loudspeaker have a rotatable Logo. Pull out the logo... - Page 6 INSTALLATION Install loudspeaker with bracket: Choose the right flying points and install with bracket*. Fuse&Adjust the angle There is no bracket in the package, please purchase by yourself. To achieve the best low frequency response, should assemble the cabinet close to the corner. The back hole of the cabinet should be keep 20-30cm from the wall.