Advertisement
Quick Links
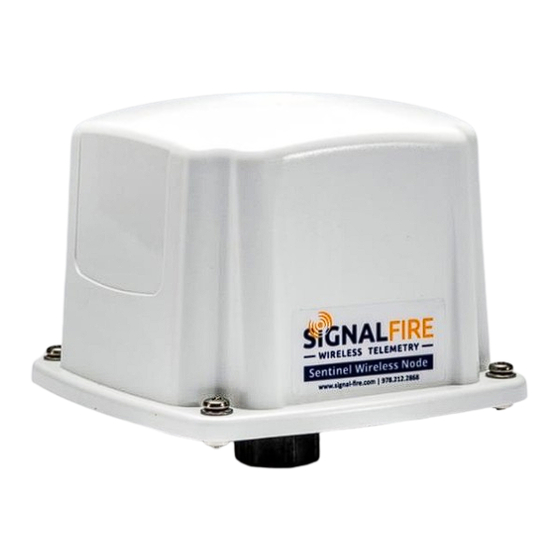
Interface Manual
Sentinel Node Modbus
The SignalFire Sentinel Node is an Intrinsically Safe device with the following features:
-
RS485 connection to a single Modbus RTU sensor device
-
Configurable Modbus register polling map
-
Can power an attached Modbus sensor at 8V or 13V with configurable warm-
up time
-
Low power operation from an intrinsically safe high capacity lithium primary
battery pack
-
Optional solar battery system for routing nodes, high power draw sensors, or
rapid data collection
-
Sends data to a SignalFire Buffered Modbus Gateway
-
AES 128bit Encryption
Rev 1.7
SignalFire Model: Sentinel-485-XXXX
SignalFire Telemetry
1
Advertisement

Related Manuals for SignalFire Sentinel-485 Series

Summary of Contents for SignalFire Sentinel-485 Series
- Page 1 Interface Manual Sentinel Node Modbus SignalFire Model: Sentinel-485-XXXX The SignalFire Sentinel Node is an Intrinsically Safe device with the following features: RS485 connection to a single Modbus RTU sensor device Configurable Modbus register polling map Can power an attached Modbus sensor at 8V or 13V with configurable warm-...
-
Page 2: Specifications
Specifications Enclosure Size 3.5” tall × 5.0” wide × 5.0” deep Power Source Internal IS Lithium battery pack SignalFire Part Number: 3BIS External Solar battery system SignalFire Part Number: Sentinel-HCSolar DC-DC Converter SignalFire Part Number: DCDC-Sentinel Other external power supply meeting the power entity parameters from the control drawing. - Page 3 Rev 1.7 SignalFire Telemetry...
-
Page 4: Connections And Components
The ERROR LED (red) will blink to indicate an error condition. Scan/Checkin Button If this button is pressed the Sentinel will power the sensor on for the configured time, read the pre- configured Modbus registers from the sensor, and forward those values to the gateway. Rev 1.7 SignalFire Telemetry... - Page 5 Modbus registers to be polled Modbus sensor power on time All settings are made using the SignalFire Toolkit PC application and a serial programming cable. WARNING: Perform the steps in this section (Setup) in a safe location only. Using the SignalFire Toolkit The SignalFire Toolkit application can be downloaded at www.signal-fire.com/customer.
- Page 6 ❶ COM Settings ❸ Configurable node settings ❷ Node Information ❹ Current Program Steps Rev 1.7 SignalFire Telemetry...
- Page 7 To set up a legacy Sentinel to use encryption, click the checkbox labeled Enable Encryption inside the Set Corporate ID box. All newer Sentinels come with this option enabled with “signalfire” as the default encryption key. Corporate ID...
- Page 8 The Sentinel Modbus node requires that the Sentinel is configured with a list of Modbus registers to be read from the attached sensor using the SignalFire Toolkit application prior to installation. The preconfigured set of registers is automatically read from the Modbus sensor device and forwarded to the Modbus gateway on a pre-defined schedule (1 minute to 5 minutes is typical).
- Page 9 Address Offset field to the right of the table. Typically, the offset is 1. For example, a holding register of address 3990 should be entered as function code 0x03, address 3991. Keep in mind that one floating point register should be read as two 16-bit registers. Rev 1.7 SignalFire Telemetry...
-
Page 10: Sensor Connections
Wiring Requirements To ensure intrinsic safety is maintained it is required that the installer follow these guidelines when connecting sensors to the SignalFire node. See pictures for proper wire routing examples. Sensor wires entering the enclosure must be run as pictured. - Page 11 The Sentinel Modbus Node has a single terminal block for connection to a Modbus sensor. If any of the Sentinel’s Modbus program steps fails, it will change the Status register. See page 13 for more details. Rev 1.7 SignalFire Telemetry...
- Page 12 The Sentinel has a current limiting resistor of 150 ohms. The voltage available to the sensor depends on the sensor current load. See the graphs below for details: If the Sentinel-Solar is used the maximum load current is limited to 14mA. Rev 1.7 SignalFire Telemetry...
- Page 13 Remote Modbus Register Mapping The Sentinel Node sends data to a SignalFire Telemetry Modbus Gateway. The data that is sent to the gateway is available at the gateway in registers where it can then be read by a Modbus RTU.
- Page 14 WARNING: The Sentinel must be mounted in a location free of high vibrations. Over time vibrations can damage the Sentinel or battery pack, which could impair its safety ratings. Do not mount directly to continuous vibrating equipment such as pumps or compressors. Rev 1.7 SignalFire Telemetry...
- Page 15 Connect the battery to the main PCB battery connector. Install the enclosure cover. WARNING: Use of any battery other than the SignalFire part number 810-0008-02 will impair the protection provided by the equipment. WARNING: If the internal battery is installed the external solar battery system or other...
- Page 16 Debug and configuration information is available if a connection is made via the debug port on the main board. A USB converter cable (available from SignalFire) must be used for this interface. Debug and advanced configuration may be done using the SignalFire Toolkit PC application.
- Page 17 APPENDIX - FCC and IC Statements Changes or modifications not expressly approved by SignalFire Telemetry, Inc could void the user’s authority to operate the equipment. This device complies with Part 15 of the FCC Rules. Operation is subject to the following two conditions: (1) this device may not cause harmful interference, and (2) this device must accept any interference received, including interference that may cause undesired operation.
Need help?
Do you have a question about the Sentinel-485 Series and is the answer not in the manual?
Questions and answers