Advertisement
Table of Contents
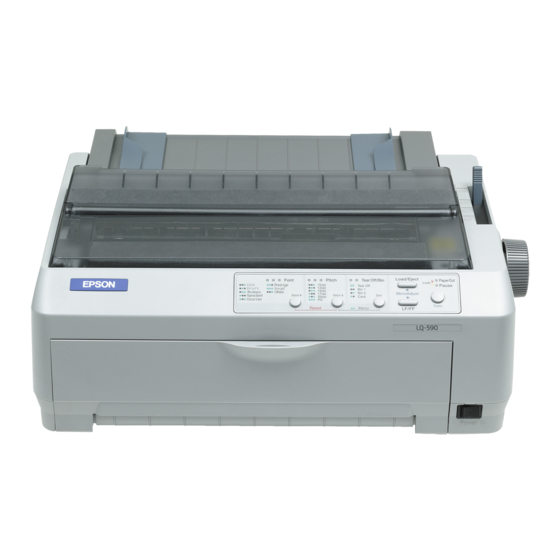
Epson LQ 590 Dot Matrix printer - Windows 7
UNPACK YOUR PRINTER AND LOAD THE DRIVERS
After you have unpacked your printer, removed all the packing tape and connect your printer to your computer
with a cable. Find your printer's owner's manual. You will need this manual for installing the printer for use.
INSTALLING YOUR PRINTER DRIVERS INTO WINDOWS
Follow the directions to install the printer drivers from the supplied CD in the owner's manual. There is a CD
disk that comes with each printer.
At the end of the installation for Windows, you will be asked if you want to;
a test page to make sure the printer is working correctly.
IF THE PRINTER FAILS TO RESPOND AND DOES NOT PRINT A TEST PAGE, CALL THE
VENDOR THAT PROVIDED THE PRINTER, OR CALL THE PRINTERS MANUFACTURER.
Your printer should be listed automatically in the printer windows. To check to see if it is installed
correctly;
Step 1 – Click Start Button
Step 2 – Click Control Panel
Step 3 – Click Printers
The next window will appear you should see "Epson LQ590" listed as a printer.
SETTING UP YOUR PRINTER
PRINT A TEST
PAGE. Print out
Advertisement
Table of Contents

Summary of Contents for Epson LQ 590
- Page 1 Your printer should be listed automatically in the printer windows. To check to see if it is installed correctly; Step 1 – Click Start Button Step 2 – Click Control Panel Step 3 – Click Printers The next window will appear you should see “Epson LQ590” listed as a printer.
- Page 2 Please be advised: 11 inch paper. In the next section, we will have to create a new printer, called Epson Forms Printer. For example, if you are a going to print a LAW 553, which are 22” or longer, you will have to set up...
- Page 3 Step 1 – Click Start Button Step 2 – Click Control Panel Step 3 – Click Printers Highlight Epson printer in the blue rectangle which will make more menu items appear. Click on Printer server properties to make this window appear...
- Page 4 You should see a page that looks like the one above. Scroll down and locate “Letter” and check the box “Create a new form” Erase the Form name: Letter and replace with “Long Forms”. Then increase the Height from 11.00in to 22.00 inches.
- Page 5 This will return you back to the printers control panel. Click the right mouse button on your Epson printer and click “Printing preferences” Click the “Advanced” button. You will see the screen below. Change the “Paper Size” from “Letter” to “Long Forms” and click ok...
- Page 6 Click Ok again which will return you to the printer control panel.
- Page 7 FOR FORMS LONGER THAN 22 INCHES Verify you Epson printer is still highlighted blue and if it is not left click on your Epson printer and then click on “Print server properties” again. Select the “Long Forms” form you created earlier. After you select the form, change the height to 30”.


Need help?
Do you have a question about the LQ 590 and is the answer not in the manual?
Questions and answers