Table of Contents
Advertisement
Advertisement
Table of Contents

Related Manuals for HELLER HTLW7


Summary of Contents for HELLER HTLW7
- Page 1 7KG FULLY AUTOMATIC WASHING MACHINE MODEL: HTLW7...
-
Page 2: Table Of Contents
Contents Name of all components Name of all components Accessories Suggestions Control panel Installation instructions Installation Connection of the inlet hose Connection of the power cord Operating instructions Preparation Method Program time table Safety warning Maintenance Maintenance Trouble shooting Wiring diagram Wiring diagram Specifications Warranty / Contact information... -
Page 3: Name Of All Components
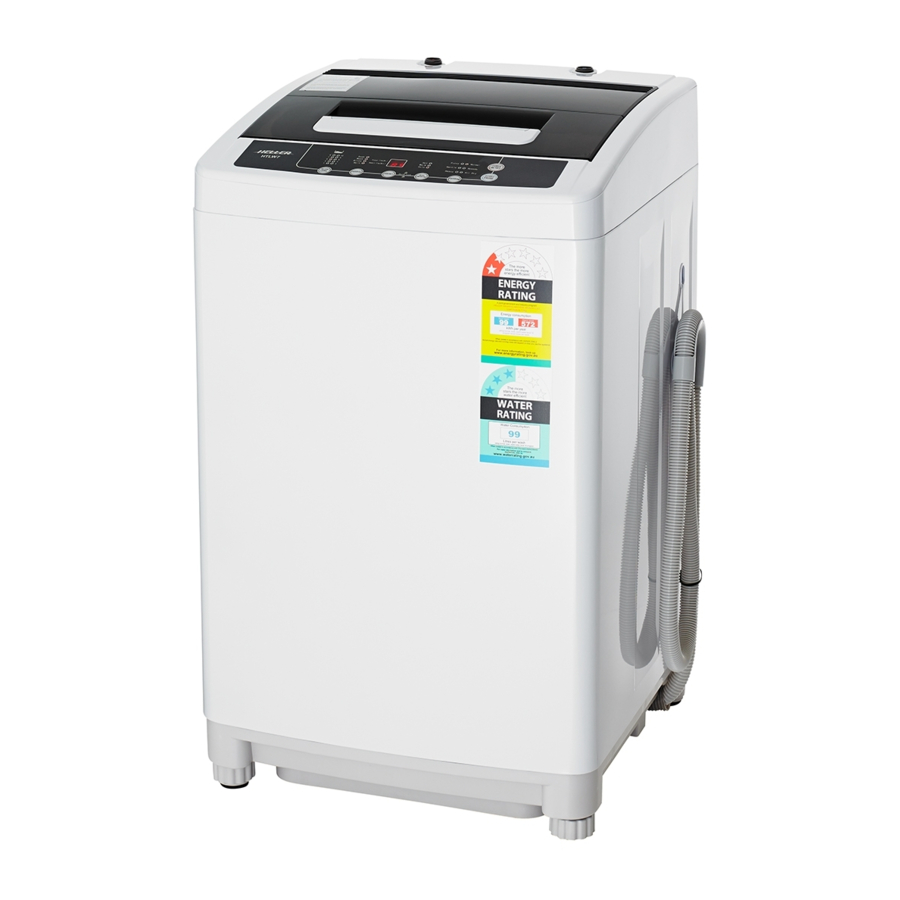
Name of all components top lid cold water inlet detergent box bleach intake inner tub hot water inlet filter control panel black plate body power cord drain hose adjustable foot Accessories Under cover(1pcs) tapping screws(2pcs) water inlet hose (2pcs) (The two water inlet hose components Inlet valve cap(including sealing plate)(1suit) are the same and... -
Page 4: Suggestions
Suggestion 1 Low foam detergent powder is recommended. 2 . Please operate it under 0 ~45 , as extra-high or extra-low ambient temperature may cause malfunction. 3 . If the washing machine has been stored under 0 , it can be used after being placed under room temperature for about 4 hours to avoid machine damage due to residual ice in the washing machine. -
Page 5: Control Panel
Control Panel Use this button to turn the washing machine on and off. If a set program is not started within 5 minutes of turning the machine on, it will switch off automatically. Press this button to begin a wash program, or to pause / resume a program that is currently in progress Press this button repeatedly to set the desired wash program. -
Page 6: Installation
Installation Insert the mice-proof plate into the washing machine base 1.Take out the mice-proof plate. 2.The entrance is at back of the bottom part. 4.Lay down washing 3.Insert the noise-proof plate machine, fasten up two screws. into the base. Place the washing machine on a firm and level surface, use the level adjustable knob to adjust the washing machine to be stable. -
Page 7: Connection Of The Inlet Hose
Connection of the inlet hose Outlet: 1.Select the appropriate type 2.End of outlet spout should be more than 3.Water leakage is of outlet as shown in the figure. 10mm, or the connector cannot be assembled. possible from here. Installation and connection of the inlet hose 1.Unscrewing the part “a”... -
Page 8: Connection Of The Power Cord
Change the direction of the drain hose (if necessary) Unfasten the secured screw of the drain Lay down the machine on soft objects hose joint Unfasten the screw, and take out the mice-proof plate Take out the drain hose at the bottom of machine Back Back... -
Page 9: Preparation
Operation Preparation Connect the water inlet hose 3.Plug in the power cord. nsert the end of the drain hose into the hook shelf, and hang the to the tap. drain outlet. drain hose over a Turn on the tap. 5.Put suitable wash load into the 6.Close wash lid completely. - Page 10 2.Washing Program Selector The model has 6 programs to fit for different clothes quanlity. The default program is “Fuzzy”. If other program is needed, you can press Program button to choose. We recommend that you select 'Normal' program for a full load (7kg) of normally soiled clothes, select 'soak' and set warm water level to 10.
- Page 11 5.Water Level Switch Choose the water level according to the wash loading, the table below offers the quantity of the detergent or wash powder according to the wash loading(Only for reference) Normal wash Concentratedwash Water Water powder powder WashLoading Level Volume 40g/30L 25g/30L...
-
Page 12: Program Time Table
8.Wash over The Buzzer will alarm after the program finish, and it will power off Unplug the power cord. Fuzzy function and memory function Fuzzy means the machine can set the water level automatically according to the loading, if other water level is needed,you can press Water level button. But if there is some water in the tub before pressing Start/Pause, this function will lose effectiveness, and water level is 5. -
Page 13: Safety Warning
Safety warning... -
Page 14: Maintenance
Do not switch on when the The highest point of the drain Make sure the lid is closed water pressure isn't within especially during spin. hose must be within 90cm above 0.03MPa-0.85Mpa, so as to floor level. protect the inlet valve. The appliance is not intended If the appliance is supplied from The appliance is to be connected... -
Page 15: Trouble Shooting
Body Maintenance Note: Clean the surface of the washing machine with a soft cloth regularly. After washing starched or bleached laundry, the inner tub must be clear ,or deposit will appear. Clean the lint filter 1. Pully upward to remove 2. - Page 16 Trouble Shooting Method For some trouble, the machine buzzer will ring and alarm, and the indicator will flash. Indicator Light Troubles Possible Cause Solution The plug is badly connected Connect the plug properly or No indicator to the socket or the switch is activate the switch not activated.
-
Page 17: Wiring Diagram
Wiring diagram R=Red B=Blue G=Green Y=Yellow LB=Light Blue BL=Black GR=Gray O=Orange P=Purple BR=Brown W=White PI=Pink LP=light purple Microcomputer Programmer Motor Specifications 50Hz Rated voltage 220~240V Rated frequency 36.5kg Net weight Wash/spin capacity 7.0 kg Dimension 560mmX580mmX950mm... - Page 18 Before making a claim under warranty, please refer to your user/installation manual to ensure that you have followed correct operating procedures of your product, and refer to the trouble shooting section to assist solving any problems you may have. Australian Customer Service GAF Control (Sales) Pty Ltd P.O Box 19 Altona North Victoria 3025...
Need help?
Do you have a question about the HTLW7 and is the answer not in the manual?
Questions and answers