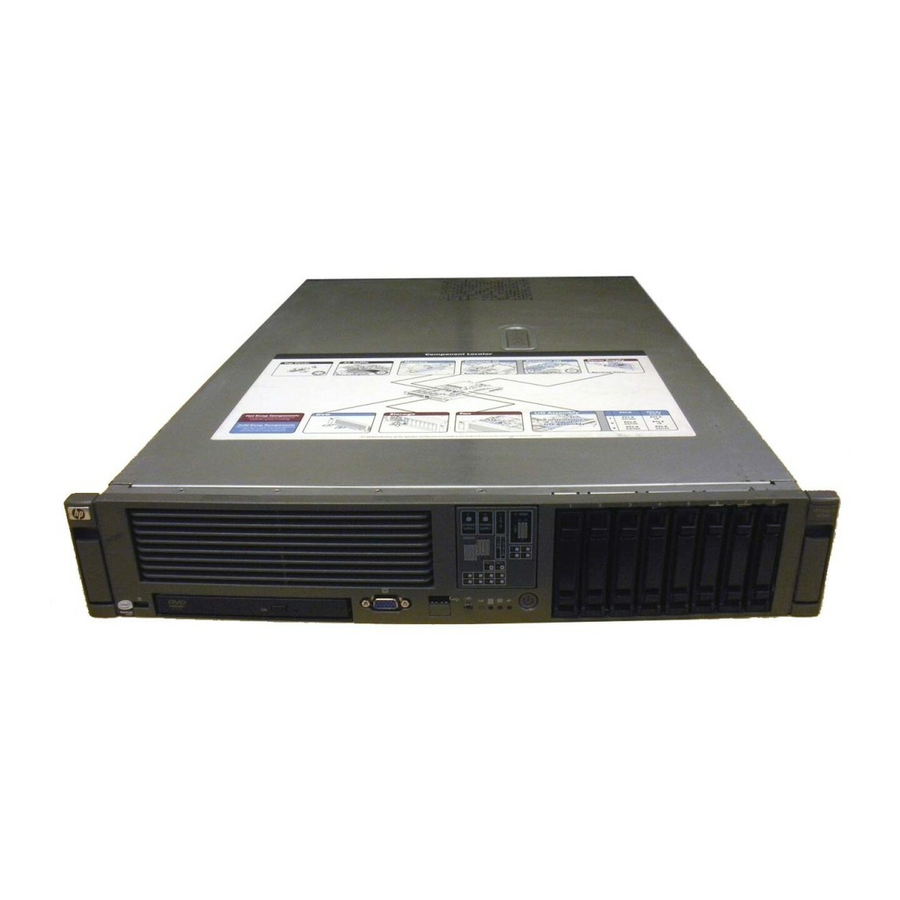
HP Integrity RX2660 Manual
Adding a boot disk entry
Hide thumbs
Also See for Integrity RX2660:
- User's & service manual (249 pages) ,
- Installation manual (22 pages) ,
- Quickspecs (22 pages)
Advertisement
Quick Links
Adding a Boot Disk Entry to an
Necessary Items
•
Terminal Emulator application (e.g., PuTTY).
•
Hard drive to be mounted.
Overview
In order to boot an rx2660 to a "new" disk, it is necessary to add an entry to the list of devices the rx2660 will try
to boot from (i.e., add a boot entry).
Connect to the Management Processor (MP).
•
Power on the rx2660.
•
From the MP, connect to the Console Terminal (CO) and watch the Power On Self Test (POST) and early
•
boot.
When the Extensible Firmware Interface (EFI) Menu appears, go to Add Boot Option and add the Boot
•
Option for the disk.
Still in the EFI Menu, go to Change Boot Order and move your disk to the top of the list.
•
Boot from the disk.
•
All information contained in this document is the sole property of HSQ Technology. Any reproduction in part or whole without the written
Effective:
12/18/18
HP Integrity rx2660
permission of HSQ Technology is prohibited.
2660 B
D
RX
OOT
ISK
Revision:
A
PAGE: 1 of 11
E
NTRY
Advertisement

Related Manuals for HP Integrity RX2660


Summary of Contents for HP Integrity RX2660
- Page 1 2660 B NTRY Adding a Boot Disk Entry to an Effective: Revision: 12/18/18 HP Integrity rx2660 Necessary Items • Terminal Emulator application (e.g., PuTTY). • Hard drive to be mounted. Overview In order to boot an rx2660 to a “new” disk, it is necessary to add an entry to the list of devices the rx2660 will try to boot from (i.e., add a boot entry).
-
Page 2: Mp Main Menu
2660 B NTRY Details In this example, a network connection is made to the Management Processor PDQVCA, which is in an rx2660 that plays the role of PDQVSA in the PDQ system. 1. With the rx2660 initially powered OFF (but still plugged in), insert the new hard drive into an available slot. - Page 3 2660 B NTRY Return to the Main Menu (<Ctrl-b>) and go to the Console (CO) to monitor the early boot. This may take a little while. MP MAIN MENU: CO: Console VFP: Virtual Front Panel CM: Command Menu SMCLP: Server Management Command Line Protocol CL: Console Log SL: Show Event Logs HE: Main Help Menu...
- Page 4 2660 B NTRY 6. When the EFI Boot Manager Menu appears, press the Down arrow key to move the cursor to Boot Configuration, and then press <Enter>. This must be done quickly as there is about fifteen seconds to respond. NOTE: If more than one bootable disk is inserted, then multiple entries will appear instead of the one (two-line) entry seen in this example.
- Page 5 2660 B NTRY 7. In the dialog box, navigate to Add Boot Entry and press <Enter>. A message will display while the machine searches for a bootable device (this should take less than thirty seconds). 8. Navigate to the proper device (typically the top entry) and press <Enter>. All information contained in this document is the sole property of HSQ Technology.
- Page 6 2660 B NTRY 9. There is no option on this step, you must select EFI. Press <Enter> again and wait for the screen to refresh. 10. Navigate to the VMS line and press <Enter>. All information contained in this document is the sole property of HSQ Technology. Any reproduction in part or whole without the written permission of HSQ Technology is prohibited.
- Page 7 2660 B NTRY 11. Navigate to the line that reads VMS_LOADER.EFI and press <Enter>. NOTE: It may be necessary to move the cursor past the end of the page. 12. Enter a description for the hard drive (e.g., PDQVSA). All information contained in this document is the sole property of HSQ Technology. Any reproduction in part or whole without the written permission of HSQ Technology is prohibited.
- Page 8 2660 B NTRY 13. At the next prompt, leave the Load Option blank and press <Enter>. Type <y> at the Save changes to NVRAM? prompt. 14. When the screen refreshes, navigate to Edit OS Boot Order and press <Enter>. All information contained in this document is the sole property of HSQ Technology. Any reproduction in part or whole without the written permission of HSQ Technology is prohibited.
- Page 9 2660 B NTRY 15. Highlight PDQVSA and press <Enter>, the word will turn yellow. Press the Up arrow until PDQVSA is the topmost entry. Press <Enter> again to lock it into its new position. 16. Press <Enter> and the color will change back. 17.
- Page 10 2660 B NTRY 18. Press <Enter>, this will begin rebooting the machine. 19. After the machine has rebooted, press <Ctrl-b> to return to the Main Menu. All information contained in this document is the sole property of HSQ Technology. Any reproduction in part or whole without the written permission of HSQ Technology is prohibited.
- Page 11 2660 B NTRY 20. The rx2660 will first try to use the PDQVSA entry hereafter. This setting will survive a disconnection from the main power (as long as the MP battery is good). 21. Disconnect from the Console by pressing <Ctrl-b>, then disconnect from the MP by pressing <x>. SYSTEM job terminated at DECEMBER 8, 2018 04:09 PM Accounting information:...
Need help?
Do you have a question about the Integrity RX2660 and is the answer not in the manual?
Questions and answers