Advertisement
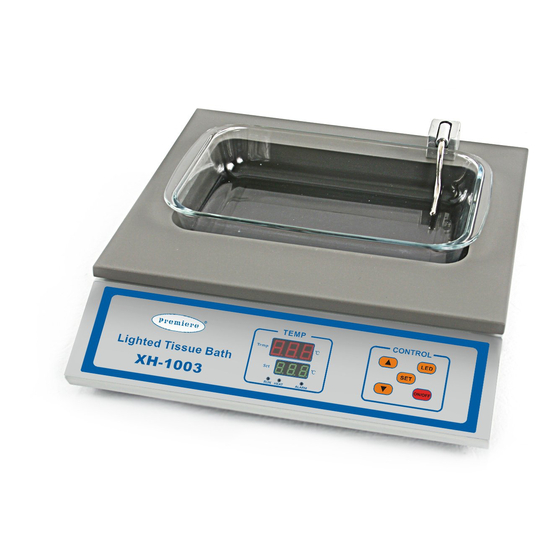
Lighted Tissue Floating Bath
Model XH-1003
Operating Manual
Before using this product, please read this manual carefully to learn about the available
features to obtain the best results of this equipment.
Warning: To prevent fire or shock hazard, do not expose this unit to rain or moisture. Unless
labeled otherwise, this equipment should be used with AC 110V, 60Hz in the USA or Canada.
220V, 50Hz available as Model No. XH-1003-220
Caution: No user-serviceable parts inside. Refer servicing to qualified service personnel.
Advertisement

Related Manuals for premiere XH-1003


Summary of Contents for premiere XH-1003
- Page 1 Warning: To prevent fire or shock hazard, do not expose this unit to rain or moisture. Unless labeled otherwise, this equipment should be used with AC 110V, 60Hz in the USA or Canada. 220V, 50Hz available as Model No. XH-1003-220 Caution: No user-serviceable parts inside. Refer servicing to qualified service personnel.
-
Page 3: Table Of Contents
1.1 Table of Contents Section • Table of Contents Page 1 • Safety Page 2 • Contents/Specifications Page 3 • Notes of Operation Page 4 • Control Panel/Setup Page 5 • Operations Page 6 • Trouble Shooting Page 7-8 • Warranty Page 10... -
Page 4: Safety
2.1 Safety Before using the Lighted Tissue Floating Bath, please read this instruction manual carefully. Incorrect or inappropriate use may result in equipment damage or personal injury! This Lighted Tissue Floating Bath is designed for floating paraffin sections along with assisting in placing the paraffin section on a slide and helping the section dry. -
Page 5: Contents/Specifications
3.1 Contents Number Name Note Lighted Tissue Floating Bath 1set Replacement Part # Glass Dish XH-1003D2 AC Power Cord Fuse 10 AMP Operating manual Upon receipt, please examine the package, if there's anything wrong, please kindly contact your dealer promptly. 3.2 Specifications Function/ Parameter Technical Data... -
Page 6: Notes Of Operation
4.1 Notes of operation ● Never leave unit unattended ● Do not turn on heater without water in glass tray. (This can damage the probe and equipment) ● Initial heating can fluctuate ● User may add as much water as needed to their comfort level (avoid overfilling or risk of overflow). -
Page 7: Control Panel/Setup
5.1 Control Panel Control Panel TEMP : Actual Temperature SET TEMP : Desired Temperature/Time display in minutes LED: light-emitting diode On/Off RUN: Unit is operating HEAT: Unit is heating ALARM : Malfunction/overheat SET: Set Time/temperature ▲ ▼:increase/decrease speed /time ON/OFF: Power on/off 5.2 Setup 1. -
Page 8: Operations
6.1 Operations Temperature adjustment 1. Prior to use fill with water at least halfway full – use care to avoid overflowing (Note: type of water – tap, distilled, purified, etc. is optional based on user requirements) 2. Flip on power switch in back of unit, click “ON/OFF” button and Temperature/Set temperature indicator light (see section 4.2) will illuminate indicating the unit is heating/powered up. -
Page 9: Trouble Shooting
7.1 Trouble Shooting The recalibrating method of XH-1003 heating problems • The problem refers to: 1. Taking too long to heat up 2. Not heating up to set temperature • Solution: Modify the internal temperature controller and raise the power of heater •... - Page 10 3. Press “SET”,until the screen shows“ I ”,then write down this value shown in “set” without adjusting; (the value shown is just an example) shows,then adjust using “▲or▼” 4. Re-press the “SET” button until the screen arrows. Set the value to one half of previous value “ I ”; Adjust this parameter (should be the half value of previous step I’s value)...
- Page 11 Notes:...
-
Page 12: Warranty
If misuse, alterations, accident or abnormal conditions of operation caused failure, an estimate for repairs will be provided for your approval prior to work being performed. E4 v.2 © 2016 Premiere Service Department 7241 Gabe Court Manassas, VA 20109-2434...
Need help?
Do you have a question about the XH-1003 and is the answer not in the manual?
Questions and answers