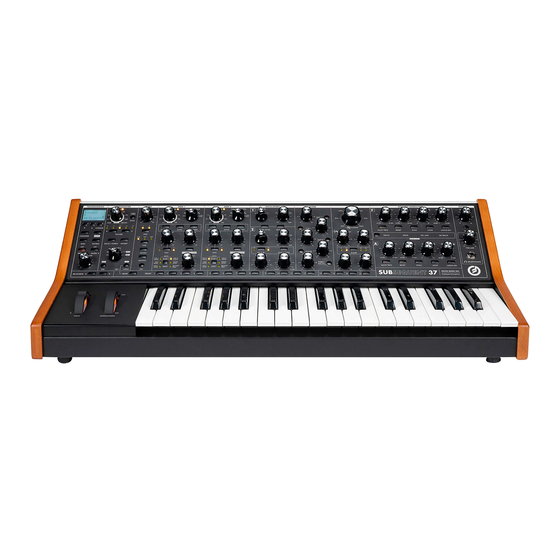
Moog SUB 37 Update Instructions
Firmware update 1.2.0
Hide thumbs
Also See for SUB 37:
- User manual (62 pages) ,
- Quick start manual (2 pages) ,
- Owner's manual (5 pages)
Table of Contents
Advertisement
Quick Links
MOOG SUB 37 - FIRMWARE UPDATE 1.2.0
WHAT YOU WILL NEED
• A computer
• A program for sending MIDI SysEx data to your Sub 37. We recommend Bome SendSX for Windows, or
SysEx Librarian for Macintosh.
DOWNLOAD & INSTALL THE SYSEX SOFTWARE
WINDOWS: https://www.bome.com/products/sendsx/downloads
MAC OSX: http://www.snoize.com/SysExLibrarian/
BEFORE YOU UPDATE YOUR FIRMWARE
Make sure the power and USB connection to your Sub 37 is secure and cannot be unplugged by accident, for
instance by a roommate or the family dog, before you start the update process. Both of these examples have
actually happened, so please be careful.
COMMON PROBLEMS
THE FIRMWARE UPDATE CANNOT BE INSTALLED VIA DIN MIDI.
Sub 37 firmware updates can only be performed through the USB port.
THE DISPLAY IS BLANK AND/OR ALL OF THE LEDS ARE LIT.
The firmware on your Sub 37 has not been updated correctly. Repeat the update procedure. Note that nothing will
appear on the display until the panel firmware update is complete.
UPDATE INSTRUCTIONS FOR WINDOWS
(Skip to the next section for Mac OSX instructions)
1. Connect a USB cable from the Sub 37 directly to your computer.
NOTE: (Avoid using a USB hub if possible, as many USB hubs do not work reliably and can cause the update to fail.)
2. Turn on your Sub 37.
3. Launch the Bome SendSX application. Click on the MIDI Out menu, and select Moog Sub 37.
4. Click the File menu and choose Open. This will open a file chooser window. Navigate to the folder:
"Sub 37 Firmware v1.2.0/Manual Install", select the file sub37_1_2_0_step1.syx and click Open.
5. In the Bome SendSX main window, click the Send button [or press F4]. This will send the Step 1 file to the Sub 37.
After a pause, the red MIDI LED on the Sub 37 will blink slowly three times. Then it will stop blinking, and the ARP
RATE LED will begin blinking about once per second. The display may also read "FIRMWARE UPDATE: Flash Erased -
Ready for Code."
NOTE: If the display is blank due to a previous failed update, but the ARP RATE LED is blinking, you may still proceed.
The display will remain blank, but the firmware update will still work.
6. Refresh the Sub 37 USB connection to SendSX: click the MIDI Out menu and select Sub 37 as the MIDI Out device again.
7. Click the File menu and choose Open. Open the file named sub37_1_2_0_step2.syx, and then click the Send button
or press F4. This will send the Step 2 file to the Sub 37. The MIDI LED will blink red as the Sub 37 receives data. The
display may also read Flash Erased - Getting buffers, with the Page number increasing in the display. The file sending
process may take 5 to 10 minutes to complete.
CONTINUED ON THE NEXT PAGE
Advertisement
Table of Contents

Summary of Contents for Moog SUB 37
- Page 1 7. Click the File menu and choose Open. Open the file named sub37_1_2_0_step2.syx, and then click the Send button or press F4. This will send the Step 2 file to the Sub 37. The MIDI LED will blink red as the Sub 37 receives data. The display may also read Flash Erased - Getting buffers, with the Page number increasing in the display.
- Page 2 6. In the Playlist (main area of the SysEx Librarian window), click on the file named sub37_1_2_0_step1.syx, and then click the Play button in the upper left. This will send the Step 1 file to the Sub 37. After a pause, the red MIDI LED on the Sub 37 will blink slowly three times.
- Page 3 8. In the Playlist, click on the file named sub37_1_2_0_step2.syx and then click the Play button. This will send the Step 2 file to the Sub 37. The MIDI LED will blink red as the Sub 37 receives data. The display may also read Flash Erased - Getting buffers, with the Page number increasing in the display.
- Page 4 • Fixed LFO 2 Rate MIDI CC response • Sequence is now saved in Panel Mode Note: Is saved when you exit Panel Mode. Exit Panel Mode before turning off power to the Sub 37 if you want to save changes to the Panel Mode sequence •...
- Page 5 NEW IN 1.0.3 • Fixed possible freeze during patch changes • Fixed: after scrolling rapidly through presets, patch select LEDs could remain lit • When exiting compare mode, patch edited status is correctly restored (asterisks reappear if necessary) NEW IN 1.0.2 •...


Need help?
Do you have a question about the SUB 37 and is the answer not in the manual?
Questions and answers