Advertisement
Quick Links
Advertisement

Subscribe to Our Youtube Channel
Related Manuals for BCP SKY5287


Summary of Contents for BCP SKY5287
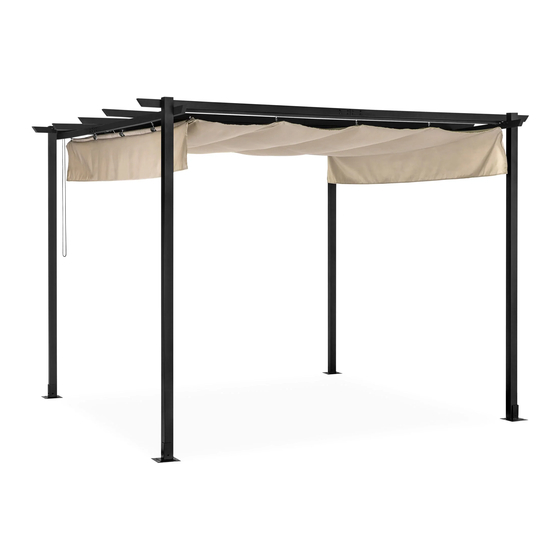
- Page 1 INSTRUCTION MANUAL 10-foot x 10-foot Pergola SKY5287 Ver. 1...
- Page 2 NOTICE Please retain these instructions for future reference. • Firmly secure all bolts, screws and knobs before use. • Reconfirm that all bolts, screws, and knobs are secure every 90 days. • Fasten screws loosely during assembly. Do not firmly tighten screws until item is fully assembled. •...
-
Page 3: Table Of Contents
PARTS COLUMN I COLUMN II LONG FRONT FRAME SHORT FRONT FRAME 1 PC 1 PC 2 PCS 1 PC SHORT REAR FRAME MIDDLE FRAME I MIDDLE FRAME II LEFT FRAME I 1 PC 3 PCS 3 PCS 1 PC LEFT FRAME II RIGHT FRAME I RIGHT FRAME II TRACK... -
Page 4: Column I
PRODUCT ASSEMBLY Slide a part 17 connecting plate into a part 3 long front frame and part 4 short front frame. Attach the front frame pieces to the connecting plate with eight part 19 screws. Repeat with the part 5 short rear frame and part 14 long rear frame. Attach the rear frame to a part 1 column I and part 2 column II with eight part 20 screws. -
Page 5: Column With Hook
PRODUCT ASSEMBLY Attach the front frame to a part 2 column II and part 13 column with hook with eight part 20 screws. Slide a part 17 connecting plate into a part 8 left frame I and part 9 left frame II. Attach the left frame pieces to the connecting plate with eight part 19 screws. -
Page 6: Connecting Plate
PRODUCT ASSEMBLY Carefully stand the front/rear frames up. Attach the left frame and right frame with sixteen part 20 screws. Attach four part 18 feet with eight part 19 screws. Slide a part 17 connecting plate into a part 6 middle frame I and part 7 middle frame II. Attach the middle frame pieces to the connecting plate with eight part 19 screws. -
Page 7: Roof Frame I
PRODUCT ASSEMBLY Attach the three middle frames with six part 21 screws. Slide five part 15 roof frame I into five part 16 roof frame II. - Page 8 PRODUCT ASSEMBLY Attach five part 24 eye bolts to a roof frame with five part 22 nuts. Attach fifteen part 25 eye bolt/wheels to three roof frames fifteen part 22 nuts. Attach four part 25 eye bolt/wheels and a part 27 eye bolt/plate to a roof frame with five part 22 nuts. Secure the five roof frames to the part 30 roof with the attached adhesive strips.
- Page 9 PRODUCT ASSEMBLY Insert the wheels into the tracks on the left, right, and three middle frames to attach the roof. Secure the five part 24 eye bolts to the frames with five part 23 screws and five part 22 nuts.
- Page 10 PRODUCT ASSEMBLY Tie the part 28 string to the part 27 eye bolt/plate. Follow steps to route the string through the pulleys: Tie the end of the string back onto the eye bolt/plate. INSIDE VIEW INSIDE VIEW...
-
Page 11: Cover
PRODUCT ASSEMBLY Attach the part 29 cover with four part 19 screws. NOTE: Secure string slack on the hook... - Page 12 HELP CENTER Question about your product? We're here to help. Visit us at: help.bestchoiceproducts.com CHAT Chat Support Product Inquiry Orders FAQ Product Assembly Returns & Refunds PRODUCT WARRANTY INFORMATION All items can be returned for any reason within 60 days of the receipt and will receive a full refund as long as the item is returned in its original product packaging and all accessories from its original shipment are included.
Need help?
Do you have a question about the SKY5287 and is the answer not in the manual?
Questions and answers