Advertisement
Quick Links
The following materials are included (if any are missing, contact your local Phonak dealer):
DigiMaster 5000/7000 package
A
B
C
D
K
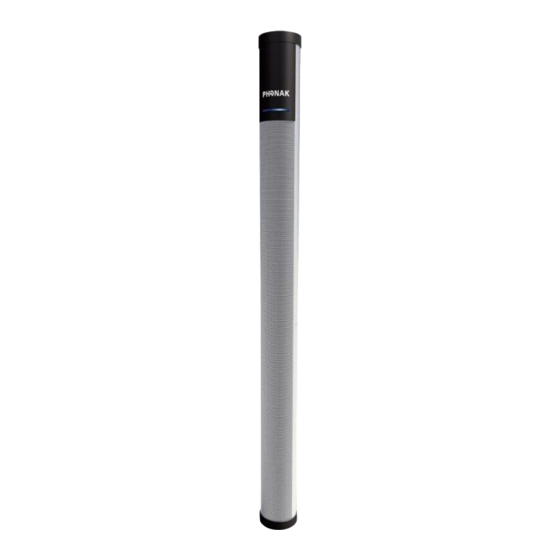
A
DigiMaster
loudspeaker (1x)
Follow these installation instructions carefully to make sure your Dynamic SoundField system is properly installed.
Dispose of the packaging material as per local regulations.
1
Installation instructions
Dynamic SoundField
B
Wall support (1x)
D
Torx-screws (4x)
Hex-screws (2x)
C
Array fixation (1x)
Anchors (4x)
Clamps (2x)
OPTION
Power adapter and power cable
(delivered in separate packages)
K
Torx screwdriver T20 (1x)
and hex wrench 5 (1x)
and hex wrench 6 (1x)
Advertisement

Related Manuals for Phonak DigiMaster 5000


Summary of Contents for Phonak DigiMaster 5000
- Page 1 Installation instructions Dynamic SoundField The following materials are included (if any are missing, contact your local Phonak dealer): DigiMaster 5000/7000 package DigiMaster loudspeaker (1x) OPTION Power adapter and power cable Wall support (1x) Array fixation (1x) (delivered in separate packages)
- Page 2 Installation instructions Dynamic SoundField Optional: Stand tube package Optional: Stand plate package Stand tube (1x) Stand plate (1x) Tube connection (1x) Screw and washer M8 (1x)
-
Page 3: Installation Instructions
To mount the loudspeaker on the floor stand: e. g. on the right or left side of the Smartboard or blackboard. ƒ Hex wrench 5* Hex wrench 6* ƒ DigiMaster 5000 To mount the loudspeaker on the wall: ƒ Drill with 5mm bit Spirit level ƒ... -
Page 4: Installation
Installation instructions Dynamic SoundField 2. Installation 2.1 Mounting the DigiMaster on its stand 1) Take the plate [F], stand tube [I], black M8 screw [H] and M8 4) Take the two black hex screws [D] from the wall mount kit and washer [H]. - Page 5 Installation instructions Dynamic SoundField 2.2 Mounting DigiMaster on the wall 1) Measure 1.40 meters (4 feet) up from the floor level and mark the 4) Mount the array fixation [C] on the DigiMaster by using the two wall with a pencil. black hex screws [D] and hex wrench 5 [K].
- Page 6 3) When you see three dots on the inspiro LCD, hold inspiro close to the loudspeaker (nearer than 1 meter/3 feet) and switch on the DigiMaster. 4) DigiMaster 5000 loudspeaker After a short time, inspiro will inform you that the loudspeaker has been paired. The LED color of the DigiMaster will display a constant blue light.
- Page 7 Installation instructions Dynamic SoundField 6) Setting up a MultiTalker Network when using DigiMaster 7) How to upgrade a DigiMaster? loudspeaker 1) Connect the mini-USB cable to the DigiMaster mini-USB Pre-Requisite: All secondary inspiros for MTN should not be paired on the loudspeaker top as depicted. with any DigiMaster loudspeaker! Before setting up MTN, select each inspiro’s ‘SoundField’...