Table of Contents
Advertisement
Quick Links
Advertisement
Table of Contents

Related Manuals for Abus SE1000


Summary of Contents for Abus SE1000
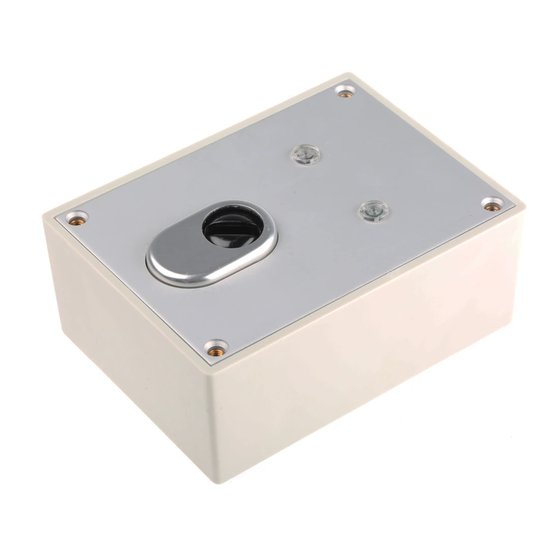
- Page 1 Key switch INSTALLATION GUIDE SE1000 SE1100...
-
Page 2: Main Features
Permanent or impulse contact Coloured LEDs (red/yellow) Modern, attractive design Scope of delivery 4 special casing screws with key 1 circular seal black (SE1000 only) 1 sealing plate white (SE1100 only) 4 x 6mm wall plugs including 4.5 x 35mm screws... - Page 3 Description 1 PCB holder 2 Wall fixing 3 Cable hole Fig. 1 Casing open Fig. 2 Casing without PCB (with PCB) Connections 12V for LED 12V for LED Ground for LED (red Ground for LED (yellow) Switch S1 Switch S2 Tamper contacts Note:...
-
Page 4: Technical Data
Changing switch mode (impulse/permanent contact) 1. The factory setting of the key switch is permanent contact. To change the switch mode: Permanent 2. Remove the upper part of the clamp and swing it to the side. 3. The key switch is now set to impulse mode. Impulse Installation Using the key supplied, unscrew the cover screws and remove the cover...
Need help?
Do you have a question about the SE1000 and is the answer not in the manual?
Questions and answers