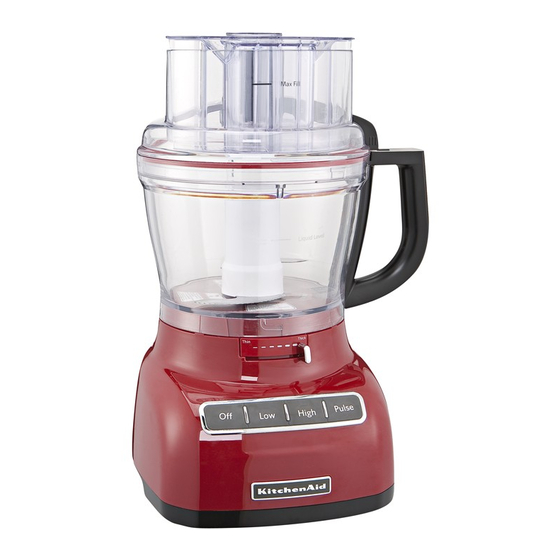
KitchenAid KFP1333 Service & Repair Manual

KitchenAid KFP1333 Service & Repair Manual

Intended for professional service technician only, 13 cup
Hide thumbs Also See for KFP1333:

Advertisement

®
KitchenAid
Food Processor
Intended for Professional Service Technician Only
Service/Repair Manual
KFP1333, KFP1322, KFP1344, KFP1330, KFP1335,
KFP1356, (13 Cup)
(Includes International model)
5KFP1333 (3.1L)
W11036950

Advertisement

Table of Contents
loading

Summary of Contents for KitchenAid KFP1333

  • Page 1 ® KitchenAid Food Processor Intended for Professional Service Technician Only Service/Repair Manual KFP1333, KFP1322, KFP1344, KFP1330, KFP1335, KFP1356, (13 Cup) (Includes International model) 5KFP1333 (3.1L) W11036950...
  • Page 2: Table Of Contents

    ® KitchenAid Food Processor Service/Repair Manual Intended for Professional Service Technician Only ® © 2016 KitchenAid  Covers Domestic Model – 13-cup: KFP1322ER, KFP1333WH, KFP1333OB, KFP1333ER, KFP1333CU, KFP1333BD, KFP1333GC, KFP1333QG, KFP1333ACS, KFP1344CA, KFP1344ES, KFP1344MS, KFP1344ACS, KFP1344ACS, KFP1344AES, KFP1344ACA, KFP1344AFPO, KFP130CU, KFP1330SPO, KFP1355WH,...
  • Page 4 Motor And Housing Unit Parts Illus. No. Part No. Description W10407578 Use and Care Guide W10451327 Bearing Support W10451328 Ball Bearing W10451326 Motor Adaptor W10451325 Control Panel W10451324 PCB Assembly W10451323 Nameplate W10451322 Terminal Block W10451321 120V Housing Base W10451320 Foot W10451329 Power Cord (2 Prong)
  • Page 5 Attachment Parts...
  • Page 6 Attachment Parts List Illus. No. Part Number Description W10451497 Shredding Adaptor W10451487 Mini Blade W10451463 Multi Purpose Blade W10451466 Slicing Disc W10451465 Shredding Disc W10461927 Spatula W10451494 Large Accessory Box W10625740 Small Accessory Box W10451493 Egg Whip W10451489 Dough Blade W10451495 Slicing Shaft Adapter W10461962...
  • Page 7: Important Service Workplace Safety Recommendations

    Introduction All KitchenAid Products are well designed. Normally they will give continual use year after year without service attention. Records have been maintained to determine and correct, through improved design, any troubles that might possibly develop. An effort has been made in preparation of this manual to cover them all.
  • Page 8: Service Environment

    SERVICE ENVIRONMENT The following Safety Guidelines should be adhered to when servicing this product.  The workplace should be dry and sanitary at all times and all units should be inspected for cleanliness before any work is started.  Visually inspect the unit requiring service in a well illuminated area. ...
  • Page 9: Electrical Requirements

    7. Do not let the cord hang over the edge of a table or counter or touch hot surfaces. 8. Do not use an extension cord. ® 9. The use of accessories not recommended by KitchenAid may result in fire, shock, or injury to persons. 10. Do not use the food processor outdoors.
  • Page 10: List Of Tools Required

    ® NOTE: Power drivers are not recommended for servicing the KitchenAid Food Processor. ® The following equipment will greatly assist the technician in servicing the KitchenAid Food Processor:  Low pressure compressed air to remove debris from food processor/components. ...
  • Page 11 Check the bottom of the work bowl handle for interlock action. Proper interlock operation can be determined as shown below. Working - Interlock extended with lid on bowl and pusher fully seated. Non-working - interlock not extended with lid on bowl and pusher in place. Working and non-working bowl safety interlock ...
  • Page 12: Service Procedures

    Service Procedures ® This manual is written as a step-by-step guide to disassemble and reassemble the KitchenAid Food Processor to gain access to the systems within the unit that are in need of repair. For models covered in this manual, refer to the index page.
  • Page 13 4. Remove the (4) feet indicated in (Fig. 2) from the base of the unit by pulling on them. Fig. 2) Remove these (4) feet to get to the screws. 5. Using a Medium Philips screw driver, remove the four (4) screws securing the housing base to the motor housing. 6.
  • Page 14: Remove Power Cord

    7. Remove the 2 Phillips Screws in the cord cleat.(Fig. 4) 8. Loosen the 2 flat head screws that hold the white and black power wires (blue and brown power wires on International).(Fig. 4) Filter for International Models Fig. 4) Remove Cord 9.
  • Page 15: Remove Slicing Disc Adjusting Knob

    10. Remove the filler panel by the slicing adjustment knob.(Fig. 6) There is a clip on each side(Fig. 7), and a 3 one in the middle on the bottom use a flat screwdriver and release both clips(Fig. 8) Fig. 6) Filler Panel Fig.
  • Page 16: Remove Motor

    Fig. 10 Remove motor screws 13. Remove the 4 small Phillips Screws that holds the PCB in place.(Fig. 11) Fig. 11 Remove control board screws 14. The motor and control board come out all in one piece.(Fig. 12) Fig. 12) Remove motor and control board together - 10 -...
  • Page 17: Remove Control Board

    15. Remove the control panel by pushing in on the clips around the panel. (Fig. 13) Fig. 13 Remove Control Panel Reassembly of Food Processor 16. Line up the gears and lower motor and control board in and Watch wires do not get pinched.(Fig. 14) Fig.
  • Page 18: Motor Replacement

    17. Replace 6 motor screws.(Fig. 15) Fig. 15) Motor Screws 18. Move the control board into place and replace the 4 screws and tighten.(Fig. 16) Fig. 16) Replace Control Board 19. Place speed control back on top of the motor and tighten screw.(Fig. 17) Fig.
  • Page 19: Cord Replacement

    20. Route the cord wires and Hook them up black to black and white to white. (International will be brown to black and blue to white) tighten the screws in the connector and the cord holder.(Fig.18)(Fig. 19) Fig. 18) Domestic Fig, 19) International 21.
  • Page 20: Clean And Test Unit

    23. Turn the unit right side up and replace the slicing disc sleeve by pressing it onto the motor shaft. Using a towel to help protect your fingers and press it into place. (Fig. 22) Fig. 22) Replace Slicing Disc Sleeve 24.
  • Page 21: A Tools Required For Food Processor Service

    Appendix A Tools Required for Food Processor Service Fig. 25) Hand Tools required for repair of the 16qt. KitchenAid Food Processor Tool List: 1. Dead Blow Hammer 2. Phillips Screw Driver 3. Large Flat Head Screw Driver 4. Small Flat Head Screw Driver 5.
  • Page 22: B Problem Guide

    Appendix B Problem Guide Problem Cause Solution Work bowl cover will slicing disc or drive Make sure the disc is installed correctly and is positioned not close adapter properly on the drive adapter. Unit not plugged in Plug into a grounded 3 prong outlet. Check the power supply receptacle to make sure it’s Faulty Power “hot.”...
  • Page 23: 13-Cup Food Processor Screw Torques

    Appendix C 13-cup Food Processor Screw Torques The screw torque values used in the assembly of the food processor are as follows: kgf.cm in.lb.  Base to Motor Housing screws (x4)  Power Cord Lock screws (x2)  Power Cord Ground screw (x1) ...

Table of Contents