Table of Contents
Advertisement
Advertisement
Table of Contents

Related Manuals for latch M Series

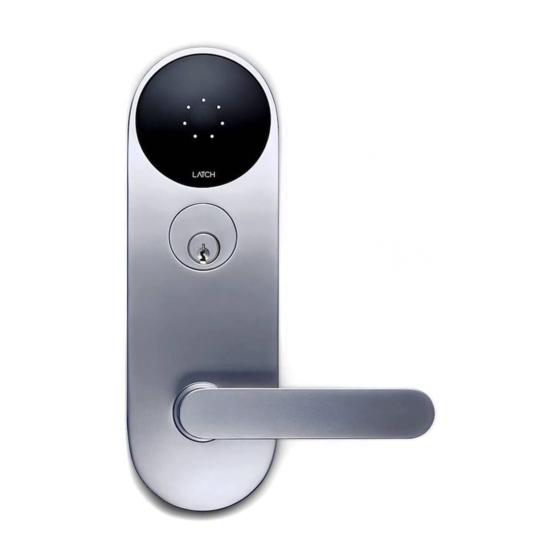
Summary of Contents for latch M Series
- Page 1 I N S T A L L A T I O N G U I D E M S E R I E S...
- Page 2 Inside the Box...
- Page 3 S T R I K E P L A T E S T R I K E B O X...
- Page 4 Hardware...
- Page 7 H A N D I N G...
- Page 8 How to change the latch-bolt position: 1 Remove the set screw with the Allen wrench.
- Page 9 2 Pull the latch-bolt out of the lock.
- Page 10 3 Rotate the latch-bolt 180° and reinstall into the lock. Push the latch-bolt into the lock and then release.
- Page 11 4 Reinstall the set screw and tighten securely with the Allen wrench. I N S E R T T H E S E T S C R E W F R O M T H E O P P O S I T E S I D E...
- Page 12 How to change the locking slide position: 1 Remove the two screws as shown below.
- Page 13 2 Reinstall the screws on the opposite side of the mortise cartridge. T H E S C R E W S S H O U L D B E O N T H E I N T E R I O R S I D E O F T H E D O O R .
- Page 15 P E R M A N E N T P O W E R W I R I N G...
- Page 16 1 Remove cap from mortise power cable.
- Page 17 2 Connect power wires (12-24VDC) to mortise power cable with dolphin connectors.
- Page 19 I N S T A L L A T I O N...
- Page 20 Prepare the door according to the template provided. Install the mortise cartridge as shown and secure with two screws. Feed the cable through as shown. Avoid pinching or pulling on the cable. Place the thumb-turn spindle to help balance the inner mounting plate while assembling the handle in the next step.
- Page 21 Put the outer & inner spindles (screw side) in the mortise hub and hand tighten the screw. Place the mounting plate on the inner spindle. Add the outer & inner levers. Lastly, put the posts through the outer lever trim holes and connect the lever screws through the inner lever trim holes.
- Page 22 Guide escutcheon onto the outer lever trim. Feed the wire harness through the door hole as shown. Avoid pinching the wire harness. Screw the cylinder into the lock. Tighten the screw on the cylinder side. W A R N I N G A V O I D D A M A G I N G T H E S W I T C H W I T H T H E S C R E W D R I V E R .
- Page 23 Secure the inner mounting plate. Route the wires as shown. Plug the mortise cable and the wire harness into the appropriate connectors on the circuit board. Secure the inner mounting plate with three mounting screws. Push additional slack from the wires back into the door.
- Page 24 Line up the battery plate to the inner mounting plate, secure with the two battery tray mounting screws. IMPORTANT Make sure that the cables are properly W A R N I N G A V O I D P I N C H I N G T H E C A B L E S B E T W E E N T H E B A T T E R Y T R A Y A N D T H E M O U N T I N G P L A T E .
- Page 25 Load six AA non-rechargeable alkaline batteries. Guide the inner cover over the lever trim. Use the two mounting screws to secure the inner cover. IMPORTANT Check lock for correct operation before closing the door. Also, the thumbturn should be pointed up when the bolt is retracted.
- Page 28 Federal Communication Commission Interference Statement FCC Caution: Radiation Exposure Statement:...
- Page 29 Industry Canada statement: Radiation Exposure Statement:...
- Page 30 v.1.1 W W W . L A T C H . C O M...
Need help?
Do you have a question about the M Series and is the answer not in the manual?
Questions and answers