Advertisement
Quick Links
Advertisement

Related Manuals for Samsung SBP-300NB


Summary of Contents for Samsung SBP-300NB
- Page 1 INSTALLATION BOX User Manual SBP-300NB...
- Page 2 Disclaimer Samsung Techwin makes the best to verify the integrity and correctness of the contents in this document, but no formal guarantee shall be provided. Use of this document and the subsequent results shall be entirely on the user’s own responsibility.
-
Page 3: Table Of Contents
overview CONTENTS OveRvIew What’s Included INSTALLATION & CONNeCTION Installation AppeNDIX Specification Product Overview English _3... -
Page 4: Overview
overview WhaT’S INCludEd Please check if your camera and accessories are all included in the product package. Appearance Item Name Quantity INSTALLATION BOX INSTALL BRACKET Gasket (for SBP-300WM1) Gasket (for SBP-300WM) RUBBER HOUSING BRACKET ADAPTOR 4_ overview... - Page 5 Appearance Item Name Quantity MOUNT CAP MOUNT CAP fastener M10 x L22 screw (to attach the install bracket) M8 x L20 screw (to attach the housing) M3 x L6 screw (to attach the bracket adaptor and media convert) M10 x L12 wrench bolt (to attach SBP-300WM) M10 x L20 wrench bolt (to attach SBP-300WM1) M4 x L8 screw (to attach the media convert) English _5...
-
Page 6: Installation & Connection
installation & connection INSTallaTION 1. Push the locking lever on the door to separate the housing and door. DOOR LOCKING LEVER HOUSING LOCKING LEVER 2. Undo the four screws to separate the bracket adaptor. Lock the unused piping hole with the attached mount cap. Use a mount cap fastener to attach the mount cap. - Page 7 3. Remove the double-sided tap on the rear side of the gasket and affix it to the door. Attach the wall mount to the door using the four M10 screws. < Tighten each of the four screws a little at a time so that the wall mount is evenly pressed to the gasket.
- Page 8 installation & connection 4. Attach the install bracket to the wall, corner mount (SBP-300KM) or pole mount (SBP-300PM) using the M10 screws. Only use the 4 screws included in the accessories as shown in the image below. Screw (circular head, with M10 x L22 screw) •...
- Page 9 5. Place the housing on the install bracket as shown in the image. To install it on the wall, attach the rubber housing as shown in the figure. The rubber is not waterproof. It is decorative only, serving to hide a gap. Therefore, if the cable is inserted into the main body separately and not through the duct on the wall, the insertion point of the cable must be completely waterproof.
- Page 10 installation & connection 7. Insert the external cable into the main body using a pipe. Wrap the thread of the pipe screw with Teflon tape to protect against water leakage problems. (Make sure that water leaks will not cause a problem at the cable insertion point.) CABLE Teflon tape 8.
- Page 11 9. Pull the cable out through the door and wall mount and mount the door on the housing. (Return the locking lever to its original position and check that the hinge is properly attached to the housing.) LOCKING LEVER Wall Mount Cable HOUSING DOOR...
-
Page 12: Appendix
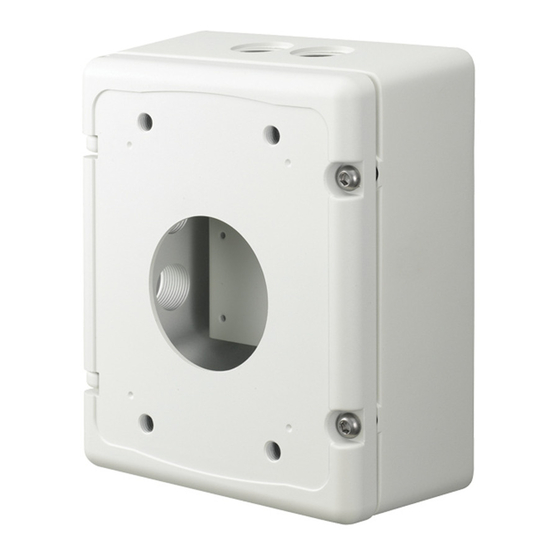
appendix SpECIfICaTION Items Description Dimensions (mm) W185.0 x D221.0 x H94.3 (mm) Weight 3.4kg Material STEEL, ALUMINUM, SILICON Color IVORY prOduCT OvErvIEW Unit : mm (inch) 12_ appendix... - Page 13 MEMO...
- Page 14 SALES NETWORK SAMSUNG TECHWIN CO., LTD. 6, Pangyo-ro 319beon-gil, Bundang-gu, Seongnam-si, Gyeonggi-do, SEOUL 463-400 Rep. of KOREA Tel : +82-70-7147-8753, 8764 Fax : +82-31-8018-3740 www.samsungsecurity.com SAMSUNG TECHWIN AMERICA Inc. SAMSUNG TECHWIN EUROPE LTD. 100 Challenger Rd. Suite 700 Ridgefield Park, NJ 07660 2nd Floor, No.
Need help?
Do you have a question about the SBP-300NB and is the answer not in the manual?
Questions and answers