Table of Contents
Advertisement
Quick Links
Advertisement
Table of Contents

Subscribe to Our Youtube Channel
Related Manuals for ASUNA 7700


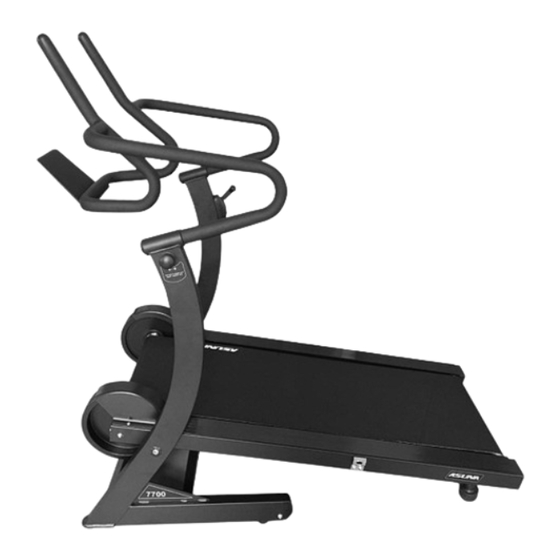
Summary of Contents for ASUNA 7700
- Page 1 ASUNA 7700 HI-PERFORMANCE CARDIO TRAINER...
-
Page 2: Table Of Contents
INDEX IMPORTANT SAFETY INFORMATION………………………………………………………… EXPLODED DIAGRAM………………………………………………………………………….. PARTS LIST……………………………………………………………………………………….. TOOLS & HARDWARE………………………………………………………………..…….. ASSEMBLY INSTRUCTIONS………………………………………………………………..FOLDING INSTRUCTIONS……………………………………………………..……………..… MOVING INSTRUCTIONS……………………………………………………………………..… ADJUSTMENTS GUIDE…………………………………………………………………………. LUBRICATION…………………………………………………………………………………….. ATTENTION: Please verify that all parts associated with this product are in good condition and accounted for. During the assembly process, please be sure to follow each step accordingly, as it has been explained within this manual. -
Page 3: Important Safety Information
IMPORTANT SAFETY INFORMATION We thank you for choosing our product. To ensure your safety and health, please use this equipment correctly. It is important to read this entire manual before assembling and using the equipment. Safe and effective use can only be achieved if the equipment is assembled, maintained, and used properly. -
Page 4: Exploded Diagram
Exploded Diagram... -
Page 5: Parts List
Parts List DESCRIPTION SPEC. DESCRIPTION SPEC. Main Frame Wire Plug Base Frame Left Cover Handrail Right Cover Connecting Tube Seat Magnetic Box Rear Roller Cover Screw M8*70 Bolt Pinch Plate Screw M8*40 M8*55 thread length 16*Φ12*40L Sleeve Screw 25mm Φ15*8.2*9.5L Small Sleeve Screw M8*10... -
Page 6: Assembly Instructions
Assembly Instructions STEP 1: Make sure the area on the floor is clear. Hold the position A of Main Frame (No. 1), then pull the Three-In-One Bolt (No. 13) to release the Running Board (No. 19). Slowly lower the Running Board (No. -
Page 7: Folding Instructions
Folding Instructions Hold the bottom of the Main Frame (No. 1) at Position A and lift up. Push Main Frame (No. 1) upward gently. Make sure the Three-In-One Bolt (No.13) catches in the hole on the side of the Running Board (No. 19) securely. -
Page 8: Moving Instructions
Moving Instructions Hold Handrail (No. 3) at the bend, then tilt the treadmill toward you. when the Transportation Wheels (No. 21) touch the ground. You can move the treadmill forward or backward. Adjustments Guide ADJUSTING RESISTANCE The Tension Switch (No. 14) has 8 levels. To increase resistance, move the Tension Switch (No. -
Page 9: Cushion 6
ADJUSTING THE INCLINE To adjust the incline, fold the treadmill first. Adjust the incline of the treadmill by turning the Feet Cushions (No. 22) at the bottom of the treadmill. To increase the incline, turn the Feet Cushions (No. 22) counter-clockwise. To decrease the incline, turn the Feet Cushion (No. -
Page 10: Lubrication
Lubrication *IMPORTANT NOTE: You will need to lubricate your treadmill before the first use. RUNNING BELTS & TREADMILL LUBRICANT: Lubricating the Running Board (No. 19) and Running Belt (No. 20) is essential as the friction between the two affects the life span and function of the treadmill. It is suggested that the Running Board (No.
Need help?
Do you have a question about the 7700 and is the answer not in the manual?
Questions and answers