Table of Contents
Advertisement
Quick Links
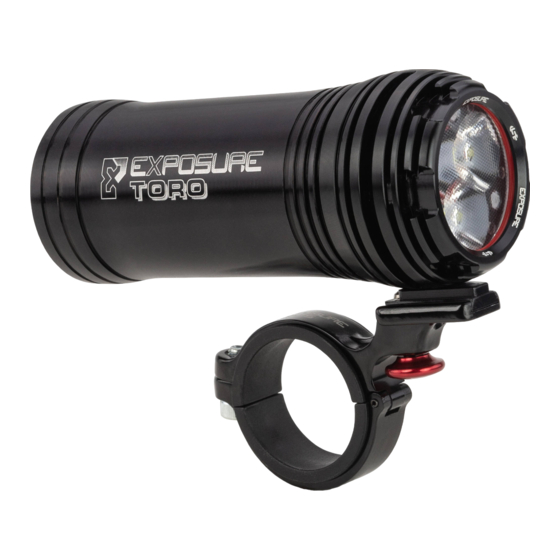
SIX PACK MK9 • MAXX D MK11 • TORO MK10 • RACE MK13
STRADA SB • STRADA RS • STRADA SL
CHARGING
Fully Charge your light before first use.
Locate the charging port by pulling away the silicone Storm Cap.
Fully insert either the Smart Charger or USB top up cable and begin charging from a mains or USB
supply respectively.
If you are using the Smart Charger the LED on the charger will go red for the first 95% and then go
green for the trickle charge.
On the back of the light the OLED display screen will show the approximate charge level, once the
light says '100%' leave it charging for a further hour. The percentage shown is most accurate when
the light is in operation.
APPROX MAINS CHARGER TIMES
SIX PACK
MAXX D
TORO
RACE
STRADA SB
STRADA RS
STRADA SL
*3 hours from 500mA source
with supplied USB cable.
IMPORTANT:
•
After charging is complete, remove the charging cable from the light (if the light is left
connected with the charger off, the light can switch on)
•
Replace the Storm Cap to prevent ingress of mud and grit
•
Do not charge the light with the lens face down or in contact with any potentially
combustible surface
•
Do not charge the light in an enclosed space
NOTE: If you are charging your light from when its battery level is very low you may see a code appear
on the OLED screen resembling 'M00145'. This is a recalibration code and nothing to worry about.
8 HRS
6 HRS
6 HRS
6 HRS
6 HRS
6 HRS
3 HRS*
USER GUIDE
FUNCTION
BUTTON
OLED
SCREEN
STORM CAP
(CHARGE PORT
/SMART PORT)
Advertisement
Table of Contents

Related Manuals for Exposure Lights SIX PACK MK9


Summary of Contents for Exposure Lights SIX PACK MK9
- Page 1 USER GUIDE SIX PACK MK9 • MAXX D MK11 • TORO MK10 • RACE MK13 STRADA SB • STRADA RS • STRADA SL CHARGING Fully Charge your light before first use. Locate the charging port by pulling away the silicone Storm Cap.
- Page 2 LIGHT OPERATION & BATTERY LIFE Located on the back of the light is the stainless-steel Function Button, OLED display screen and two LEDs. The OLED screen and LEDs indicates both mode and battery life remaining. To turn the light on press the function button twice in quick succession, the light will then turn on in the brightest mode.
- Page 3 HANDLEBAR MOUNTING The handlebar bracket is designed for 35mm and 31.8mm handlebar diameters. For 35mm handlebars remove the black, thermoplastic shim. For ease of installation remove the light from the bracket. The bracket should be mounted as close to the stem as possible so that the tapering of the handlebars does not affect the clamp. If your bike has a 25.4mm diameter handlebar an appropriate bracket can be purchased from your local Exposure Dealer.
- Page 4 OPTIMISED MODE SELECTOR (OMS) OMS allows you to select a burn time tailored to your needs from several programs. Burn time and lumen output are directly proportional, if you double the burn time, you halve the lumen output. Etched onto the side of the light is a table showing the different modes and burn times available within these different programs.
- Page 5 REFLEX+ (OFF ROAD LIGHTS ONLY) Reflex+ Technology uses thermistors, gyros and accelerometers built into the light to adapt brightness based upon air flow, gradient and cornering forces. The light will flare up for fast, rough descents and dim for slow climbing. Reflex+ is found in the High Mode of Programs 1- 3 of the Off Road lights (see OMS section).
- Page 6 Do not charge the light in an enclosed place, or with the lens in contact with potentially combustible material. Exposure Lights / Ultimate Sports Engineering Ltd. accept no liability for any injuries or other damages arising from the use of their product in any circumstances.
Need help?
Do you have a question about the SIX PACK MK9 and is the answer not in the manual?
Questions and answers