Draytek VigorAP 903 Quick Start Manual
802.11ac access point
Hide thumbs
Also See for VigorAP 903:
- User manual (153 pages) ,
- Quick start manual (17 pages) ,
- Quick start manual (16 pages)
Table of Contents
Advertisement
Quick Links
Advertisement
Table of Contents

Related Manuals for Draytek VigorAP 903


Summary of Contents for Draytek VigorAP 903
-
Page 2: Quick Start Guide
Declaration of Conformity Hereby, DrayTek Corporation declares that the radio equipment type VigorAP 903 is in compliance with Directive 2014/53/EU The full text of the EU Declaration of Conformity is available at the following internet address: http://www.draytek.com.tw/ftp/VigorAP 903/Document/CE/... -
Page 3: Package Content
Package Content Take a look at the package content. If there is anything missed or damaged, please contact DrayTek or dealer immediately. Access Point Antenna RJ-45 Cable (Ethernet) Quick Start Guide The type of the power adapter depends on the country that the AP will be... -
Page 4: Descriptions Of Components
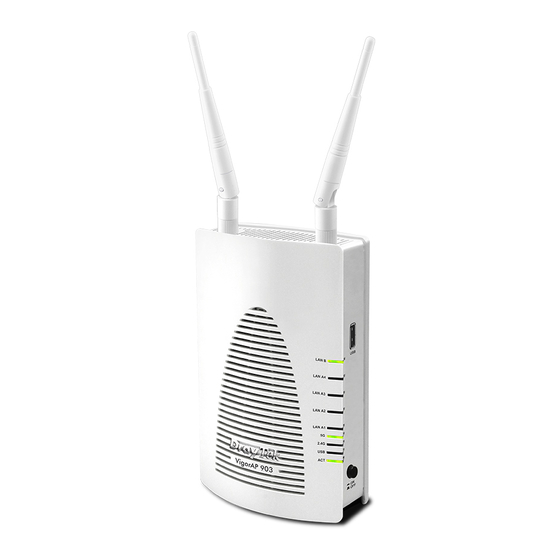
Descriptions of Components Status Explanation The system is not ready or is failed. Blinking The system is ready and can work normally. A USB device is connected and active. Blinking The data is transmitting. 2.4G Wireless function is ready. Wireless function is not ready. Blinking Data is transmitting (sending/receiving). - Page 5 Interface Description Wireless band will be switched /changed according to the button pressed and released. For example, 2.4G (On) and 5G (On) – in default. 2.4G (Off) and 5G (On) – pressed and released the button once. 2.4G (On) and 5G (Off) –...
-
Page 6: Installation
VigorAP 903 User’s Guide. 2. Connect a computer to other available LAN A port. Make sure the subnet IP address of the PC is the same as VigorAP 903 management IP, e.g., 192.168.1.X. 3. Connect the A/C power adapter to the wall socket, and then connect it to the PWR connector of the access point. - Page 7 For wall-mounting, refer to the following steps. 1. Drill two holes on the wall. The distance between the holes shall be 80mm. The recommended drill diameter shall be 6.5mm (1/4”). 2. Fit screws into the wall using the appropriate type of wall plug. 3.
- Page 8 Note dynamically from the router or set up the IP address of the computer to be in the same subnet as the IP address of VigorAP 903. If there is no DHCP server on the network, then VigorAP 903 will have an IP address of 192.168.1.2.
- Page 9 3. For the first time accessing VigorAP, the Quick Start Wizard for configuring wireless settings will appear as follows. 4. Specify an operation mode (Access Point, Mesh Root, Mesh Node or Range Extender) and click Next Step. Here, we choose Access Point.
- Page 10 5. In this page, set the configuration for wireless LAN (for both 2.4GHz and 5GHz) and click Next Step. 6. In this step, change the default password for such device with new value. Then click Next Step.
- Page 11 You should do this immediately in order to prevent users from accessing the VigorAP’s management interface and changing settings. 7. Now, a summary of settings configuration will be shown on screen. Click Finish. The system will make a connection automatically. Open Dashboard to see the wireless connection.
- Page 12 After downloading the APP, a mobile user is able to access and login the configuration page of VigorAP. See the following figure. At present, such application is only useful for DrayTek access point (e.g., VigorAP 920R series, VigorAP903). In addition, the mobile user can find such VigorAPP through Apple Store / Android...
-
Page 13: Gnu General Public License
This equipment should be installed and operated with a minimum distance of 20 centimeters between the radiator and your body. This DrayTek product uses software partially or completely licensed under the terms of the GPL Notice GNU GENERAL PUBLIC LICENSE. The author of the software does not provide any warranty.
Need help?
Do you have a question about the VigorAP 903 and is the answer not in the manual?
Questions and answers