Advertisement
Quick Links
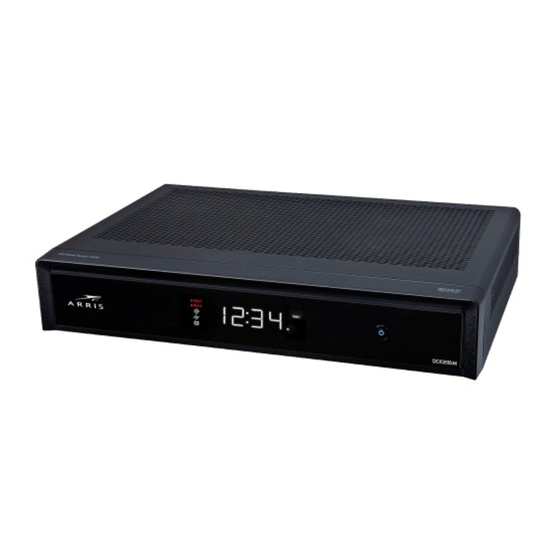
Shaw HDPVR Box
Installation Instructions
What's in the box
Cable Cord
(Coax)
Shaw Remote
Hook up your new hardware
A.
Your serial number, "Host SN," is located on the back of the HDPVR (next
to the number 3) and starts with the letter "M." Alternatively, you can find the
serial number on the white sticker label on the HD box packaging. You can find
your Account number on the mailing label.
Wall Outlet
Cable Out
(Approximate hardware setup time: 10 - 15 minutes)
Power Pack
ARRIS DCX 3510-M HDPVR
Cable In
HDMI Cable
B.
Find a location to put your new hardware
that will allow it to breathe.
C.
Screw one end of the included white cable
cord (with silver ends) into your wall cable
outlet and the other end into CABLE IN
on the back of the HDPVR. For an optimal
viewing experience, we recommend using
the included cable cord instead of any others
that you might have around.
IR Receiver +
Tether Cord
(Optional Use)
Splitter
(Optional & not included
in all packaging)
Serial number
Advertisement

Related Manuals for Arris DCX 3510-M


Summary of Contents for Arris DCX 3510-M
- Page 1 HDMI Cable IR Receiver + (Coax) Tether Cord (Optional Use) Shaw Remote ARRIS DCX 3510-M HDPVR Splitter (Optional & not included in all packaging) Serial number Hook up your new hardware Your serial number, “Host SN,” is located on the back of the HDPVR (next to the number 3) and starts with the letter “M.”...
- Page 2 Television Connect the included HDMI cable (black cable with flat gold ends) from the HDPVR to your TV. Both video and audio travel through the HDMI cable. Note the input you plug your HDMI cable into on the back of your TV (e.g. HDMI 1, HDMI 2, etc.).
Need help?
Do you have a question about the DCX 3510-M and is the answer not in the manual?
Questions and answers