Advertisement
Quick Links
Step 1: Place the umbrella frame with canopy on a soft, clean surace to
prevent damage during the replacement process.
Step 2: Take the cap off of
the long arm.
Step 4: Pull apart the velcro on the under side of the canopy.
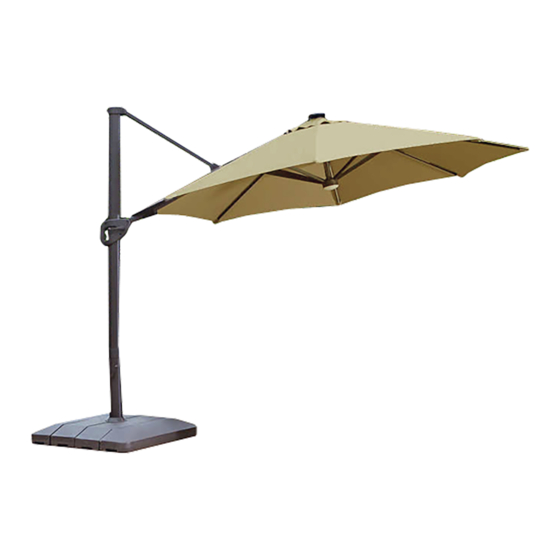
Replacement and Operation Manual
Item: 1900675, 1237133, 1900766, 9636963
Step 3: Remove the bolt with
the hex key.
1
11ft Offset Umbrella
Crank Rope
Advertisement

Related Manuals for Atleisure 1900675


Summary of Contents for Atleisure 1900675
- Page 1 11ft Offset Umbrella Crank Rope Replacement and Operation Manual Item: 1900675, 1237133, 1900766, 9636963 Step 1: Place the umbrella frame with canopy on a soft, clean surace to prevent damage during the replacement process. Step 2: Take the cap off of Step 3: Remove the bolt with the long arm.
- Page 2 Step 5: Remove the solar panel, then pull the rib out of the canopy pocket. Step 7: Remove the `cap Step 6: Remove the cover from the cover. underneath the lower rib holder. Step 9: Remove the cap Step 8: Untie the knot. covering the bolts attaching the pole and the long main arm.
- Page 3 Step 10: Remove the bolts attaching the pole and long main arm. Please note you must use the hex key to hold the bolts tight on one side while removing with the wrench on the other. Step 12: Squeeze the glide Step 11: Use the hex key to handle and slide the handle all remove the bolts attaching the...
- Page 4 Step 14: Assemble the new glide handle with the crank and the plastic connector. Please note that there is another pulley inside of the plastic connector. The glide handle, crank, bolts, and rope must be connected as shown above to function properly. Hold bolt in place Step 16: Squeeze the glide handle Step 15: Insert the bolts.
- Page 5 Step 18: After the hook is inserted, hook it through the rope (which should be through the glide handle) and pull the rope through with the hook. Step 19: After the rope is pulled through, ensure that the rope is on top of the pulley, as well as in the pulley groove.
- Page 6 Step 21: Make sure that the rope is going through as shown. Step 22: Use the steel wire hook to pull the rope out of the hole on the upper pole holder. Step 24: Pull the rope out of the upper rib holder, then through the Step 23: Take the cover off rib holder support bar.
- Page 7 Step 25: After the rope has gone through the rib holder support bar, put the cover back onto the rib holder support bar. Step 26: Insert the rope through the lower rib holder, then through the cap, then put the cap back into the lower rib holder. Put the rope through the nut, then tie a knot, as shown above.
- Page 8 Step 28: Put the canopy back onto the frame as shown above, making sure that the canpy hole is placed correctly over the rib holder. Screw on the solar panel. Step 29: Fasten velcro back together on the long arm and then screw in the bolt with the hex key.
- Page 9 ATLeisure, LLC 1040 Boulevard SE, Suite B Atlanta, Georgia 30312, USA Customer Service Toll Free 1-855-880-7205 8am - 5pm Eastern Time, Monday through Friday www.atleisure.com...
Need help?
Do you have a question about the 1900675 and is the answer not in the manual?
Questions and answers