Table of Contents
Advertisement
Quick Links
Advertisement
Table of Contents

Summary of Contents for Neptune WXM
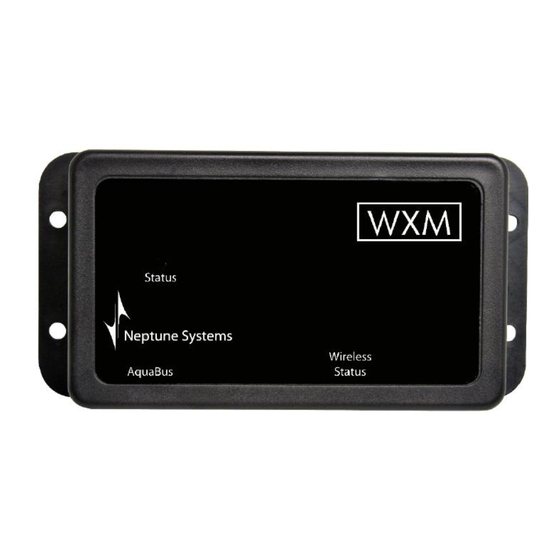
- Page 1 Apex Wireless Expansion Module (WXM) Setup Guide...
-
Page 2: Table Of Contents
PHYSICAL INSTALLATION ....................3 Initial Connections ......................4 Startup ..........................4 VERIFY THE INSTALLATION ................... 4 UPDATE WXM FIRMWARE ....................4 ECOTECH PUMP DRIVER FIRMWARE UPDATE ..............5 WWD Firmware Update ....................... 6 EcoSmart Manual Firmware Update ..................7 EcoSmart Automatic Firmware Update .................. 9 CONFIGURING THE WXM .................... -
Page 3: Wireless Expansion Module - Introduction
Apex Base Module firmware to 4.03 or higher before proceeding with the installation. See the Apex Setup and Programming Guide for firmware upgrade instructions. The AquaController WXM should be securely mounted as close as possible to the EcoTech Marine Wireless Wave Driver (WWD) or EcoSmart driver in a location free from moisture. -
Page 4: Initial Connections
INITIAL CONNECTIONS Plug one end of the included AquaBus cable into one of the AquaBus ports on the WXM and the other end into an available AquaBus port on your existing Apex system. It makes no difference which AquaBus port is used and you do not need to power down the system when connecting AquaBus accessories as the system is plug-and-play. -
Page 5: Ecotech Pump Driver Firmware Update
Configuring the WXM. If your pump needs a firmware update, it can be upgraded through the WXM. To update WWD pumps follow the steps outlined in the section titled WWD Firmware Update. To... -
Page 6: Wwd Firmware Update
Apex Display: Setup – Module Setup – Config Module 1) If you have more than one WXM connected to the Apex, use the up and down arrows to highlight the WXM that is within 2 feet of the pump to be updated and press Select. -
Page 7: Ecosmart Manual Firmware Update
Apex Display: Setup – Module Setup – Config Module 1) If you have more than one WXM connected to the Apex, use the up and down arrows to highlight the WXM that is within 2 feet of the pump to be updated and press Select. - Page 8 For example, 3 green blinks followed by 1 blue blink indicates version 3.1. 8) To update more EcoSmart pumps, repeat steps 4 through 8. Web Interface: This option is not available from the Web Interface. Apex Wireless Expansion Module (WXM) - Setup Guide Page 8...
-
Page 9: Ecosmart Automatic Firmware Update
EcoTech Marine pumps can interfere with the update process. Apex Display: Setup – Module Setup – Config Module 1) If you have more than one WXM connected to the Apex, use the up and down arrows to highlight the WXM where the pump is connected and press Select. -
Page 10: Configuring The Wxm
If the pump flashes blue/red, the attachment failed. Retry the procedure starting at step 1. 3) Once the pump has been attached to the WXM, an Apex Outlet will be created to allow programming of the pump. The first pump attached will be named VorTech_X_1 and the second VorTech_X_2. -
Page 11: Programming Pumps
Once the EcoTech Marine pumps have been attached to the WXM by following the steps in the section titled Configuring the WXM, an outlet is added to the Apex system that is used to program the pump. Basic programming instructions are included in this manual but more... - Page 12 The maximum intensity as well as the master pump to Anti-Sync with is specified in this profile type. Anti-Synchronizing a non-EcoSMART pump to an EcoSMART pump running the Tidal Swell or Nutrient Transport mode is not possible. Apex Wireless Expansion Module (WXM) - Setup Guide Page 12...
-
Page 13: Advanced Program Example
Set antiSync If Time 8:00 to 9:00 Then Sync If Time 12:00 to 13:00 Then Sync If Time 16:00 to 21:00 Then Sync If Time 22:00 to 06:00 Then Night Apex Wireless Expansion Module (WXM) - Setup Guide Page 13... - Page 14 20:00 to 21:00 Pulse Pulse (sync to left pump) 21:00 to 22:00 Pulse Pulse (anti-sync to left pump) 22:00 to 06:00 Constant (50%) Constant (50%) Table 4 - Pump States Apex Wireless Expansion Module (WXM) - Setup Guide Page 14...
-
Page 15: Neptune Systems Limited Warranty
1 year from the date of purchase. If repair or adjustment is necessary and has not been the result of abuse, Neptune Systems warrants this product to be free from defects in material and workmanship for a period of 1 year from the date of purchase. - Page 16 Apex Wireless Expansion Module (WXM) - Setup Guide Page 16...
- Page 17 Attach Radions to WXM Now we will attach the Radions to the WXM. Upon doing this you will no longer be able to connect your lights to ESL without going through the connection manager. You will only be able to connect them to the WXM, not both the WXM and ESL simultaneously.
- Page 18 Now would be a good time to add the new light outlet to your Dashboard (for instructions on how to do this, see the Comprehensive Reference Manual or visit the Neptune Community Forum at http://forum.neptunesystems.comand look in the Dashboard forum).
- Page 19 Once you’ve defined your weather profile, you can incorporate it a variety of ways. The simplest is to just set some times during the day you want weather. For example: Fallback OFF Set OFF © 2013 Neptune Systems LLC – Morgan Hill, CA, USA...
- Page 20 If Time 08:00 to 10:00 Then RampUp If Time 10:00 to 16:00 Then Day If Time 16:00 to 18:00 Then RampDn If Time 11:00 to 12:00 Then weather If Time 17:00 to 17:30 Then weather © 2013 Neptune Systems LLC – Morgan Hill, CA, USA...

Need help?
Do you have a question about the WXM and is the answer not in the manual?
Questions and answers