Advertisement
Advertisement
Table of Contents

Related Manuals for Aleko Inflatable SPA


Summary of Contents for Aleko Inflatable SPA
- Page 1 ALEKO INFLATABLE SPA Owner’s Manual...
-
Page 2: Important Safety Instructions
IMPORTANT SAFETY INSTRUCTIONS WARNING 1: The appliance should be supplied through a residual current device (RCD) with a rated tripping current not exceeding 30 mA. WARNING 2: Electric installations should fulfill the requirements of local standards. Earthed appliances must be permanently connected to fixed wiring WARNING 3: If the supply cord is damaged, it must be replaced by the manufacturer or its service agent or... - Page 3 WARNING16: Risk of accidental drowning. Extreme caution must be exercised to prevent unauthorized access by children. To avoid accidents, ensure that children cannot use this spa unless they are supervised at all times. WARNING17: During pregnancy, soaking in hot water may cause damage to the unborn fetus. Limit use to 10 minutes at a time.
- Page 4 CAUTION 3: Place only on surface that can withstand the floor loading requirement of your spa. CAUTION 4: The spa should not be setup or left out in temperature lower than 4° C (40° F). CAUTION 5: Never add water to chemicals. Always adding chemicals to water may result in a hazardous chemical spray. CAUTION 6: In order to avoid a hazard due to inadvertent resetting of the thermal cutout, this appliance must not be supplied through an external switching device, such as a timer,...
-
Page 5: Specifications
SPECIFICATIONS SKU NO. HTIO2BKW Color Black& White Number of people: Water capacity: 550L/145 gallons External diameter: L 1.90 m/75”;W 1.20 m/ 47" Internal diameter: L 1.50 m/59”;W 0.8 m/ 31.5" Height: 0.65 m/25.6” 85 X φ 3 mm Number of air jets: Heating device: 900W/1.22HP Bubble:... -
Page 6: Installation Instruction
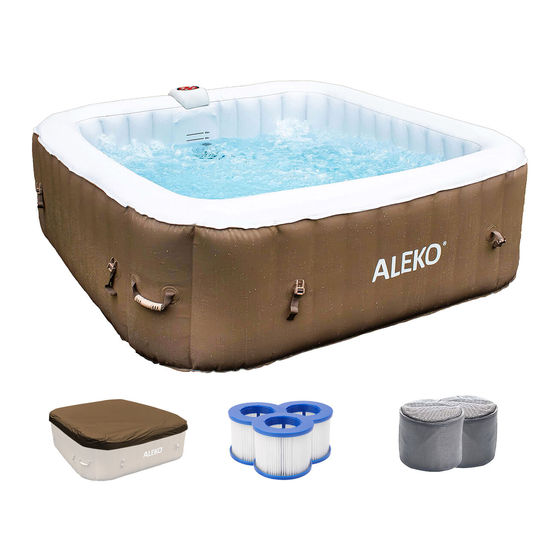
INSTALLATION INSTRUCTION A Ensure to check all parts are present: Spa pool PU cover with foil and zipper c. Inflation hose Filter cartridge Filter cartridge cover f. Rubber plug Repair kit B Site requirements: WARNING1: The floor has to be capable of supporting the expected load. - Page 7 NOTE: Do not install the spa on carpet or other material that can be damaged by moisture. b) Outdoors installation: 1. No matter where you install the spa, it is important you have a solid support foundation. If you are installing the spa outdoors, ensure there are no sharp objects that could damage it and that the location is level so the spa sits stably and properly.
- Page 8 4. Inflate the spa tub by pressing the “Jet” button. When the spa is properly inflated, press the “Jet” button to shut off the bubbles. Attention 1: Do not over inflate. Attention 2: If you want inflation when the spa has filled water, you must put on the Jets 2-3minutes by pressing the “Jet”...
- Page 9 8. Fill the spa using a garden hose to fill to the water level printed on the spa wall. 9. Place the cover onto the spa, fasten the zipper.
-
Page 10: Operation
OPERATION A You must ensure the water in the spa matches the water line printed on the spa wall. Never dry-run the power pack as such type of operation will void the warranty. B Control panel FILTER Key - On-off key for the filtration system. Press this key, and the filter pump will start working and the red indicator lamp will be on. - Page 11 HEATER Key - On-off key for the heating system. Press this key the heating system will start working and the red indicator lamp will be on. Press again and the heating system will stop working and the lamp will be off. When pressing down the key ‘HEATER’, the heating system will start working and the red indicator lamp will be on.
- Page 12 Base of the controller is made of environmental-friendly PU material that is soft and comfortable. Surface of the base can be washed. The controller is chrome-plated, which meets ROHS standards. Surface films are glued to the controller by marine glue. Body of spa: Water filling of water tank body: water should be filled to a position 20mm higher than the water line.
- Page 13 agents with calcium ions must not be used. If chemical agents with calcium ions are used for water treatment, there will be very likely to form scales on the walls of water tank and inner heating pipes. Water scales will directly damage the inner electrical components inside the control cabinet and further affect the service life of control cabinet.
- Page 14 Make sure to unplug the power pack from the electrical receptacle before the following actions. Unscrew the filter cartridge by turning counterclockwise. Remove the filter cartridge cover. 4. The filter cartridge can be rinsed off with a garden hose and reused. However, if the filter cartridge remains soiled and discolored the filter cartridge should be replaced.
- Page 15 C Drainage 1. Make sure to unplug the power pack from the electrical receptacle. 2. Put the plastic plug into the outlet in the inner wall of the spa.
- Page 16 3. Open the outlet in the outer wall of the spa. Screw one end of inflation hose into it. 4. Pull the plastic plug off from the outlet in the inner wall of the spa, then the water will flow out. 5.
-
Page 17: Troubleshooting
the spa. We recommend the use of a wet/dry vacuum to blow out or suck up water from the spa pipes and pump lines. Remove the filter cartridge. It is recommended you store the spa in its original package in a warm dry place. Note: Plastic becomes brittle and susceptible to breakage when exposed to subzero temperatures. -
Page 18: Safety & Announcements
Zone 1 Note: The measured zone dimensions are limited by walls and fixed partitions. Above figure—Zone dimensions of swimming pools and padding pools. SAFETY & ANNOUNCEMENTS 1. A local supplementary equipotent bonding shall connect all extraneous conductive parts in Zones 0, 1 and 2 with protective conductors of all exposed conductive parts situated in these zones. - Page 19 They can take this product for environmental safe recycling. Copyright 2016 ALEKO. All rights reserved. No part of this manual may be reproduced or transmitted in any form or by any means without the express written permission of ALEKO.
Need help?
Do you have a question about the Inflatable SPA and is the answer not in the manual?
Questions and answers
My hot tub is coding HL reset and the temp climbed to 115 is the high limit sensor bad?
Yes, if your Aleko Inflatable SPA is showing an HL reset code and the temperature reached 115°F, it is likely that the high limit sensor is malfunctioning or triggered due to overheating. The HL code typically indicates that the water temperature has exceeded the safe operating limit. A temperature of 115°F is above the normal maximum setting of 42°C (107.6°F), suggesting a possible sensor failure or heating system issue.
This answer is automatically generated