Table of Contents
Advertisement
Quick Links
Advertisement
Table of Contents

Subscribe to Our Youtube Channel
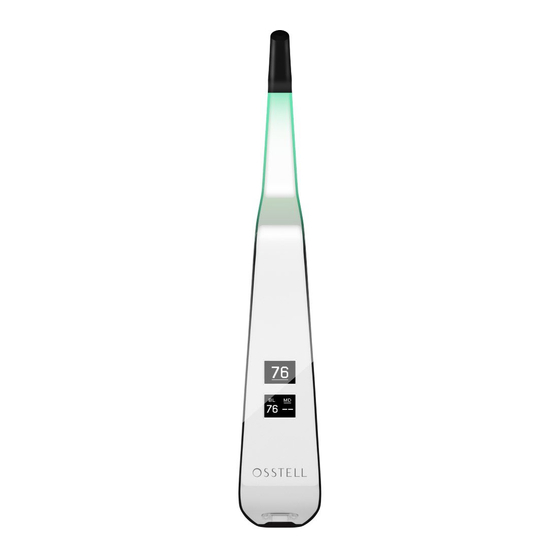
Summary of Contents for Osstell Beacon
- Page 1 Osstell Beacon USER MANUAL osstell.com...
-
Page 2: Table Of Contents
Do not place the instrument on the patient’s body. A transparent, barrier sleeve must be used to cover the Osstell Beacon when used on patients. See section 11 for recommend- ed sleeves and section 15 for information on recommended cleaning. -
Page 3: Warnings And Precautions
See section 4, 5 and 10 for information about approved and compatible accessories. 3) Intended Use Osstell Beacon is intended for use as a Dental Implant Stability Analyzer. 4) Indication for use Osstell Beacon is indicated for use in measuring the stability of implants in the oral cavity and craniofacial region. -
Page 4: Safety Symbols
Osstell USB cable Osstell SmartPeg Mount Osstell TestPeg Osstell Key Osstell Beacon Manual Applied Parts: Osstell Beacon instrument tip and thin part of body. 6) Safety Symbols Caution Follow instructions for use Consult instructions for use See section 2) Warnings and Precautions... -
Page 5: Before You Start
A outlet of a PC, laptop or charger. The Osstell Beacon will start-up and enter charging mode. Charge the Osstell Beacon for at least 3 hours or until the Osstell Beacon indicates full charge. Remove the Osstell USB cable. -
Page 6: Smartpeg
Smartpeg. 2. Place a barrier sleeve over the Osstell Beacon instrument. See fig 1. 3. Place the SmartPeg into the SmartPeg Mount. The SmartPeg is magnetic, and the SmartPeg Mount will hold the SmartPeg. -
Page 7: How To Measure On An Abutment
5. Do not measure from above. See fig 5. 6. Repeat step 4 and the sequence starts over and the Osstell Beacon is ready for measurement in the BL (Buccal- Lingual) direction again. See fig 3. -
Page 8: Data Connection To Osstell Connect
Before you can start using data connection to Osstell Connect you have to register your Osstell Beacon. The serial number can be found on the back of the instrument. For registration assistance and features of data connection to Osstell Connect, please visit: osstell.com/get-started-beacon... -
Page 9: Technical Information
4 levels: 100 % (fully charged), 75 %, 50 % and less than 25%. When the level is less than 10 %, the Osstell Beacon will change the battery symbol to alert that it is time to charge the instrument. -
Page 10: Troubleshooting
Accuracy The Osstell Beacon instrument has an ISQ accuracy/resolution of +/- 1 ISQ. When the SmartPeg is attached to an implant, the ISQ value can vary up to 2 ISQ depending on SmartPeg attachment torque. Power, weight & size: Lithium-ion battery: 3.7V DC... -
Page 11: Service And Support
Unit is not charging when USB cable is connected Wrong USB cable used. Only use Osstell USB cable connected to a standard USB type connector. Instrument does not start Uncharged battery. Charge the Osstell Beacon. Instrument in transport mode. See section 7 for instruction on how to de-activate transport mode. - Page 12 Osstell AB Stampgatan 14, 411 01 Göteborg, Sweden Phone: +46 31 340 82 50 | info@osstell.com www.osstell.com...


Need help?
Do you have a question about the Beacon and is the answer not in the manual?
Questions and answers