Table of Contents
Advertisement
Quick Links
Advertisement
Table of Contents

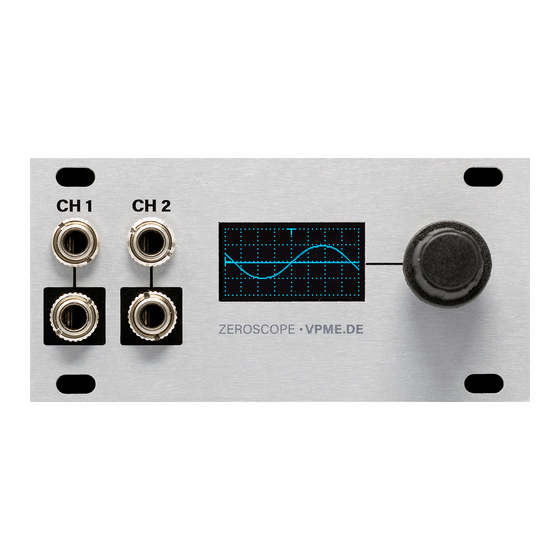
Summary of Contents for Intellijel Zeroscope 1U
- Page 1 1/8/2019 Zeroscope 1U Manual - Google Docs Zeroscope 1U Manual Zeroscope 1U Dual Channel Oscilloscope, Frequency Meter and Tuner Manual Revision: 2019.01.08 ...
- Page 2 1/8/2019 Zeroscope 1U Manual - Google Docs Zeroscope 1U Manual Table of Contents Table of Contents Compliance Installation Before Your Start Installing Your Module Front Panel Inputs & Outputs Controls Basic Operation Advanced Operation ...
- Page 3 (2) this device must accept any interference received, including interference that may cause undesired operation. Changes or modifications not expressly approved by Intellijel Designs, Inc. could void the user’s authority to operate the equipment. Any digital equipment has been tested and found to comply with the limits for a ...
-
Page 4: Installation
Before Your Start Intellijel Eurorack modules are designed to be used with a Eurorack-compatible case and power supply. We recommend you use Intellijel cases and power supplies. Before installing a new module in your case, you must ensure your power supply has a free ... -
Page 5: Installing Your Module
Eurorack case. Ensure the red stripe on the cable lines up with the -12V pins on the bus board. On Intellijel power supplies the pins are labelled with the label “-12V” and a thick white stripe: ... - Page 6 1/8/2019 Zeroscope 1U Manual - Google Docs Zeroscope 1U Manual Once connected, the cabling between the module and power supply should resemble the picture below: Before reconnecting power and turning on your modular ...
-
Page 7: Front Panel
4. CH 2 output: As with CH 1, the signal appearing at the CH 2 input jack is normalled to the CH 2 output jack, so signals pass unimpeded through the Zeroscope 1U. Controls ... -
Page 8: Basic Operation
1/8/2019 Zeroscope 1U Manual - Google Docs Zeroscope 1U Manual Basic Operation In its basic mode, Zeroscope 1U displays the waveforms for both CH 1 and CH 2, and gives you control over the display height of these two waveforms plus their displayed ... -
Page 9: Advanced Operation
1/8/2019 Zeroscope 1U Manual - Google Docs Zeroscope 1U Manual Advanced Operation Zeroscope 1U offers several advanced display and triggering options, located within a Advanced Settings menu. 1. Long-press (>1 sec) the encoder to open the Advanced Settings menu. ... - Page 10 1/8/2019 Zeroscope 1U Manual - Google Docs Zeroscope 1U Manual Scope Type With this option selected, push-turn the encoder to select what you want displayed on the Zeroscope. There are three options: Scope Standard graphical display, with time displayed on the X-axis and voltage ...
- Page 11 1/8/2019 Zeroscope 1U Manual - Google Docs Zeroscope 1U Manual Note Name Display The top line shows CH 1, and the second line shows CH 2. Zeroscope displays the note name closest to the incoming pitch, plus a vertical line ...
-
Page 12: Trigger Source
1/8/2019 Zeroscope 1U Manual - Google Docs Zeroscope 1U Manual Trigger Source With this option selected, push-turn the encoder to select how you want to trigger the Zeroscope. You have five triggering options: ... -
Page 13: Grid Display
1/8/2019 Zeroscope 1U Manual - Google Docs Zeroscope 1U Manual CH 2 Offset With this option selected, push-turn the encoder to set a display offset for the CH 2 waveform. ± 10V (-10000µV - +10000µV).


Need help?
Do you have a question about the Zeroscope 1U and is the answer not in the manual?
Questions and answers