Table of Contents
Advertisement
Quick Links
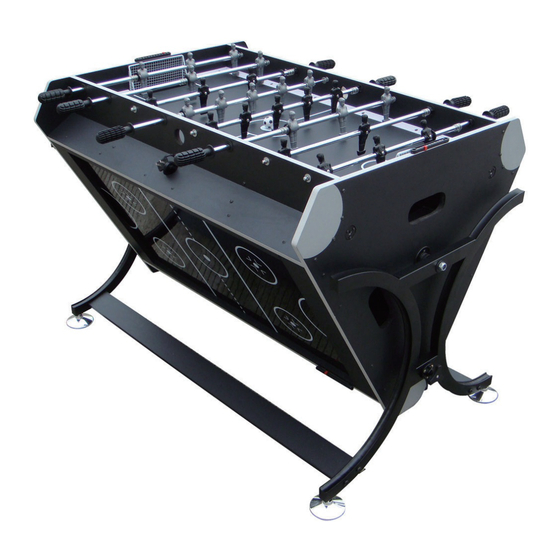
7IN 1 BLACK & SILVER ROTATING GAMES TABLE
Assembly Manual
Style#15-3112
Recommended for use by Age 12+
CAUTION
This game table has a polarized plug( one blade is wider than the other) as a safety feature to reduce the risk of
electronic shock. This plug will fit in a polarized outlet only in one way. If the plug does not fit in the outlet, reverse
the plug. If it still does not fit, contact a qualified electrician. Never use an extension cord unless the plug can't be
fully inserted. Do not alter the plug.
Warning: Two adults are needed to assemble.
Note: Assembly time is around 3 hours.
PARTS IDENTIFICATION
STEP.1
Screw #P27 to the legs#P31. Then use screw and washer(#P4, #P5) to connect the holder with the legs. Assemble
#P32 with #P31 as the order of #P1, #P3 and #P2.See Fig.1.
- 1 -
Advertisement
Table of Contents

Subscribe to Our Youtube Channel
Related Manuals for hayneedle 15-3112

Summary of Contents for hayneedle 15-3112
- Page 1 7IN 1 BLACK & SILVER ROTATING GAMES TABLE Assembly Manual Style#15-3112 Recommended for use by Age 12+ CAUTION This game table has a polarized plug( one blade is wider than the other) as a safety feature to reduce the risk of electronic shock.
- Page 2 FIG.1 STEP.2 Use the screw #P7 to connect #P32 with #P33. Please do not tighten the semi-assembled table. See Fig.2. Fig.2 STEP 3 Put # P37 inside #P32 and then insert #P33 long side shaft. Connect #P33 with #P32. See Fig.3 and Fig.4. FIG.3 FIG.4 - 2 -...
- Page 3 STEP.4 STEP.5 Turn the semi-assembled table at the soccer table. Put#P19 on the bottom plate and fix it on # P32 by the Put #P39 under the soccer table and fix #P39 by #P9. screw #P11. Connect #P34 with #P32 by screw #P7. See Fig.5. Screw#P21 on the top of #P32 by screw #P13.See Fig.6.
- Page 4 STEP.8 Put ball box #P29 at the entrance under the Air Hockey table. Fix them with screw#P12. Then put #P35 inside the semi-assembled table. Connect the table with long side board with screw #P8. Then tighten all screws. See Fig.9 and Fig.10 Fig.9 Fig.10...
Need help?
Do you have a question about the 15-3112 and is the answer not in the manual?
Questions and answers