Advertisement
Quick Links
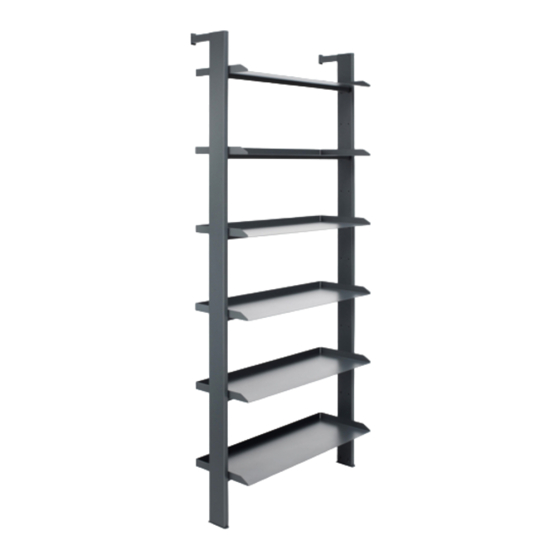
SCALA freestanding shelf
Assembly instruction
Included in delivery::
• 1 Allen key • Hexagon screws ( number of screws in accordance with height of STACK and number of
installation parts)
• 2 fixing brackets for each shelf/box, lacquered in the colour of shelf/box
1. Assembling Y-foot stand
Insert the Y-foot stand
into the sidebar. Fix it
with 4 screws.
2. Mounting fixing brackets
All fixing brackets are lacquered
according to the colour of the
shelf/box. Screw the apropriate
fixing bracket at the required
position onto the sidebar and
tighten it firmly .
(
)
3b. Or: Inserting first box
1
(2b)
(1) Screw 2 bolts with loose fitting onto
the sidebar.
(2) Attach the box from above.
müller möbelfabrikation GmbH & Co. KG - Werner-von-Siemens-Str. 6 - D-86159 Augsburg
Telefon: +49 (0) 821 59 76 73 80 - E-Mail: info@mueller-moebel.com - Web: www.mueller-moebel.com
Tighten all 4 screws
firmly (1) + (2), if there is
no shelf/box planned for
the 2 lowest levels.
Put the shelf onto the fixing bracket and screw it with loose
fitting from the bottom.
(
)
2a
(1)
(2)
Please note:
If a shelf or a box is planned at the 2
lowest levels, screw the apropriate fixing
bracket now firmly onto the sidebar (2).
3a. Either: Inserting first shelf
(1)
(2)
Screw it with loose fitting
from the bottom.
Advertisement

Subscribe to Our Youtube Channel
Related Manuals for Muller SCALA


Summary of Contents for Muller SCALA
- Page 1 SCALA freestanding shelf Assembly instruction Included in delivery:: • 1 Allen key • Hexagon screws ( number of screws in accordance with height of STACK and number of installation parts) • 2 fixing brackets for each shelf/box, lacquered in the colour of shelf/box 1.
- Page 2 7. Final fixing Finally tighten all screws with loose fitting underneath the shelves/boxes. For SCALA shelves with one or more intermediate bars repeat step 1-7 untill the last section has been completely fixed. Ensure that STACK is on level ground using the adjustable feet at the Y-foot stands.
Need help?
Do you have a question about the SCALA and is the answer not in the manual?
Questions and answers