Table of Contents
Advertisement
Quick Links
Smart Vent Installation Guide
Welcome to the Flair community!
Our users are energy nerds, home automation gurus, and HVAC Pros. If you have any questions, feel free to
check out the forums at f orum.flair.co .
If you don't see what you are looking for there, you can reach us at one of the following:
support@flair.co
+1 (800) 590 6943
Monday-Friday, 9am to 5pm PST
What's in the Box?
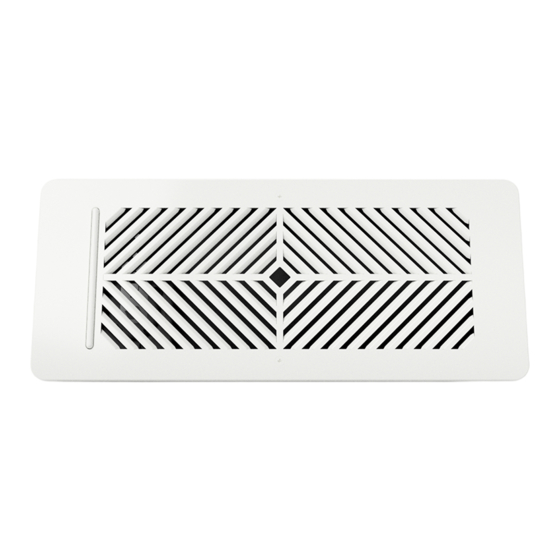
A. Smart Vent
B. 2 Mounting Screws
Assembly and Installation
1. Attach Bottom Battery Holder
Insert the Bottom Battery Holder into the back of
the vent. Screw in the two Battery Holder
Screws. Ensure the screws are fully inserted
and snug but d o not over tighten as you might
strip the plastic.
C. 2 C Cell Batteries
D. Bottom Battery Holder
E. Top Battery Holder
F. Battery Holder Screws
Over →
1
Advertisement
Table of Contents

Related Manuals for Flair Smart Vent


Summary of Contents for Flair Smart Vent
- Page 1 Our users are energy nerds, home automation gurus, and HVAC Pros. If you have any questions, feel free to check out the forums at f orum.flair.co . If you don’t see what you are looking for there, you can reach us at one of the following: support@flair.co...
- Page 2 Be sure that the vent is securely fixed to the wall or ceiling. If unsure, contact a handyman or contracting service. Flair is not liable or responsible for damage or injury resulting from vents falling from the wall or ceiling.
- Page 3 I f you don’t see any lights on your vent’s light bar or if you are adding this vent to an already configured system , go to H ome Settings → Flair Devices and enable Setup Mode...
- Page 4 11. You can now continue with the D igital Installation . Electrical Notes: ● Flair Vents operate with very low power requirements and operate at different times hence a 40VAC (@24VAC) will suffice for in excess of 10 vents. Beyond 10 Vents, it is recommended that you consider additional power supplies due to the length of the wire runs becoming very long.
Need help?
Do you have a question about the Smart Vent and is the answer not in the manual?
Questions and answers