
Related Manuals for TriVision NC-250W HD 1080P Pro


Summary of Contents for TriVision NC-250W HD 1080P Pro
- Page 1 QUICK GUIDE Camera Installation for iPhone, iPad, Android smart phone and tablet For Technical questions, please email: info@trivisiontech.com...
-
Page 2: Table Of Contents
Contents 1.0 Introduction ----------------------------------------------------------------------3 2.0 Camera Installation --------------------------------------------------------------Error! Bookmark not defined. 3.0 Recorded Video Playback on Your Phone----------------------------------7 4.0 Viewing /Deleting/Disabling alerts on Your Phone----------------------8 5.0 Advanced Setting-----------------------------------------------------------------9 6.0 Wi-Fi Configuration ------------------------------------------------------------11 7.0 Warranty--------------------------------------------------------------------------12... -
Page 3: Introduction
1.0 Introduction Thank you for purchasing a TriVision Internet video camera. The camera can be accessed remotely from inside your network or the Internet; and can be controlled from iPhone, iPad, Android, PC and Mac over an Intranet or the Internet via our mobile apps and software or a web browser. The user friendly installation procedure and intuitive web-based interface allows easy integration with your home or business wired network or Wi-Fi. -
Page 4: Camera Installation
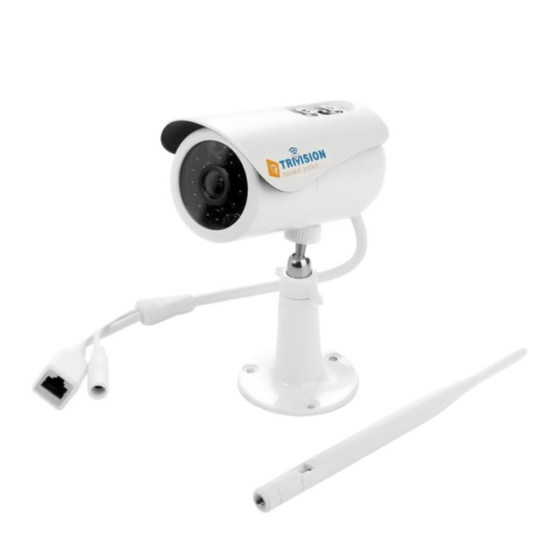
2.0 Camera Installation on iPhone, iPad, Android Phone/Tablet 1. Connect the included Ethernet cable to the network jack on the camera and connection the other end to one of the LAN jacks of your router. Then connect the power supply to the camera and to a wall plug. If your camera has a removable antenna, you may want to attach it now. - Page 5 Note: Ensure the camera is plugged in to the same router/network switch that your iOS devices are connected to over Wi-Fi. 6. A) Name: Assign a name to the camera to help identify this camera if more than one camera is in use. (UPPER CASE, Keep the default setting, Don’t modify it) Account: admin (lower case, Keep the default setting, Don’t modify it)
-
Page 7: Recorded Video Playback On Your Phone
3.0 Recorded Video Playback on Your Phone Both Android and iOS devices can view captured videos and photos that are stored locally on the smart phone and also Micro SD memory card. (Refer to the full manual for instructions on how to install the SD memory card and set up motion detection recording.) The process if similar for both devices. -
Page 8: Viewing /Deleting/Disabling Alerts On Your Phone
4.0 Viewing /Deleting/Disabling alerts on Your Phone Both Android and iOS devices can receive alert message when motion detector triggered alarms . The process if similar for both devices. 1. Launch Anyscene 2. Make sure that you are connected to your camera 3. -
Page 9: Advanced Setting
5.0 Advanced Setting on iPhone, iPad, Android Smart Phone You can perform many of the advance camera management configurations directly from your smart phone. With the Anyscene app running, click the small arrow on the right side of the camera you wish to configure. (Below red arrow points to the touch point.) It is important that you have “My Camera”... - Page 10 Or make network changes, refine Video Quality, Camera Setup, Alarm Setup, SD card recording or FTP Upload…... To do so, touch ADVANCED SETTINGS About Device, you will get the camera information as below.
-
Page 11: Wi-Fi Configuration
6.0 Wi-Fi Configuration on iPhone, iPad, Android Phone/Tablet Of special interest for initial configuration is the ability to change the Wi-Fi network setup. 1. While in the Advanced Setting, select WiFi Networks or Wi-Fi setting 2. Tap the arrow, the App will then present you with a list of possible Wi-Fi networks that your camera can connect 3. -
Page 12: Warranty
TriVision at it’s sole discretion. # This warranty is void if the unit is tampered with or altered in any way. Certain models of TriVision products are designed specifically for indoor use only. Use of these products outdoors will void this warranty.
Need help?
Do you have a question about the NC-250W HD 1080P Pro and is the answer not in the manual?
Questions and answers