Table of Contents
Advertisement
Quick Links
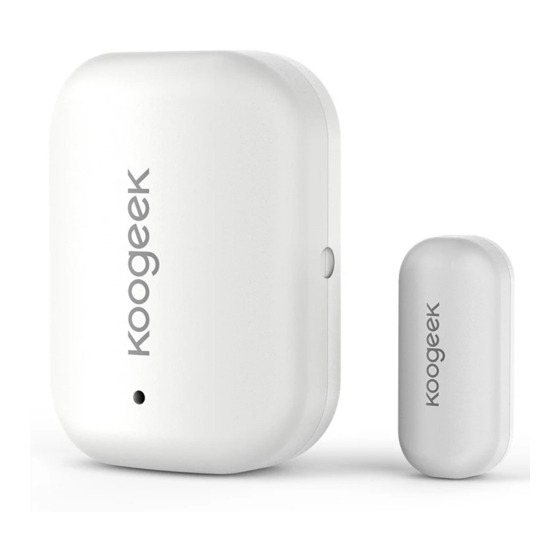
DW1
Door & Window Sensor
QUICK START GUIDE
1. Insert the included lithium battery CR2450, then close the cover.
2. Download and open the Koogeek Home app from the App Store.
3. Log in or sign up for a Koogeek account or simply tap Skip.
4. Open the Bluetooth on your iOS 9.0 or above device. Search for "Koogeek‐DW1‐XXXXXX" and pair.
XXXXXX are the last 6 characters of MAC on your Door & Window Sensor.
5. Tap "+" on the top right corner and follow the on‐screen directions to complete network setup.
Note: To add more door & window sensors (or repeat the Door & Window Sensor setup process),
tap "+" and you will see the accessory list. Each accessory has an identification code, e.g.
Koogeek‐DW1‐XXXXXX. Make sure the last 6 characters of the identification code are consistent
with the last 6 characters of MAC on the back of your Door & Window Sensor. If the accessory list
hasn't been showed, please insert the metal pin into the pinhole of the sensor and hold for 10
seconds to restore the device to factory settings.
6. When prompted, scan the setup code or manually enter the setup code, and then follow the step
to add the device to the Home and Room. Please keep the setup code for future use.
7. You can assign a name to your device. For example, you can name your device "Door Sensor".
8. Set up customized scenes to control other HomeKit‐enabled accessories when you open or close
a door or window. For example, you can set the "Bedroom" scene of turning on your bedroom
light when your bedroom door is opened.
9. For troubleshooting visit www.koogeek.com
Note:
The use of a HomeKit‐enabled accessory need the follow permission:
Settings > iCloud > iCloud Drive > Turn On
Settings > iCloud > Keychain > Turn on
Settings > Privacy > HomeKit > Koogeek Home > Turn On
Door & Window Sensor Overview
Advertisement
Table of Contents

Summary of Contents for KOOGEEK DW1
- Page 1 DW1 Door & Window Sensor QUICK START GUIDE 1. Insert the included lithium battery CR2450, then close the cover. 2. Download and open the Koogeek Home app from the App Store. 3. Log in or sign up for a Koogeek account or simply tap Skip. 4. Open the Bluetooth on your iOS 9.0 or above device. Search for “Koogeek‐DW1‐XXXXXX” and pair. XXXXXX are the last 6 characters of MAC on your Door & Window Sensor. 5. Tap “+” on the top right corner and follow the on‐screen directions to complete network setup. Note: To add more door & window sensors (or repeat the Door & Window Sensor setup process), tap “+” and you will see the accessory list. Each accessory has an identification code, e.g. Koogeek‐DW1‐XXXXXX. Make sure the last 6 characters of the identification code are consistent with the last 6 characters of MAC on the back of your Door & Window Sensor. If the accessory list hasn’t been showed, please insert the metal pin into the pinhole of the sensor and hold for 10 seconds to restore the device to factory settings. 6. When prompted, scan the setup code or manually enter the setup code, and then follow the step to add the device to the Home and Room. Please keep the setup code for future use. ...
- Page 2 Restore Factory Settings Insert the metal pin into the pinhole and hold for 10 seconds. When the LED flashes green once, it indicates that you have restored the device to factory settings. Specification Power supply: 3 V button cell Battery type: Lithium battery CR2450 Wireless connection: Bluetooth Low Energy Operating temperature: ‐20℃ ~ 60℃ Color: White Magnet dimensions: 46 * 33 * 17.1 mm / 1.8 * 1.3 * 0.67 in (L×W×H) Sensor dimensions: 26 * 12 * 9.2 mm / 1.1 * 0.4 * 0.3 in (L×W×H) Tips: 1. Mount the sensor on the door / window frame and the magnet on the door / window. If the sensor ...

Need help?
Do you have a question about the DW1 and is the answer not in the manual?
Questions and answers