Advertisement
Advertisement

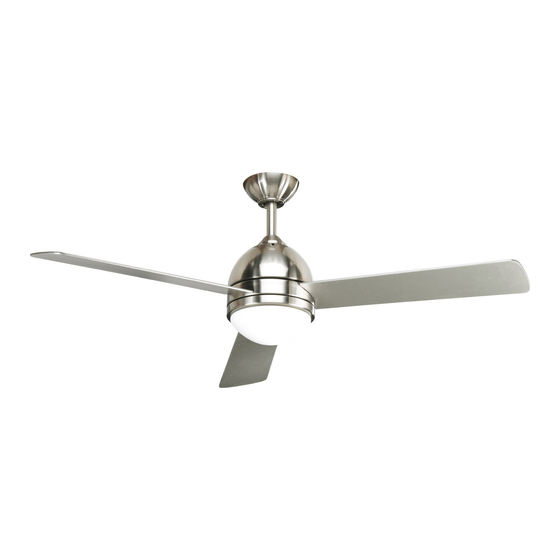
Related Manuals for Progress Lighting P2514


Summary of Contents for Progress Lighting P2514
- Page 2 PROGRESS LIGHTING 30-YEAR LIMITED WARRANTY PROGRESS LIGHTING FAN MOTORS ARE WARRANTED TO THE END USER TO BE Date Purchased FREE OF ELECTRICAL AND/OR MECHANICAL DEFECTS FOR A PERIOD OF 30 (THIRTY) YEARS FROM DATE OF SALE. PULL CHAIN SWITCHES, REVERSE...
-
Page 3: Table Of Contents
Safety Rules............................. Unpacking Your Fan ......................... Installing Your Fan ........................... Installing the Light Kit........................Operating Your Transmitter ......................Care of Your Fan ..........................Troubleshooting ..........................Specifications ..........................Table of Contents... -
Page 4: Safety Rules
1. To reduce the risk of electric shock, insure electricity has been turned To avoid personal injury or damage to the fan and other items, be cautious when working around or cleaning the fan. off at the circuit breaker or fuse box before beginning. 10. -
Page 5: Unpacking Your Fan
Unpack your fan and check the contents. You should have the following items; Fan blades (3) Light plate 13. Loose parts bag containing: Canopy assembly Glass shade Ball/downrod assembly 0 Watt halogen bulb a. Blade attachment hardware Coupling cover Receiver with 6 wire nuts (10 screws, 10 fiber washers ) 5. -
Page 6: Installing Your Fan
Figures 1,2 and 3 are examples of different Tools Required Angled ceiling ways to mount the outlet box. maximum 24 angle Provide strong Phillips screw driver, straight slot screw support driver, adjustable wrench, step ladder, and wire cutters. Recessed Mounting Options outlet box If there isn't an existing UL listed mounting Ceiling... - Page 7 Step 7. Align the holes at the bottom of the Hanging the Fan CUL Listed downrod with the holes in the collar on top of electrical the motor housing (Fig.7). Carefully insert the to turn off the power. Follow REMEMBER hanger pin through the holes in the collar and the steps below to hang your fan properly: downrod.
- Page 8 Step 3. (Figure 10) Receiver to House Supply Make the Electric Connections Wires Electrical Connections: Connect the WARNING: To avoid possible electrical black (hot) wire from the ceiling to the black Code switch shock, be sure electricity is turned off at the wire marked "AC in L"...
- Page 9 Finishing the Installation SUPPLY CIRCUIT Step 1. Tuck connections neatly into ceiling Ground Outlet box outlet box. Conductor BLACK Hanger Outlet Box Step 2. Slide the canopy up to mounting bracket bracket and place the key hole on the canopy over the Green Screws screw on the mounting bracket, turn canopy until...
- Page 10 Attaching the Fan Blade Balancing WARNING TO REDUCE THE RISK OF PERSONAL INJURY, All blades are grouped by weight. Because Blades DO NOT BEND THE BLADE HOLDERS natural woods very in density, the fan may WHILE INSTALLING, BALANCING THE BLADES, OR CLEANING THE FAN. DO NOT wobble even though the blades are weighed Insert the blade through the slot in housing.
-
Page 11: Installing The Light Kit 8
B.- Lamp gets hot quickly contact only REMEMBER: To disconnect the power. The Installing the Mounting fan blades must be already attached to the switch/plug when turning on. Plate fan. C.- Do not touch hot lens, guard, or enclosure. Step 1. Remove the 3 screws from the D.- Do not remain in light if skin feels warm. - Page 12 Installing the battery: Install 12V MN21/A23 battery (included), to prevent damage to transmitter, remove the battery if not used for long periods. Bulb Connection plugs Mounting plate Light plate Screws Figure 17 Glass shade Figure 15 Figure 16...
-
Page 13: Operating Your Transmitter 10
4. The " " button (inside the battery Restore power to ceiling fan and test for compartment in the back side of the proper operation. transmitter)-Fan reversing function, used to set the fan forward or reverse, 1. " , " buttons: press the button forward (for warm These three buttons are used to set the fan weather) or reverse (for cool weather):... -
Page 14: Care Of Your Fan
Here are some suggestions to help you maintain 3. You can apply a light coat of your fan furniture polish to the wood blades for additional protection and enhanced 1.Because of the fan's natural movement, some beauty. Cover small scratches with a connections may become loose. -
Page 15: Troubleshooting 12
Solution Problem 1.Check circuit fuses or breakers. Fan will not start. 2. Check line wire connections to the fan and switch wire connections in the switch housing. CAUTION: Make sure main power is off. 3. Check to make sure the dip switches from the transmitter and receiver are set to the same frequency. 1. -
Page 16: Specifications
19.8 1.6' 52" Medium 0.47 2679 High 0.52 3613 These are approximate measures. They do not include Amps and Wattage used by the light kit. 2005 Progress Lighting Co. 101 Corporate Dr., Spartanburg, SC 29304-5704 All Rights Reserved 13. Specifications...
Need help?
Do you have a question about the P2514 and is the answer not in the manual?
Questions and answers