Table of Contents
Advertisement
Quick Links
Advertisement
Table of Contents

Related Manuals for DragonTouch Vision 2


Summary of Contents for DragonTouch Vision 2
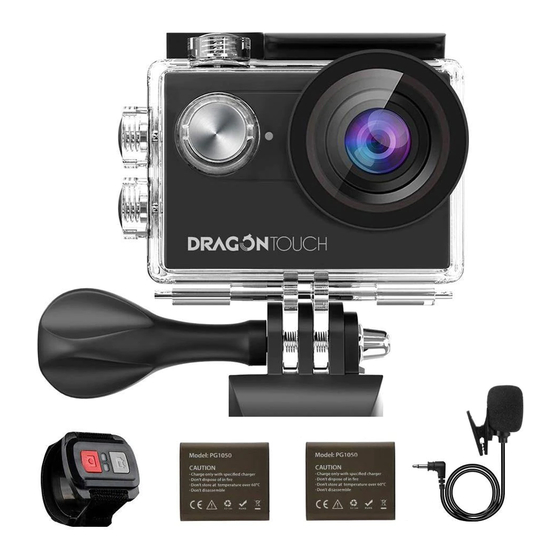
- Page 1 USER MANUAL Vision 2 Action Camera...
-
Page 2: Table Of Contents
Getting Started Overview of Modes Customizing Your Vision 2 Connecting to The PPShow DV App Playing Back Your Content Deleting Videos and Photos on Your Vision 2 Offloading Your Content Reformatting Your Microsd Card Maintenance Your Camera Maximizing Battery Life... -
Page 3: Your Vision2 Black
YOUR VISION2 BLACK 14 10 14 4 1. Shutter / Select Button 6. Lens 2. Power / Mode / Exit Button 7. Screen 3. MicroSD Slot 8. Up / WiFi Button 4. Micro USB Port 9. Down Button 5. Micro HDMI Port 10. -
Page 4: Getting Started
GETTING STARTED TURNING ON / OFF Wi-Fi To turn on Wi-Fi Welcome to your Dragon Touch Vision 2. To capture video and photos, you need a micro Turn on camera, press Up button to turn on Wi-Fi. SD card (sold separately). - Page 5 PHOTO MODE PHOTO PLAYBACK MODE Press Mode button once to switch to Photo Mode after you turn on camera. Press Mode button several times to switch to Photo Playback Mode. In Photo Mode, press Shutter button, the camera takes a photo. In Photo Playback Mode, press the Up/ Down button to playback Photo files.
-
Page 6: Customizing Your Vision 2
CUSTOMIZING YOUR VISION 2 7. Anti-Shaking: Off / On Default setting is off. 1. Video Resolution: 1080P / 30FPS, 720P / 30FPS, 480P / 30FPS This setting adjusts the footage to offset for motion during capture. The result is smoother Default setting is 1080P / 30FPS. - Page 7 Wide Dynamic Range (WDR) retains a greater level of detail in the dark and bright areas of Powers off your Vision 2 after a period of inactivity to save battery life. an image. The result is a photo that is properly exposed for both of these extremes. This Note: Voice Control is not available when the camera is off.
-
Page 8: Connecting To The Ppshow Dv App
29. Version: 20180814 v1.0 3. Press and hold OK Button for three seconds. The screen shows ‘Delete?’ OK Cancel. You can check the model, version and updated time of your Vision 2. 4. Press OK button. The selected file will be deleted. -
Page 9: Reformatting Your Microsd Card
To keep your micro SD card in good condition, reformat it on a regular basis. Reformatting erases all of your content, so be sure to offload your photos and videos first. 1. Press and hold Mode button for 3 seconds to turn on Vision 2. 2. Press Mode button several times to enter Setting. -
Page 10: Maintenance Your Camera
MAINTENANCE YOUR CAMERA WARNING: Do not drop, disassemble, open, crush, bend, deform, puncture, shred, microwave, incinerate or paint the camera or battery. Do not insert foreign objects into the Follow these guidelines to get the best performance from your camera: battery opening on the camera. -
Page 11: Mounting Your Camera
CR2032 BATTERY REPLACEMENT FOR VISION 2 REMOTE 4. Install the new battery, keeping the “+” pole facing up. 1. Use a 1.8mm Phillips tip screwdriver to remove the 4 screws on the back cover of the 5. Install all 4 screws back onto the PCB board. -
Page 12: Contact Us
CONTACT US For any inquiries, issues or comments concerining our products, please send E-mail to the address below or call us. We will respond as soon as possible. E-mail: cs@tabletexpress.com US customer service line: (301)670-7335...
Need help?
Do you have a question about the Vision 2 and is the answer not in the manual?
Questions and answers