Table of Contents
Advertisement
Advertisement
Table of Contents

Related Manuals for FONESTAR MP-121P

Summary of Contents for FONESTAR MP-121P
- Page 1 P-121P WEEKLY PROGRAMMER INSTRUCTION MANUAL...
- Page 2 We take this opportunity to thank you for buying this product. We recommend you read the instruction manual before switching on the machine and follow the instructions that are given. Keep the manual for future reference. SECURITY AND THE ENVIRONMENT ELECTRICAL SECURITY Check that the current in the mains connection where the machine is to be installed corresponds to the power supply of the machine.
-
Page 3: Exemption Of Liability
The characteristics of the equipment and the content of the manual can change without forewarning. FONESTAR, S.A. does not assume responsibilities regarding the inappropriate use of the equipment or the information supplied in this instruction manual, and specifically disclaims any implied liability for marketability or fitness for any other use. -
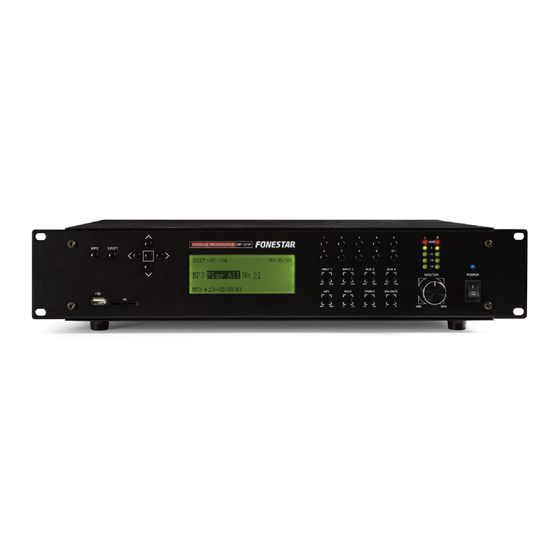
Page 4: Controls And Functions Front Panel
DESCRIPTION - Weekly USB/SD/MP3 programmer/player. - Weekly programming of MP3 file playback: bells, advertisements, background music, etc. - Especially suitable for schools, offices, shops, churches, etc. - Direct playback of 9 messages via remote push button. CONTROLS AND FUNCTIONS FRONT PANEL 1.- MP3: button to access MP3 configuration menu. -
Page 5: Rear Panel
REAR PANEL 1.- Power supply voltage selector. 2.- DIRECT PLAY: closes the contacts between one of the DIRECT PLAY 1-9 terminals and the COM terminal in order to directly play the corresponding audio track. Bear in mind that the contact closures 1-9 correspond to the first 9 audio tracks contained in the USB storage device or the SD memory card. - Page 6 INSRUCTIONS FOR USE If the programmer is switched on, the information display will look like this: On the first line, the date and present time will be shown. On the second line, the day of the week and the time of the next event will be shown (if it is available). On the third line, the current status of the MP3 player will be shown, which could be one of these options: 1.- MP3 1 04 ----- 00:01:52 Shows the audio track number that is being played and the playback time.
-
Page 7: System Setting
MAIN MENU Press the confirmation button to access the system main menu. Use the LEFT and RIGHT navigation buttons to select the required configuration menu. SYSTEM SETTING To access the main menu press the confirmation button and then place the cursor on the System Setting option. -
Page 8: Edit Program
Use the navigation buttons UP, DOWN, LEFT and RIGHT to configure the parameters of this menu. The year, month, day, day of the week, hour, minutes and seconds on the timer clock can be modified. If you wish to confirm the changes, place the cursor on the OK option and press the confirmation button and if you wish to save the established changes, place the cursor on the Cancel option and press the confirmation button. - Page 9 Editing program and event Select the program number required and scroll through the different configuration options of each of the existing events. Place the cursor on the parameter you wish to edit and use the UP and DOWN navigation buttons to modify the specifications. Adding an event to a program Select the required program number, use the LEFT and RIGHT navigation buttons and place the cursor on the Add option.
- Page 10 CONNECTION Make the connections with the player and all the components of the audio system switched off and disconnected from the power supply. Connect the USB storage device or the SD memory card in the corresponding inputs on the front panel. Connect the required inputs to the inputs INPUT 1/2.
-
Page 11: Technical Specifications
TECHNICAL SPECIFICATIONS MP-121P CHARACTERISTICS Weekly programmer. USB/SD/MP3 player. LCD display. Priority paging. Direct playback of 9 messages via remote push button. RESPONSE 50-18,000 Hz ±3 dB DISTORTION Harmonic: < 0.5% at 1 kHz INPUTS 2 balanced mics/lines, combo (XLR and 6.3 mm jack) 600 Ω 5 mV and 47,000 Ω... -
Page 12: Warranty
This product has been tested and has passed the corresponding quality control prior to being put on the market. FONESTAR guarantees the suitability of the product for its specified use during a period of 2 years from the delivery date and commits itself to repair or substitute the goods as expressed in the Spanish law ‘La Ley General para la Defensa de los...
Need help?
Do you have a question about the MP-121P and is the answer not in the manual?
Questions and answers