Advertisement
1
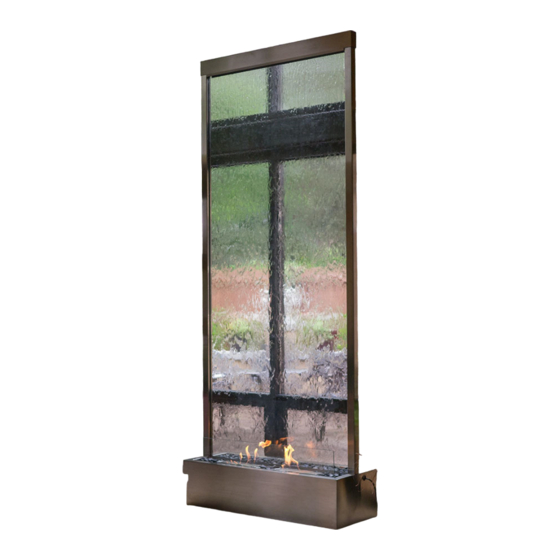
Grande™
IMPORTANT – RETAIN FOR FUTURE REFERENCE – READ CAREFULLY
Please check the contents of the boxes before attempting to assemble this product. A full checklist of parts is in this
instruction booklet. Check it very carefully. In the unlikely event that any components are damaged or missing, please
contact our customer service hotline at 407‐270‐8111.
This product is very heavy. Take extreme care when lifting to avoid personal injury or damage to the product. We
recommend that two people assemble this product.
This product contains small items and plastic bags. Please be aware of the danger to young children.
No tools necessary for assembly.
ASSEMBLY INSTRUCTIONS
609 E. Pine Street
Orlando, FL 32801 • Phone 888-977-8366 • Fax 407-210-6833 • www.bluworldhomelements.com
Advertisement
Table of Contents

Related Manuals for Blu Grande


Summary of Contents for Blu Grande
- Page 1 Grande™ IMPORTANT – RETAIN FOR FUTURE REFERENCE – READ CAREFULLY Please check the contents of the boxes before attempting to assemble this product. A full checklist of parts is in this instruction booklet. Check it very carefully. In the unlikely event that any components are damaged or missing, please contact our customer service hotline at 407‐270‐8111.
- Page 2 Identification of Components Carefully identify and count all components as shown below. Photos may very slightly from what you receive. A. Water Pump B. Water Filter/Flow Valve Assy. Pump Cord Strain Relief Water Guiding Pad Bag of Rocks Rock Tray(s) 1 for Mirror/Slate Models NOTES ON POSITIONING YOUR FOUNTAIN a.
- Page 3 Step 2.1 When you decide the location of the Grande it is important to place the reservoir with the plug exiting the left side. See Step 3.1 for further information regarding this. Locate the Water Pump (A) and install the Water Filter / Flow Valve Assembly (B) by simply threading it into the pump exhaust port as shown in Fig.
- Page 4 Step 2.2 Take the pump plug from the left side and insert it through the hole in the base as shown in Fig. 2.2A. We suggest leaving some slack in the cord inside the base. Locate the Cord Strain Relief (C) in the base. Clip the cord into the Cord Strain Relief (C) as shown in Fig.
- Page 5 Fig. 3.1 Fig. 3.2 Fig. 3.3 Section 4 – Operating Your Fountain Step 4.1 After filling the fountain with water, before turning on your fountain, make sure the Flow Control Valve (B) is in the “closed” position as shown in Fig. 4.1. We advise the closed position so that you can adjust the water flow as described in step 4.3.
- Page 6 Step 4.2 You can now plug in your Water Pump (A) into your designated GFCI electrical outlet. Be sure to move to Step 4.3 immediately as the pump will begin operation as soon as you plug it in and running without water flow for more than momentarily could damage the Water Pump (A).
- Page 7 Bluworld HŌMelements Fountain Warranty Bluworld HŌMelements products are warranted against defects that render it unfit for its reasonably intended use. This Warranty is not extended to cover use of the product for a purpose other than as intended, and if the product is used unreasonably, or for purposes other than as intended, or if it is altered, modified by a party other than Bluworld HŌMelements, then the Warranty shall be null and void.
- Page 8 Manufacturers Defect defined - A distinct and obvious flaw in the manufacturing of the product that inhibits the product's ability to function properly or a distinct and obvious flaw in the workmanship of the product that affects its physical appearance. Bluworld HŌMelements water features are manufactured under generally accepted manufacturing techniques as recognized by the International Organization of Standardization.
Need help?
Do you have a question about the Grande and is the answer not in the manual?
Questions and answers