Advertisement
Table of Contents
- 1 Table of Contents
- 2 Location of Functions
- 3 Connecting the Speaker System
- 4 Adjusting the Transmitter
- 5 Tuning the Speaker
- 6 Turning the Speaker off
- 7 Recharging the Batteries
- 8 More Helpful Information
- 9 Troubleshooting
- 10 Specifications & Features
- 11 Warranty
- Download this manual
See also:
Operation & Installation Manual
Advertisement
Table of Contents

Related Manuals for Acoustic Research AW-811


Summary of Contents for Acoustic Research AW-811
- Page 1 900MHz WIRELESS INDOOR/OUTDOOR SPEAKER Installation and Operation Manual Model AW811...
-
Page 2: Table Of Contents
Table of Contents Location of functions………..…………………………………………….… 2 Connecting the speaker system... 3 III. Adjusting the transmitter... 5 IV. Tuning the speaker…………………………………………………………… 6 Turning the speaker off……………………………………………………… 7 VI. Recharging the batteries……………………………………………………. 7 VII. More helpful information ... 7 VIII. Troubleshooting ... 9 IX. -
Page 3: Location Of Functions
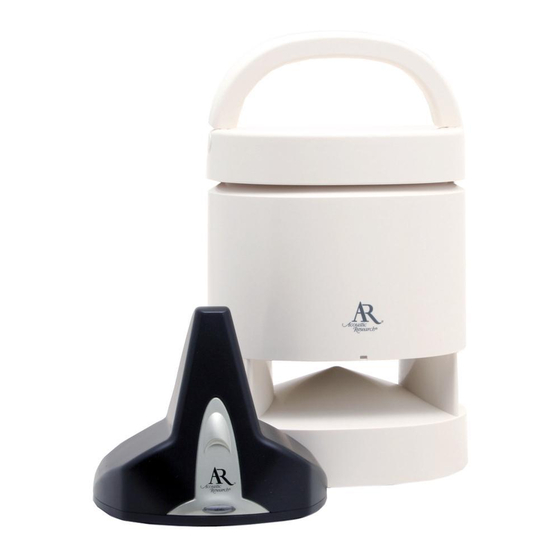
I. Location of Functions Speaker Front View: Power/tuning indicator light Speaker Top View: Carrying handle Non-skid table surface Transmitter Front View: Power indicator light Accessories: ” headphone adapter “Y” adapter cable Speaker Side View: Power/tuning/volume control Speaker power input jack Left/mono/right switch Speaker Bottom View: Battery compartment cover... -
Page 4: Connecting The Speaker System
II. Connecting the Speaker System I. Powering the Transmitter Connect the small, round plug from the transmitter AC power adapter (L) to the transmitter power input jack (I) and plug the other end of the transmitter AC power adapter (L) into any standard 120V AC wall outlet. Transmitter Adapter (L) II. - Page 5 Warning: This product is designed to work with line level outputs or headphone outputs only. DO NOT connect it directly to speaker outputs as it will permanently damage the transmitter. III. Powering the Speaker There are two options to power your wireless speaker: i.
-
Page 6: Adjusting The Transmitter
III. Adjusting the Transmitter Power indicator light 1. Turn ON your audio source (i.e., A/V receiver, TV, stereo, etc.) and play music at a normal listening volume. 2. Set the channel select switch (K) on the back of the transmitter to 1, 2 or 3. The transmitter provides three different broadcasting frequencies. -
Page 7: Tuning The Speaker
IV. Tuning the Speaker Speaker Front View: Power/tuning indicator light 1. Press the Power/tuning/volume (B) up to turn the speaker ON. The power/tuning indicator light (A) will illuminate red until the speaker is tuned to the transmitter and then the light will illuminate green, indicating that the speaker is tuned properly. -
Page 8: Turning The Speaker Off
V. Turning the Speaker Off 1. Press and hold the Power/tuning/volume (B) up to turn the speaker OFF. You will need to hold the control for about 1.5 seconds for the speaker to turn off. 2. Confirm that the speaker is off by verifying that the power/tuning indicator light (A) is no longer illuminated. - Page 9 Hint: If your VCR (or other audio source with RCA jacks) only has a single audio output, you will need another RCA “Y” cable. It differs from the “Y” Cable Adapter included with this speaker. It will have a single male RCA plug and 2 female RCA jacks.
-
Page 10: Troubleshooting
VIII. Troubleshooting The following troubleshooting guide takes you through some of the more common problems associated with the installation and/or operation of a wireless system. If the problem persists, please call 1-800-732-6866 and a knowledgeable customer service representative will assist you. Cause and solution: Issue: •... -
Page 11: Specifications & Features
IX. Specifications & Features Transmitter: Omnidirectional Effective transmitting range: up to 300 feet* 3 selectable broadcast frequencies (between 912.5 and 914.5 MHz) Stereo audio input with 3.5mm stereo mini plug ( ” headphone adapter and “Y” cable included) UL-listed AC power adapter Speaker: Push-button, auto-lock tuning 20 Watts per channel RMS... -
Page 12: Warranty
X. Warranty 12 MONTH LIMITED WARRANTY Audiovox Electronics Corporation (the “Company”) warrants to the original retail purchaser of this product that should this product or any part thereof, under normal use and conditions, be proven defective in material or workmanship within 12 months from the date of original purchase, such defect(s) will be repaired or replaced (at the Company’s option) without charge for parts and repair labor.
Need help?
Do you have a question about the AW-811 and is the answer not in the manual?
Questions and answers