
Subscribe to Our Youtube Channel
Related Manuals for Dimplex DCEVP20W


Summary of Contents for Dimplex DCEVP20W
- Page 1 DCEVP20W 20L Evaporative Cooler INSTRUCTION MANUAL PLEASE READ THE INSTRUCTION MANUAL CAREFULLY BEFORE USING THE UNIT. www.dimplex.com.au...
-
Page 2: Table Of Contents
CONTENTS WARNINGS AND PRECAUTIONS STRUCTURE OPERATION CLEANING AND MAINTENANCE TECHNICAL REFERENCE DATA WARRANTY www.dimplex.com.au... -
Page 3: Warnings And Precautions
WARNINGS & PRECAUTIONS Warnings • Never place the unit near gas appliances, flames or flammable liquids. • Never hit or shake the unit. Doing so may cause damage. • Never cover or obstruct the air inlet or outlet. Doing so may cause overheating. - Page 4 WARNINGS & PRECAUTIONS • Children should be supervised to ensure they do not play with the appliance. • Avoid electromagnetic interference. Keep the unit at least 1 metre away from electric appliances such as televisions and radios. • Avoid scratching and damaging the surface. Do not use chemical solvents (i.e.
-
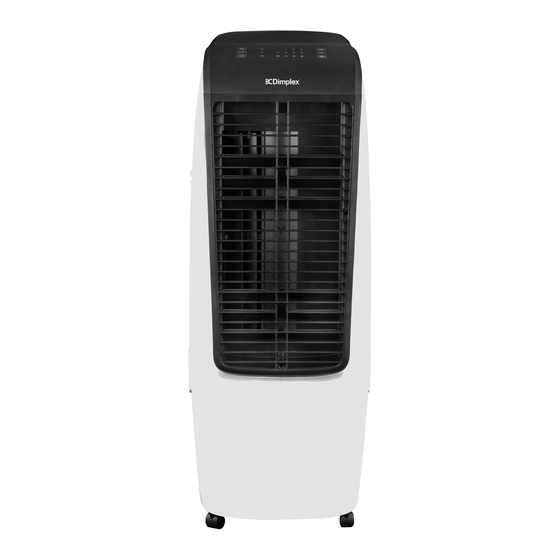
Page 5: Structure
STRUCTURE 1. Top water fill cover 11. Front grille 2. Top panel 12. Vertical louvre 3. Left housing 13. Rear housing 4. Pump paddle stopper 14. Right housing 5. Pump paddle 15. Cord storage 6. Water tank fixture 16. Water level indicator 7. -
Page 6: Operation
OPERATION DISPLAY PANEL & REMOTE CONTROL ICON Description Cooling button/indicator Swing button/indicator Power ON/OFF button/indicator Mode button (Normal, Natural & Sleep) Timer Button (1, 2, 4, 8 hour indicator lights) Fan speed (Silent, Low, Medium & High) - Page 7 OPERATION BEFORE FIRST USE • Please read these instructions carefully before use and keep them for future reference. • Check your local main voltage whether it is the same as stated on the appliance. • Before using for the first time, remove any protective films or stickers from the appliance and ensure the power supply is “Off”.
- Page 8 OPERATION Note: The buzzer beeps twice when the power supply is first turned on. The unit is in ‘standby’ until the On/Off button is pressed. On/Off Button Press the On/Off button to turn the unit “On”. The default settings when first turned on are;...
- Page 9 OPERATION Mode Button The default mode after turning “On” is normal. Press this button to select modes in this sequence: normal > natural > sleep. The mode indicator light will illuminate accordingly (NOTE: the natural and sleep modes are unavailable if silent fan speed is selected). Normal: Constant wind speed.
- Page 10 OPERATION OTHER FUNCTIONS Environmental protection function: If no operation is detected within 60 seconds, all LED’s turn semi-bright. When operation is detected, the LED’s enter full brightness immediately. Water level protection function: When the cooling function is first turned on, the water pump works for 50 seconds.
- Page 11 OPERATION Power failure memory function: • If there is a power failure during operation, when power resumes, the unit will automatically turn back on and beep ten times. After 30 seconds the unit will resume the last settings it was operating in. •...
- Page 12 OPERATION Filling the water tank In order to use the cooling/humidifier function, you need to fill the water tank. For your convenience, the water tank can be filled from the top of the unit (1) saving removing the water tank. Filling from the top Open the water cover (1), and slowly pour filtered/clean water into the compartment with a jug (as per below), and then close the water cover.
- Page 13 OPERATION OTHER USES This unit can also be used as a fan. Before using as a fan only, use the ‘air dry’ function to completely dry the unit and the honeycomb filter. Follow steps above ‘Removing & filling the water tank’, and remove the water tank from the top part of the unit.
-
Page 14: Cleaning And Maintenance
CLEANING & MAINTENANCE CLEANING Over time, dust can accumulate on the surface, air outlet and filters, which can affect the performance. It is recommended to clean the unit at least once a week of any dust build up. 1. Turn the unit OFF and disconnect the appliance from the main power supply before commencing any cleaning. -
Page 15: Technical Reference Data
897 x 342 x 390 WARRANTY The warranty period is 24 months from the date of purchase. For service advice, please contact the Customer Care Centre on 1300 556 816. Glen Dimplex Australia Pty Ltd 1340 Ferntree Gully Road, Scoresby 3179, Victoria Australia...
Need help?
Do you have a question about the DCEVP20W and is the answer not in the manual?
Questions and answers