Table of Contents
Advertisement
Quick Links
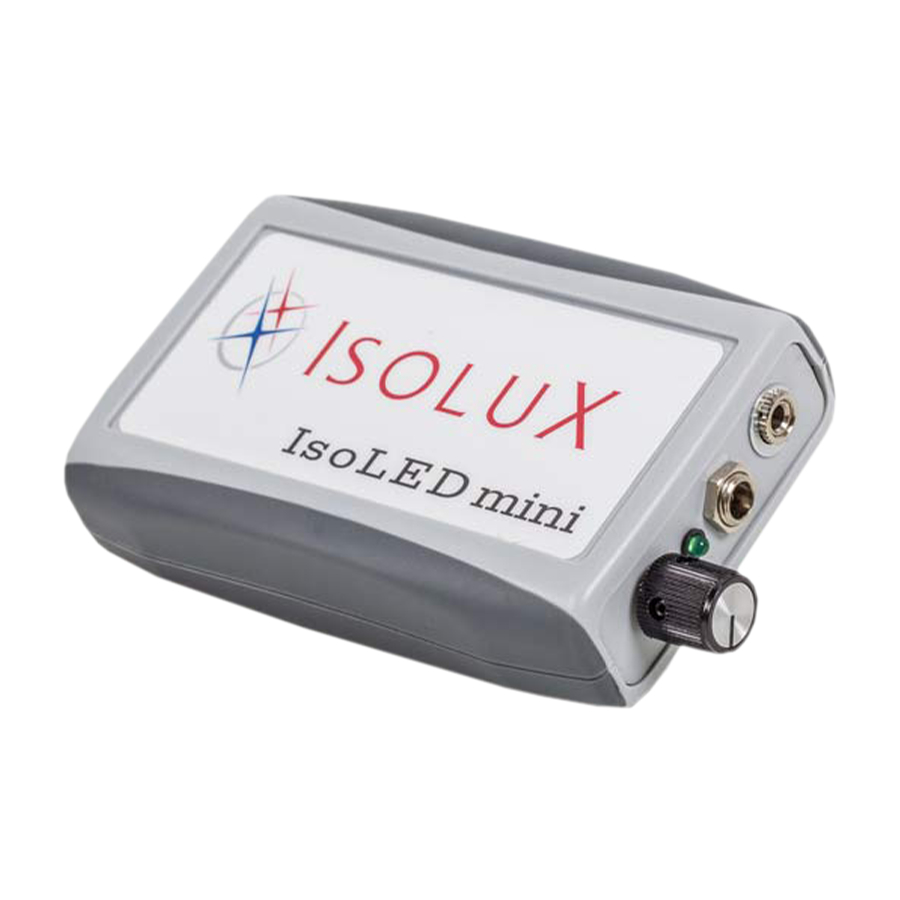
IsoLED Mini LED
HEADLIGHT
User's Guide
1.0 Purpose and Features of the product
1.1 Purpose
The headlight is used for examination, diagnostics and
surgical operations for multifarious uses including
microsurgery.
1.2 Features
40,000 hours of LED life provides for a free
maintenance device with an end life of
approximately 20 years.
The unit has infinite mobility, not confined by
access to power sockets, and its charge will last
more than 10 hours at full intensity.
Its light beam is extremely homogeneous and free
of imperfections.
Its high CRI of 92 rating is very desirable in color-
critical applications such as neonatal care,
medicine and surgery, as it shows the true colors
of tissues and skin, thereby reducing the time to
diagnosis and surgery.
The light-weight battery pack has a retention clip
to be used on the user's belt or pocket.
The Battery Charger comes with a Charge Monitor
that alerts the operator when the Battery is fully
charged.
The Headlight adapts to any Binocular loupes:
Gallilei, Zumax, Zeiss, Orascoptic Flip up, Grendel
Meier and Heine.
Lightest weight and most compact 3W LED unit.
The unit's replaceable Yellow filter reduces blue &
UV light, preventing premature curing of
composite in dental procedures.
IsoLux llc, 1045 Collier Center Way, Naples, Florida USA 34110 phone: 239 514 7475 fax: 239 514 7476
email:
info@isoluxllc.com
web:
www.isoluxllc.com
2.0 Loupes Installation
You can directly install the plastic buckle on the arm of
loupes. Position the buckle to ensure that it is in the
middle of the arm. Insert the headlight into the slot of
buckle (Fig.1 Fig.2). If you are using other types of loupes
(Fig.3). You can use our universal clip to attach the
headlight (Fig.4).
Figure 1
Figure 3
3.0 Operating
Instructions
You can install an enclosed
Attach the
yellow filter on the headlight
power cord by
according to the user's
means of the clip
requirements (Fig.5).
provided.
Connect the
Headlight to the "Battery Pack" and turn it on.
If you wish to continue the exam without pausing to
recharge the battery, connect the DC connector of the
Battery Charger and simply plug in the Battery Charger
to the mains supply.
4.0 Battery use and care
The capacity of Li-ion rechargeable batteries will be
changed by its' environmental temperature. The
appropriate temperature is (10 ℃~40 ℃) range. Do not
expose the battery to extreme temperatures, if the
battery is used in high or low temperatures, the battery
capacity will be reduced.
Figure 2
Figure 4
Figure 5
Advertisement
Table of Contents

Related Manuals for IsoLux IsoLED Mini

Summary of Contents for IsoLux IsoLED Mini
- Page 1 IsoLux llc, 1045 Collier Center Way, Naples, Florida USA 34110 phone: 239 514 7475 fax: 239 514 7476 email: info@isoluxllc.com web:...
- Page 2 23 grams Weight (Battery 190 grams Pack) 4.25” x 2.7” x 1.1” Size (control unit/battery pack) 6.0 SPECIFICATIONS IsoLux llc, 1045 Collier Center Way, Naples, Florida USA 34110 phone: 239 514 7475 fax: 239 514 7476 email: info@isoluxllc.com web: www.isoluxllc.com...
- Page 3 IsoLux llc, 1045 Collier Center Way, Naples, Florida USA 34110 phone: 239 514 7475 fax: 239 514 7476 email: info@isoluxllc.com web: www.isoluxllc.com...
Need help?
Do you have a question about the IsoLED Mini and is the answer not in the manual?
Questions and answers