Advertisement
Quick Start Guide
Thank you for purchasing the NVR Security System.
Follow the simple steps in this guide to set up and start using your new system.
If you have any questions or need help installing your new product, please contact our free technical support.
Telephone: 1-877-349-3149
9am - 9pm EST, Monday - Friday
Web: www.samsungsv.com
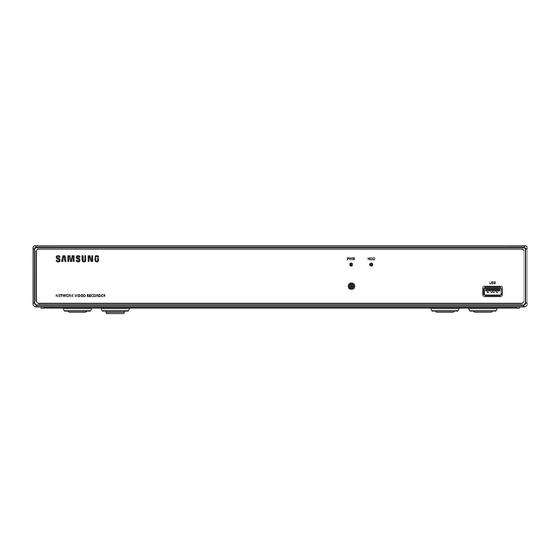
❒ Front
❒ Back
The appearance of power adaptor differs depending on sales region.
`
5
Part Name
e-SATA
1
VGA Output
2
AUDIO OUT
3
LINE IN
4
LAN Port
5
Power Switch
6
Power Supply
7
USB
8
HDMI Port
9
WAN Port
0
ALL-IN-ONE SECURITY SYSTEM
e-SATA
2
1
4
3
0
9
8
7
HDMI
Connect to e-SATA HDD
Connect to VGA monitor
No Function
No Function
LAN Port for POE Power supply
On/Off
Connect to power cable
USB port for upgrade or backup
Connect to HDMI monitor
WAN port for internet
6
Power Switch
Function
KIT MODEL
SNK-D85121BF
NVR MODEL
SNR-D5401
_1
English
Advertisement
Table of Contents

Subscribe to Our Youtube Channel
Related Manuals for Samsung Wisenet SNK-D85121BF

Summary of Contents for Samsung Wisenet SNK-D85121BF
- Page 1 KIT MODEL Quick Start Guide SNK-D85121BF NVR MODEL SNR-D5401 ALL-IN-ONE SECURITY SYSTEM Thank you for purchasing the NVR Security System. Follow the simple steps in this guide to set up and start using your new system. If you have any questions or need help installing your new product, please contact our free technical support.
-
Page 2: Startup Wizard
Startup Wizard After the NVR Startup is completed, the Startup wizard will be displayed. If you do not want to make any additional changes to your settings when it reboots, check “To disable Startup Wizard after reboot”. Wizard setting menu includes:Homepage, Network setup, IPC setup, Record Schedule and hard disk maintenance. • Homepage • Admin password setting • Hard drive management... -
Page 3: Ipc Setup
IPC Setup User may add and delete IPC. Video Recording Schedule Select the channel and the date to be set. One week’s schedule can be set. The record “schedule” of the current channel can be copied to any other channel or all channels. If there is no color in the record menu and record search, there is no recording saved. - Page 4 Email Setting Receive or Send NVR alarm email and set parameters like email address, SSL, email enable, and interval. • Encryption: Disable, SSL, TLS and Auto optional. Auto means it can detect the encryption type automatically. It is recommended to set the encryption type as Auto.
-
Page 5: Popup Menu
Popup Menu After completing the system initialization, right click on your mouse on the preview interface or slide the mouse to the bottom of screen to open the Pop-up Menu. Here, you could set parameter settings and switch betweenMain Menu, Multi-Pics, Record Search, Sequence and Streams. -
Page 6: Main Menu Guide
Main Menu Guide IP Channels Live Output Display Image control Privacy Zone Record Record Schedule Record Mainstream Substream Mobliestream Parameter Network Switch Email Network Email Schedule DDNS RTSP Alarm Motion General Record Search Events Main Menu Device General General Users System Info Info... -
Page 7: Main Menu
Main Menu To enter the main menu screen, left click on the mouse on LIVE mode or press the [Menu] button on remote controller. You can also click [ ] icon on the toolbar to enter the main menu screenas shown in Picture on the left. Menu will be locked if left idle and you will have to enter the password again. -
Page 8: Web Application Manager
Web Application Manager ❒ Download and Installation of Plugin. Windows 7 : You may need to setup the user authority for the remote controlor you may not beable to back-up your hard drive or record. Windows Vista : Start ; Setup ; Control Panel. Set user authority in control panel shown on the picture below. Remove the check “√”... - Page 9 Save plug in, and then click Install on pop-up box of the Setup-Webplugin to install. Restart the browser, and then enter the NVR IP address plus HTTP port, such as http://192.168.1.200:80, to log in. Download and Installation of plug in for Safari Input the IP address and HTTP port on Safari, such as http://192.168.1.200:80, and thenclick download to download the plug in.
-
Page 10: Live Interface
❒ View NVR Remotely Through Browsers After the plug-in isinstalled and the IP address and HTTP port is entered, you can go to the following log in interface. Enter the username and password you created on the local NVR, then select Sub Stream or Mobile Stream (In general, select Sub stream for intranet and Mobile stream for extranet), and select language. -
Page 11: Mobile App
Mobile App ❒ Android Phones/Tablets Open Play Store to search for WiseView and click “INSTALL”. After installation, open WiseView and select “Device”. Then click [ ] to add new device. Scan QR code under Information page. Then input client port, user name and password, and then click Save to log into the NVR. - Page 12 ❒ iPhone/iPad Open App Store to search for WiseView, and click icon [ ] to install. Open WiseView, and go to Device. Click [ ] to add new device. Scan QR code under Information page. Then input client port, user name and password, and then click Save to log into the NVR. 12_ English...
- Page 13 MEMO English...
-
Page 14: Camera Front
Camera Installation Template To make the camera installation easier, you can tear off this page and use it as reference. TEMPLATE This template is used to install the camera on the wall Screw holes for the Camera installation CAMERA FRONT 14_ English... - Page 15 MEMO English...
Need help?
Do you have a question about the SNK-D85121BF and is the answer not in the manual?
Questions and answers