Advertisement
Quick Links
Advertisement

Related Manuals for Locinox VINCI - LMKQ V2


Summary of Contents for Locinox VINCI - LMKQ V2
- Page 1 VINCI - LMKQ V2 & LEONARDO - LLKQ V2 USER GUIDE ENGLISH...
- Page 3 If you require any additional information or assistance during the installation, please contact your dealer, who will be able to provide the latest information. Alternatively, you can visit the Locinox website for more technical information or e-mail us on locinox@locinox.com...
- Page 4 Manual - English 1. Introduction Thank you for choosing a Locinox mechanical code lock! Please read the following instructions thoroughly before mounting the Vinci or Leonardo. Enclosed you will find all relevant user infor- mation concering the Vinci and Leonardo.
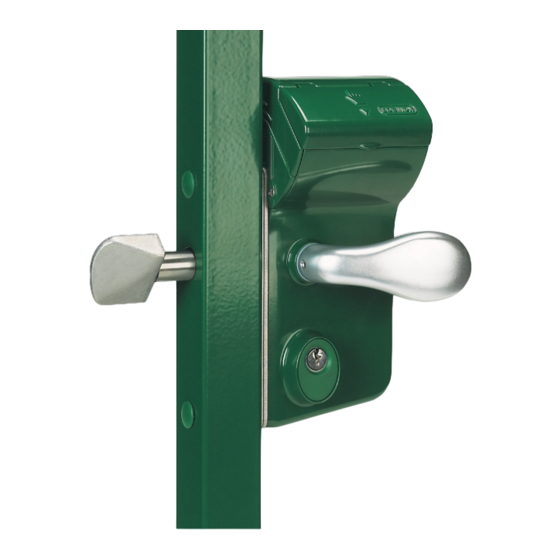
- Page 5 Leonardo Vinci Mechanical code lock Mechanical code lock for swinging gates for sliding gates 3006Club Aluminium handle pair Twistfinger-set & hexkey (3mm) Cylinder keys (3x) & Code screws (4x) 3006Club Aluminium handle pair & Cover caps (2x) & hexkey (3mm) Cylinder keys (3x) &...
- Page 6 4. Specifications • The Vinci & Leonardo are 100% mechanical code locks, which does not need a battery nor electricity to function. • The code lock is equipped with a double-sided operational code panel. This enables you to work with different entrance and exit codes. •...
- Page 7 5. Profile preparation Determine the correct position of the lock in the gate frame. The mounting holes can be prepared by means of the below drawings. BEWARE! For the Vinci, the holes of the self-latching bolt and the night-bolt, need to be larger (Ø24) at the back of the gate frame than those at the front (Ø18).
- Page 8 Step 1: Remove the closing cover. First remove the cover screw and then slide out the closing cover. Step 2: Slide both code panels out of the lockbox. After removing the code panels, you will find the red and green code screws. When dealing with a new lock, the green screws are automatically set in position 1-2-3-4, as shown in drawing F.
- Page 9 Step 4: Set your personal code After having removed the code screws from the code mechanism, you can use the green code screws to set your personal code. Step 5: Remounting the code panels After setting your personal code, you are ready to replace the code panels. BEWARE! The reset button always need to be in front.
- Page 10 After testing the operation of your lock, the Vinci can be mounted onto the gate. The fast, easy and typical Locinox mounting is explained below. First slide the distance tubes over the hexagon socket head screws and fix the lock onto the gate profile by using the hex key.
- Page 11 After testing the operation of your lock, the Leonardo can be mounted onto the sliding gate. The fast, easy and typical Locinox mounting is explained below. First slide the stainless teel shell over the twistfinger and screw it into the lock.
- Page 12 Copyright © 2014 Locinox. All rights reserved. All specifications and figures are subject to change without notice. Locinox nv - Mannebeekstraat 21 - B-8790 - Waregem - Belgium Tel. +32 (0)56 77 27 66 - Fax. +32 (0)56 77 69 26...
Need help?
Do you have a question about the VINCI - LMKQ V2 and is the answer not in the manual?
Questions and answers