
Related Manuals for Pakedge PowerPak 8I

Summary of Contents for Pakedge PowerPak 8I
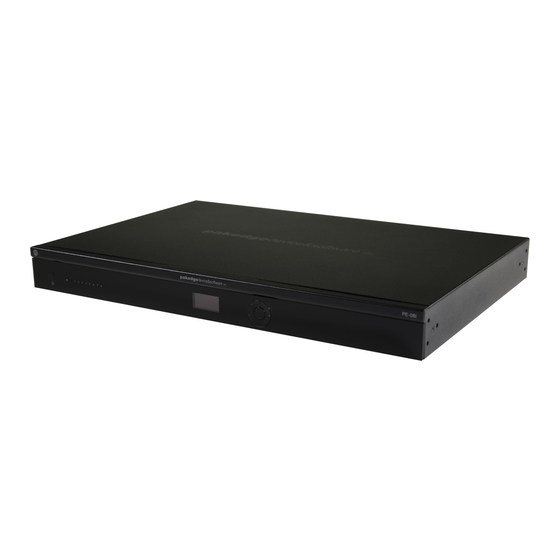
- Page 1 PowerPak 8I Power Distribution Unit with BakPak Integration BakPak Enabled QUICK START GUIDE...
- Page 2 With the integration of the PowerPak 8I in to the BakPak management system, all of these features are available remotely in an overall network view. The elegant OLED display enables per-outlet control and monitoring as well as network information to help with PowerPak setup.
-
Page 3: Package Contents
Package contents • (1) PowerPak 8I Power Distribution Unit • (1) Power cord • (2) Rack-mount brackets and screws • (1) Quick Start Guide • (1) Ethernet cable • (1) Console cable • (4) Rubber feet User Guide For more detailed instructions for this device and for the BakPak Management Agent, refer to the ctrl4.co/powerpak-ug... - Page 4 Overview Front panel Back panel A Power button H Power outlets 1~8 B Surge protection indicator light Ground C Power outlets 1~8 J Console port D OLED display K RJ11 port (for temperature sensor) E Circular selector switch L SD card slot F Power inlet M Ethernet port for Internet connection G Circuit breaker...
- Page 5 Installing Tools required: • Phillips screwdriver (if using rack- mount brackets). • PC or laptop with Ethernet interface and a web browser (an integrated DB-9 port or USB- to-serial adapter may be necessary if you would like to use the console interface) •...
- Page 6 Using the hardware controls Task Action Result Reset to factory defaults Press and hold power button for Outlet LEDs blink during reset, 10 seconds. but outlets remain enabled. User interface is reset to defaults. Enter Sleep mode Press and hold power button for Outlets turn off, based on user- two seconds.
-
Page 7: Configuring The Hardware
Default settings: The IP address will be automatically assigned by a router if a DHCP server is detected. Otherwise, the default IP address will be automatically set to 192.168.1.210. 2 Type your user name and password, then click Login. (The default username is pakedge and the password is pakedgep.) Note: If your computer is not set to the default IP scheme (192.168.1.X) of the PowerPak, you must... - Page 8 The following page will display when logged in:...
- Page 9 Adding the PowerPak to a BakPak Cloud account 1 Make sure you have a installed a BakPak Management Agent and have an active mybakpak.com account. 2 Connect your PowerPak to the same network as the BakPak Management Agent. 3 Log in to your mybakpak.com account and run the device scan. You are able to view the PowerPak and manage it.
-
Page 10: Troubleshooting
Troubleshooting Symptom Possible causes Solution • Press power button on front of the PowerPak. • PowerPak is not turned on. • If the PowerPak is connected to wall outlet controlled by a light switch, make sure the PowerPak has no power. light switch is on. - Page 11 Symptom Possible causes Solution Inlet power cord has been Connect the inlet power cord with the correct When connecting plugged in with the reversed polarity by rotating the plug 180°. Polarity power to the PowerPak, polarity. error message should no longer be displayed. “Polarity”...
-
Page 12: Technical Support
Technical Support For technical help: www.pakedge.com/portal support@pakedge.com (650) 385-8703 For non-technical inquires: customerservice@pakedge.com (650) 385-8701 For regulatory information: www.pakedge.com/regulatory 11734 S. Election Road Draper, UT 84020 www.pakedge.com sales@pakedge.com DOC-00244-C 2017-03-06 MS ©2017 Pakedge Device & Software Inc. All rights reserved.
Need help?
Do you have a question about the PowerPak 8I and is the answer not in the manual?
Questions and answers