Advertisement
General Guidelines
• It is the user's responsibility to read and follow all instructions.
• Keep these instructions with the product at all times and review before each use.
• It is the responsibility of this product's owner to furnish the instructions to any person that borrows
or purchases the product.
• Inspect the product before use to ensure it is assembled properly and all parts are in safe working
order and free of defects.
• Never modify this product in any way.
• All circumstances cannot be addressed in these instructions. Please use common sense and
practice general safety measures when using this product.
• Parts and/or instructions are subject to change without notice.
Safety Warnings
• Read and understand all instructions. Failure to follow all instructions listed may result in serious
injury.
• Do not exceed the 500 lb weight capacity. Distribute the load evenly.
• Only load the carrier on flat and level surfaces capable of supporting its maximum load.
• Prior to transport, make sure the ramp of the carrier and the motorcycle are properly secured to the
carrier.
• When not in use, store the carrier in a secure place out of the reach of children.
• Be aware of the possible fire risk and property damage resulting from the vehicle's exhaust system
pointing at or running near the cargo in the carrier. Do not use if this condition exists.
• NOT recommended for tow-behind trailers including 5th wheel trailers and camping trailers.
• Never exceed the maximum tongue weight rating of your trailer hitch (check the weight sticker on
the trailer hitch).
Maintenance
• It is recommended that the general condition of any steel motorcycle carrier be examined each
time before it is used. Keep your steel motorcycle carrier in good repair by adopting a program of
conscientious repair and maintenance. Check misalignment, loose or damaged parts, and any oth-
er condition that may affect its safe operation. If any abnormal vibrations or noise occur, have the
problem corrected before further use. Have necessary repairs made by qualified service personnel.
• Before each use, make sure any dirt, debris, oil, grease, etc. is cleaned off the carrier. Clean the
carrier with a clean, moist cloth. Do not use solvents.
• Periodically check all hardware for tightness.
Rev. 032318
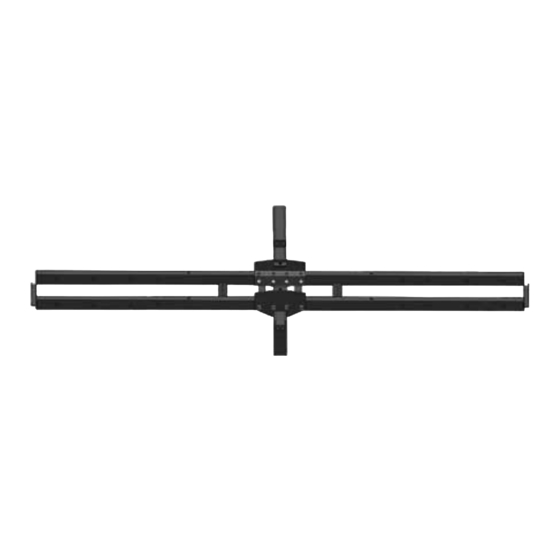
Steel Motorcycle Carrier
Instructions for Part # MCC-500
DiscountRamps.com • 1-888-651-3431
Page 1
Advertisement
Table of Contents

Summary of Contents for Black Widow MCC-500
-
Page 1: Safety Warnings
Steel Motorcycle Carrier Instructions for Part # MCC-500 General Guidelines • It is the user’s responsibility to read and follow all instructions. • Keep these instructions with the product at all times and review before each use. • It is the responsibility of this product’s owner to furnish the instructions to any person that borrows or purchases the product. - Page 2 Parts Part Description Quantity Part Description Quantity 1/2"x7-1/2" (M13x190) Bolt R-Pin 3/8"x2-3/4" (M9.5x70) Bolt Hitch Pin and Clip 3/8"x1-3/4" (M9.5x45) Bolt Hitch Tube M10x16 Bolt Wheel Pin 1/2" Lock Nut Lock Pin 3/8" Lock Nut Ramp Anti-Tilt Bracket* Cross Bar Support Bracket L-plate Platform...
- Page 3 Assembly Note: Bolts and nuts should be tightened by hand first; after all parts have been assembled, go back and tighten all hardware with a wrench. Step 1. Place the hitch tube (L) on a solid work surface with the mounting brackets facing upward. Place the platform pieces (I) across the hitch tube, positioned between the two middle brackets.
- Page 4 Step 3. Slide the four 1/2"x7-1/2" bolts (A) into the platform and secure with 1/2" lock nuts (E). Place the two wheel pins (M) in the holes at each end of the platform and secure with R-pins (J). Make sure all nuts and bolts on the carrier are securely tightened with wrenches before use. (3b) (3a) Step 4.
- Page 5 Mounting the Carrier to the Hitch Receiver 1. Slide the anti-tilt bracket (G) over the end of the hitch tube. The side with the three bolts should face the vehicle hitch receiver. 2. With assistance, lift the empty carrier and slide the open end of the hitch tube into the hitch receiver.
- Page 6 Product Warranty and Liability GENERAL PRODUCT WARRANTY: Products purchased from the Authorized Dealer (original place of purchase) or Merchant (“Dealer”) will be free of defects in material and workmanship at the time of receipt, and will meet the specifications stated at the place of purchase transaction or online at the Dealer’s website, under normal use and service when correctly installed, operated and maintained.


Need help?
Do you have a question about the MCC-500 and is the answer not in the manual?
Questions and answers