Advertisement
Quick Links
Advertisement

Related Manuals for SainSmart DSO NoteII

Summary of Contents for SainSmart DSO NoteII
- Page 1 User Manual DSO NoteII Made in China Design by SAIN SMART...
-
Page 2: Table Of Contents
Safety Statement Contents 1. General Safety Information Safety Statement ● Read carefully all the following safety precautions to avoid personal injury and prevent damage to the device or any products connected to it. Failure to follow these safety instructions could DSO NOTE II Overview result in personal injuries or risk of fire. -
Page 3: Dso Note Ii Overview
2. Operating Environment Coupling AC/DC Analog bandwidth 1MHz Operating Environment Requirement Maximum sampling rate 10MSa/s Operating Condition: +0°C to 50°c Analog input impedance 1MΩ Temperature Non-operating Condition: -20°c to +60°c Maximum input voltage ±40V(X1 probe) Maximum sample memory depth Operating Condition: High Temperature:40°C to 50°C,0% to 90%RH Horizontal sensitivity 1uS/Div~2S/Div(in 1-2-5 sequence step) Low Temperature : 0°... - Page 4 Product parameters 3. Operation on option area Storage Inbuilt 8MB U disk storage for waveform data and images Operation Capacitive touchscreen,supporting swipe gestures ● Capacitive touchscreen Dimension (100mm×56.5mm×10.7mm) ● Supporting swipe gestures ● Vertical slide ● Horizontal slide ● Tap Battery Internal 550mAh Lithium battery, external USB port Display...
-
Page 5: Interface Introduction
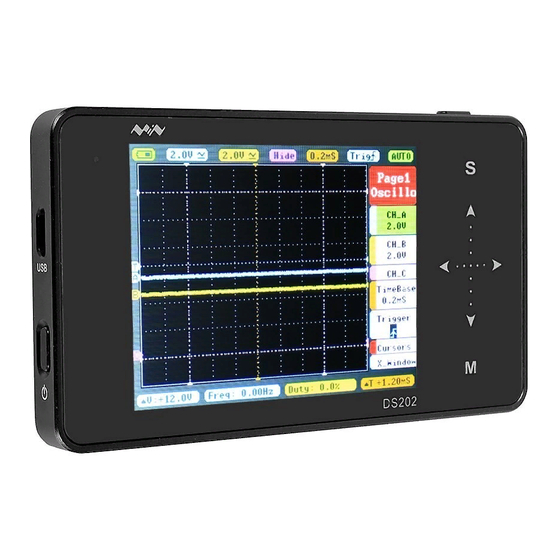
b.Option area introduction Interface Introduction 1. Home screen introduction Page1(oscilloscope) c.Parameter area A channel option a.Measurement area introduction B channel option C channel option Menu Function △ V=V1-V2 TimeBase option Measured Value (Blue corresponds with Channel A,Yellow with Channel B) Trigger option corresponding the 1st and 2nd item in Page2... - Page 6 c..Parameter area introduction Page3(option) Page2(Measurement) Menu Item Functions(Operation: Tap ,or Slide) Frequency File management Battery supply// / USB charging/Full charge 20mV-10V(1-2-5sequence step) AC/DC (Channel A) y-axis voltage per grid, AC/ DC coupling method Duty ratio Output option (Channel B) y-axis voltage per grid, AC/ DC coupling 20mV-10V(1-2-5sequence step) AC/DC Root-mean-square value System settings...
-
Page 7: Getting Started
b. Forced ShutDown 2. Check up before use Getting Started In the Power On state, press Power 1. Power On/Off Button “ ” for approximately 2 seconds Adjust relevant parameters to pop-up “Power Off” menu,according a. Starting up of CH A: Icon operation Choose Power Off. - Page 8 3. Operation Introduction When the Main Menu is hidden, you can slide ··· horizontally to change the TimeBase. In the Main Menu interface, you can switch between the Main Menu pages by sliding horizontally on the upper Touchpad. When the Main Menu is hidden, you can slide ···...
- Page 9 In the Main Menu or Sub-menu interface, tap" "" "or slide vertically to select items upward or downward. In the Main Menu interface, tap “M” Button to switch the Sub-menu to Display/Hide. In the Main Menu or Sub-menu interface, tap" ""...
-
Page 10: Functional Overview
In the System Setting interface, when “PostSlide” is ON, vertically slide up/down the Touchpad in the left to adjust the position. In the Main Menu or Sub-menu interface,tap and hold an non- button identification area to Display/Hide file management Functional Over view sub-menu. - Page 11 Menu Options Functions Annotation for Functions Description Menu Options Functions Annotation for Functions Description Voltage Channel B y-axis voltage per grid Display/Hide Horizontal 20mV/50mV/0.1V/0.2V/0.5V/1.0V/2.0V/5.0V/10V Enable ON/OFF Triggering Position Level Adjust Channel B waveform position Post Position: 5-198 Auto Fit Automatic adjustment ON/OFF upward/downward in the window AC/DC...
- Page 12 Menu Options Functions Annotation for Functions Description Menu Options Functions Annotation for Functions Description Save Dat Save dat file to built-in U disk Tap “S” button to Save Source Choose the Measurement channel CHA/CHB Save buf file (sampling data in Type Choose the Measurement Type FREQ/DUTY/RMS/Vavg/Vpp/Vmax/ Vmin...
-
Page 13: Product Inspection
Menu Options Functions Annotation for Functions Description Product Inspection Tap "S" Button, Auto Calibration window pops up retap "S" to perform Auto Calibrate Zero Calibration, after Auto Calibration is completed, tap "S" Button to confirm 1. Charge and monitor the battery saving the calibrated data. -
Page 14: Battery Disposal
3. Inspecting Do not dispose in domestice household waste Make a quick inspection of functions to ensure the device is working soundly. Please perform following steps: ● This device complies with the WEEE Directive (2002/96/EC) marking requirement. ● Turn on power and access the homepage of the mini oscilloscope. This affixed product label indicates that you must not discard this electrical or electronic ●... - Page 15 “DFU V3_40_D” will appear on your PC. Copy the hex firmware to the root directory of that disk. After the extension of the firmware changes from “hex” to “rdy”, restart DSO NOTE II. Then the Learn more about the SainSmart DSO Note II refer to the SainSmart product page at: upgrading process is finished.
Need help?
Do you have a question about the DSO NoteII and is the answer not in the manual?
Questions and answers