Advertisement
Advertisement
Table of Contents

Subscribe to Our Youtube Channel
Related Manuals for Viatek LL03-RGTIPS


Summary of Contents for Viatek LL03-RGTIPS
- Page 1 Celebration Series Interchangeable Pattern Tips Instructions LL03-RGTIPS...
-
Page 2: Important Safeguards
IMPORTANT SAFEGUARDS To reduce the risk of fire, electric shock, or injury when using any electric appliance, precautions should be made. These precautions include but are not limited to: Read all instructions. CAUTION! — Use only as directed. Improper use may result in damage to the eyes due to direct exposure to laser radiation. -
Page 3: Before You Begin
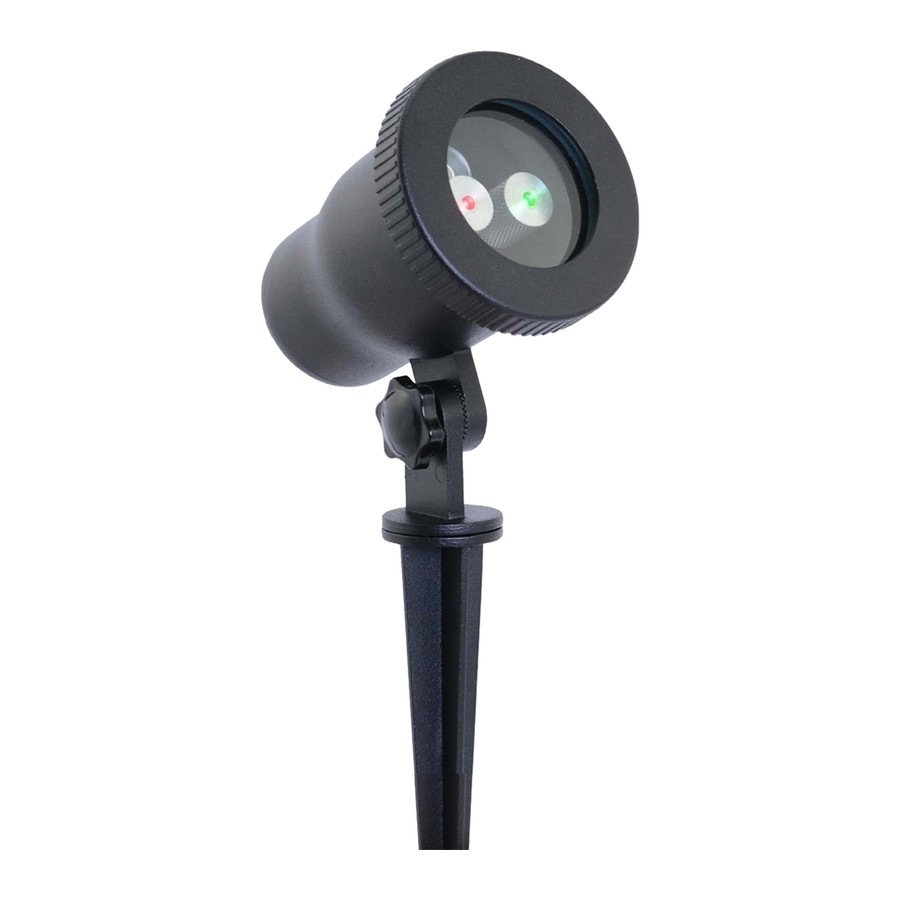
Before You Begin Carefully unpack package contents to make sure all parts are present. Some assembly is required. Light Projector Weather-Resistant Cover 2-Prong Weather-Resistant Screw Adapter Ground Stake COLOR FLASH RESET Pattern Tips Remote... - Page 4 Assembly Screw the stake into the bottom of the light projector clockwise until tight (fig. 1). Plug the 2-prong adapter into the power supply transformer. Screw on the weather-resistant cap tightly to help protect the connection from Fig. 1 weather. Installing Pattern Tips Remove the weather-resistant cover from the laser light by twisting it off counterclockwise...
-
Page 5: Remote Control
Selection Button Use the button on the back of the light projector to toggle between red light, green light, combo light, or off settings. Remote Control Use hand-held or mounted to a surface. The remote can control the light from up to 11 Pull the strip from the battery compartment on the back of the remote. -
Page 6: Product Specifications
Notes � Only use supplied transformer connected to a properly grounded outdoor outlet. � Do not use with dimmers. � Operate in temperatures of -4˚F to 86˚F. There may be a slight delay if operating below 55˚F. Please allow up to 10 minutes for light to warm up and reach its full projection. - Page 8 Order online at viatekproducts.com today. atek Site Follo © 2015 VIATEK CONSUMER PRODUCTS GROUP, INC. All specifications are subject to change without notice. All rights reserved. Viatek Consumer Products Group Inc. 6011 Century Oaks Dr. Chattanooga, TN 37416...
Need help?
Do you have a question about the LL03-RGTIPS and is the answer not in the manual?
Questions and answers