
Related Manuals for IVIEW Smart Vacuum

Summary of Contents for IVIEW Smart Vacuum
- Page 1 User Manual Smart Vacuum To assure the product to work in best status please read the guide carefully before operation and keep it well for future use...
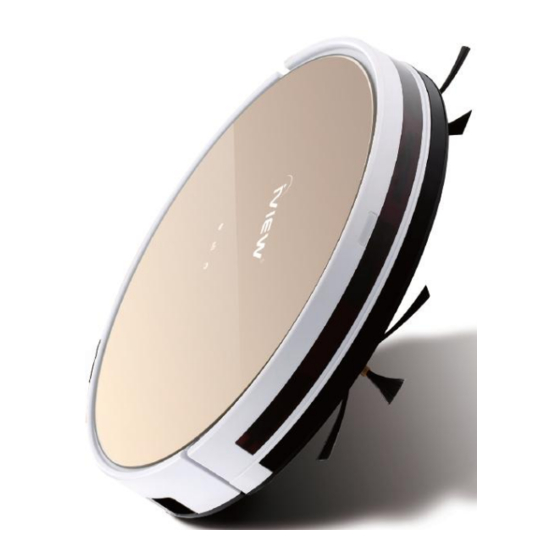
- Page 2 To save time and relax after a hard day’s work, iView is pleased to introduce our new product – iView 2-in-1 Smart Vacuum. With the most advanced wireless technology, you can control the vacuum with ease by using the remote, your smart phone, or by voice command (thanks to its compatibility with Amazon Alexa).
- Page 3 , your robot ready to be connected.. 1. IView iHome App Download and install the iView iHome APP from the Apple or Google Play store. Register an account using either your email or your cell phone number [Fig 1]. Enter a password and select “Confirm” [Fig 2] Tap + on the top-right corner to add a new device [Fig 4].
- Page 4 You can select the Rename Icon to rename your Vacuum [Fig 10]; Once device is listed, select it to access app functions.[Fig 11];...
- Page 5 2. APP Controls In your iHome App, you can manually control your vacuum using the directional controls at the top of the screen Additionally, you have the following controls for automatic functions located near the bottom of the screen: [Auto]: Vac will clean the entire room in a zigzag pattern [Spot]: Vac will spot clean in a circular pattern [30min]: Vac will go into Auto-Clean mode for 30 minutes.
- Page 6 [Fig 19], Select Add Sharing [Fig 20], Enter the Email or Cell Phone number of anyone you wish to share access with [Fig 21] and select CONFIRM. Note: All other users MUST register an IView iHome ID before using. 6. Wi-Fi Reset...
-
Page 7: Table Of Contents
Table of Contents 1. Important Safety Information ············································································· 1 2. Product Overview ································································································ 2 2.1 Iview SmartVac ·························································································· 2 2.2 Charging station ························································································ 2 2.3 Display panel ····························································································· 3 2.4 Remote control ·························································································· 3 3. Product Functions ······························································································· 4 3.1 Remote Control Functions ········································································· 4 3.2 SmartVac Functions ···················································································... -
Page 8: Important Safety Information
1. Important Safety Information Please read the following safety instructions before using this product to avoid damage. Warning! To avoid risk of product damage or personal injury, please obey the following guidelines. To avoid risk of shock or fire, do not bend or To avoid risk of shock or fire, always use the apply pressure to the power cord. -
Page 9: Product Overview
2.Product Overview 2.1 Iview SmartVac 1 Anti-falling Sensor 7 Anti-collision sensors 13 Display panel 2 Charging sensor 8 Tape 14 Home button 3 Side brush 9 Universal wheel 15 Auto-clean button 4 Wheel 10 Charging port 16 Spot-Clean button 5 Main brush... -
Page 10: Display Panel
2.3 Display panel 1 WIFI display 2 Battery Status 3 Time/Plan display Status Display: Aside from displaying the time, SmartVac will also display one of the following, showing its current status. 2.4 Remote Control 1 On/Off button 2 Auto-Clean button 3 OK button 4 Edge clean button 5 Clock button... -
Page 11: Product Functions
3. Product Functions 9 D mode button 3.1 Remote Control Functions Enables and disables Full-Go Mode. During Basic remote functions for your SmartVac. For Full-Go mode, robot will increase cleaning additional information on your SmartVac’s efficiency. functions, see Section 3.2. 10 Direction button 1 Power Forward... -
Page 12: Smartvac Functions
3.2 SmartVac Functions clean. Press the Spot cleaning button on the remote, robot, or via the app to activate spot Cleaning Modes cleaning mode. Before initiating any of the following cleaning modes, make sure the robot is currently Robot will begin cleaning in a spiral pattern powered on, via the power switch. - Page 13 You can also use the remote blinking rapidly. Once the connection as been to manually set a scheduled time to clean reset, you can reconnect your robot using the IView iHome app on your smart phone. - 6 -...
-
Page 14: Charging Your Smartvac
3.3 Charging Your SmartVac Auto Charging Manual charging When the robot is low on battery power, the While the robot is powered off, connect the LED display will read FIND and it will power plug directly to the DC socket. (As automatically begin searching for the nearest shown below) charging station. -
Page 15: Assembly & Maintenance
4. Assembly & Maintenance upwards to open. Main brush and roller can be removed. You can use the provided brush tool to help clean and maintain your IView robot, shown below: Roller can be cleaned using the brush side of the tool. -
Page 16: Water Tank And Mop Attachment
Reinstall, by pushing dustbin back into place until it clicks. 4.4 Water Tank and Mop Attachment The Iview robot comes with a specialized water Maintenance tank and mop attachment to mop up spills Before cleaning water tank, empty out dirty... -
Page 17: Troubleshooting
5. Troubleshooting If the robot detects any issues, they will be displayed as an Error code on the LED Panel. You can use the table below to troubleshoot the issue and find the correct solution Error Causes Solutions Error Causes Solutions Codes Codes... - Page 18 Basic Warranty Statement This product is warranted to the original purchaser ONLY, to be free from defects in materials and workmanship under normal use, for ninety (90) DAYS (parts and labor) and one (1) YEAR (parts only) from the date of original purchase. We agree under the warranty period to replace product if it is determined to be defective at 'No Charge"...
- Page 19 Please review your user Guide carefully before Using this product. Additional troubleshooting information can also be found on the web at: www.iviewus.com and click on “Support” or email us at support@iviewus.com...
Need help?
Do you have a question about the Smart Vacuum and is the answer not in the manual?
Questions and answers