Advertisement
Quick Links
521
Quick start guide
Guide de démarrage rapide
Guía de Inicialización rápida
Guia de Inicialização rápida
Schnellstartanleitung
Краткое руководство
Licensed Product Produit Autorise
Producto Autorizado Bajo Licencia
Lizenziertes Produkt
Лицензированный продукт
The Kodak trademark and trade dress are used under license
from Kodak.
La marque de commerce Kodak et son apparence sont
utilisées sous licence Kodak.
La marca y la imagen comercial Kodak son usadas bajo
licencia de Kodak.
A marca e a imagem comercial Kodak são usadas sob licença
da Kodak.
Kodak und die Kodak-Markenausstattung werden unter
Lizenz von Kodak genutzt.
Товарный знак Kodak и товарная упаковка
используются по лицензии компании Kodak.
© 2013 by JK Imaging Ltd. All rights reserved.
JK Imaging Ltd. 1411 W. 190th Street, Suite 550, Gardena, CA
90248, USA
www.kodakcamera.jkiltd.com
Printed in China
1
1
1
1
2
2
2
2
2
1
1
Battery lock
Battery lock
2
knob
knob
1
1
2
2
3
3
3
3
3
3
4
4
4
4
5
5
5
5
6
6
6
6
7
7
7
7
Quick start guide
Quick start guide
1
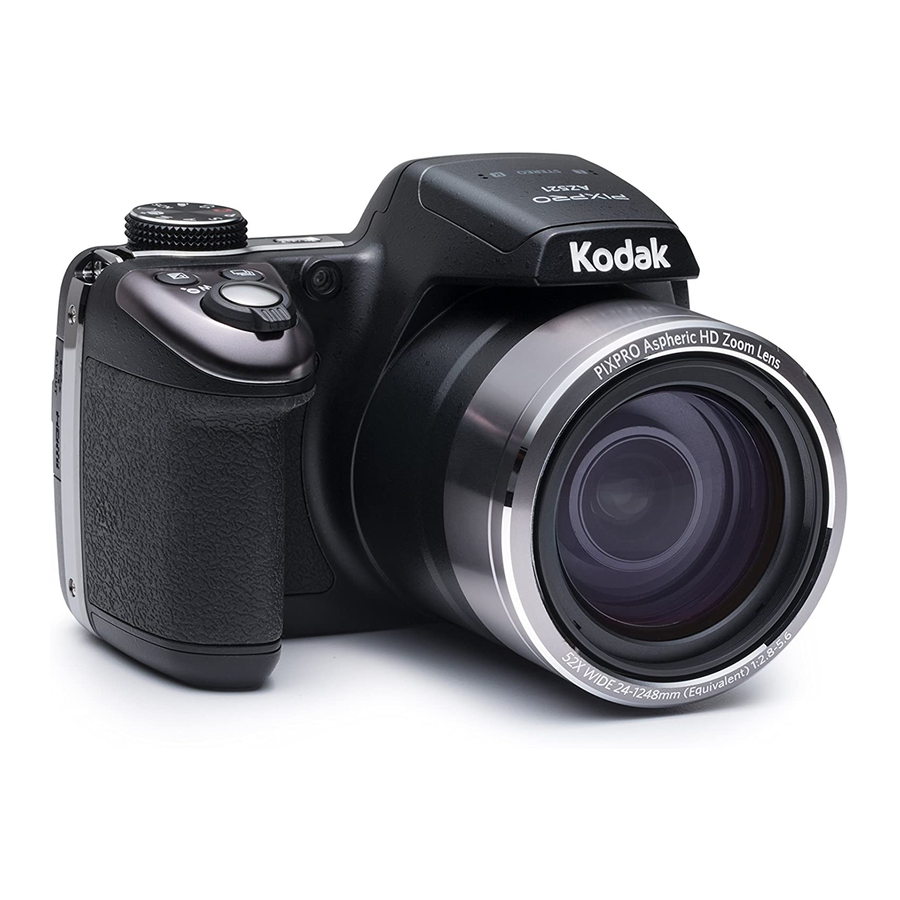
Camera Views
1
AF Assist Beam/Self-timer Lamp
16
USB Port
2
Flash Lamp
17
HDMI Port
3
Lens
18
Microphone
4
LCD Screen
19
Power Button
5
Fast Video Recording Button
20
LED Indicator Lamp
6
i Button
21
Mode Dial
7
Menu Button
22
Continuous Capture Button
8
Display Button
23
Exposure Compensation Button
9
Playback Button
24
Shutter Button
10
AF Button/Arrow Button (Up)
25
Zoom Lever
11
Flash Button/Arrow Button (Right)
26
Flash Button
Delete Button/Self-timer Button/
12
27
Speaker
Arrow Button (Down)
13
Macro Button/Arrow Button (Left)
28
Tripod Socket
14
SET Button
29
Battery Cover
15
Strap Eyelet
Inserting the Battery
2
1. Open the battery cover.
2. Insert the battery into the battery slot in the correct position as shown in the
following diagram.
3. Close the battery cover.
3
Setting the Language/Date/Time
1. Press the Power Button to turn the camera on and the language menu will
appear. Use the Up/Down/Left/Right Button to select a language, then press
to confirm the language.
2. Use the Up/Down/Left/Right Button again to set the date and time, and press
to confirm.
4
Taking a Picture
1. Hold the camera securely.
2. Use the Zoom Lever to select Tele or Wide positions to zoom in or out on your
subject.
3. Press the Shutter Button half way to focus on the subject. When the focus
frame turns green, press the Shutter Button completely down to take the
picture.
Using the mode dial
5
This camera provides a convenient mode dial that allows you to manually switch
between different camera settings with ease. Available modes are listed below:
Auto Mode
Face Beautifier
Program AE
Panorama Mode
Shutter priority
Scene Mode
Aperture priority
Movie Mode
Manual Mode
Custom Settings
6
Additional Features
1. Panorama Mode: With Video Panorama Mode, you can take a series of
pictures which will be stitched automatically into an ultra-wide panoramic
picture by the camera.
2. Using quick recording: In shooting mode, press Recording Button
to begin
recording video. When you are finished, press the Recording Button again
or the Shutter Button to stop recording. The camera will store the video and
return to shooting mode.
7
Using the Menu Button
To change the settings in each mode, press
Button, press
to move
between options, select
setting menu, then press
Button to select and
save menu option.
Photo Setup
General Setup
Transmission
File/Software
8
Flash Mode
Press the Flash Button
to open the flash as needed.
Guide de démarrage rapide
1
Vues de l'appareil photo
Voyant Rayon aide AF / Voyant
1
16
Port USB
du retardateur
2
Flash
17
Port HDMI
3
Objectif
18
Micro
4
Ecran LCD
19
Bouton d'alimentation
Bouton d'enregistrement vidéo
5
20
LED Voyant
rapide
6
Bouton I
21
Molette de mode.
7
Bouton Menu
22
Bouton de capture en rafale
8
23
Bouton Disp (Affich)
Bouton de correction d'exposition
9
Bouton Lecture
24
Déclencheur
10
Bouton AF / Bouton Haut
25
Molette du zoom
11
26
Bouton Flash
Bouton Flash / Bouton Droite
Bouton Supprimer / Bouton
12
27
Haut-parleur
Retardateur / Bouton Bas
13
Bouton Macro / Bouton Gauche
28
Embase filetée de trépied
14
Bouton SET
29
Couvercle de la batterie
15
OEillet de courroie
Insérer la batterie
2
1. Ouvrez le couvercle de la batterie.
2. Placez la batterie dans la fente en respectant l'orientation indiquée sur le
schéma.
3. Refermez le couvercle de la batterie.
3
Régler la langue et la date, l'heure
1. Appuyez sur le bouton Marche pour allumer l' appareil photo. Le menu Langue
apparaît, utiliser les boutons gauche/droite, haut/bas pour sélectionner la
langue, puis appuyer sur
pour confirmer votre choix.
2. Utiliser à nouveau les boutons gauche/droite, haut/bas pour régler la date et
l'heure, appuyer ensuite sur
pour confirmer.
4
Prendre une photo
1. Maintenez fermement l'appareil photo.
2. Cadrez votre image sur l'écran LCD.
3. Appuyez sur le bouton déclencheur à moitié pour faire la mise au point sur l'
objet. Quand la case de mise au point devient verte, appuyez complètement
sur le bouton déclencheur pour prendre la photo.
Utiliser le Mode molette
5
L'appareil photo est doté d'un sélecteur de commande pratique permettant de
commuter entre les différents modes avec facilité. Toutes les commandes dis-
ponibles sont listées ci-dessous:
Mode auto
Embellisseur de visage
Programme AE
Mode panorama
Priorité à la vitesse
Mode scène
Priorité à l'ouverture
Mode film
Réglages personnalisés
Mode manuel
6
Fonctionnalités supplémentaires
1. Panorama: Avec le mode Panorama, vous pouvez prendre une série de
photos qui seront mises bout à bout par l'appareil dans une image ultra-large
panoramique.
2. Utilisation de l'enregistrement video rapide: En mode de prise de vue, appuyez
sur le bouton de raccourci Enregistrement
pour accéder directement au
mode d'enregistrement et enregistrer. Pour terminer l'enregistrement, appuyez
sur le bouton de raccourci ou à nouveau sur le déclencheur, vous pouvez
ainsi sauvegarder la vidéo et retourner à l'écran de prise de vue.
7
Utilisation des touches du menu
Dans chaque mode, vous pouvez activer le menu de réglage, appuyez simplement
sur le bouton
, appuyez sur
pour choisir, sélectionnez
pour le menu de
réglage,appuyez sur
pour entrer.
Installation photo
Installation générale
Transmission
Fichier/logiciel
8
Mode flash
Appuyez sur le Bouton ouverture du flash
pour sortir le flash.
Advertisement

Related Manuals for Kodak PIXPRO AZ521


Summary of Contents for Kodak PIXPRO AZ521
- Page 1 Face Beautifier licencia de Kodak. Programme AE Mode panorama Program AE Panorama Mode A marca e a imagem comercial Kodak são usadas sob licença Priorité à la vitesse Mode scène da Kodak. Shutter priority Scene Mode Kodak und die Kodak-Markenausstattung werden unter Priorité...
- Page 2 英, Краткое руководство Guía de Inicialización rápida Guia de Inicialização rápida Schnellstartanleitung Vistas de la Cámara Vistas da câmera Kamera-Ansichten Внешний вид Вспомогательный луч автофокуса/ Indicador de Haz Asist. EA/Luz del Luz de focagem automática/Lâmpada do AF-Leuchte/ Selbstauslöser LED USB-Port USB-порт...
Need help?
Do you have a question about the PIXPRO AZ521 and is the answer not in the manual?
Questions and answers