Advertisement
Quick Links
HP
LASERJET P1006 SERIES
®
CARTRIDGE REMANUFACTURING INSTRUCTIONS
HP
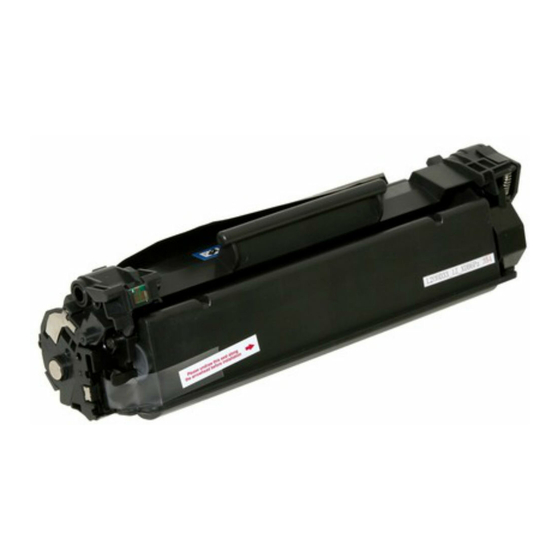
P1006 SERIES TONER CARTRIDGE
®
www.uninetimaging.com
© 2010 UniNet Imaging Inc. All trademark names and artwork are property of their respective owners. Product brand names mentioned are intended to show compatibility only.
UniNet Imaging does not warrant downloaded information. Unauthorized sale, reproduction or distribution of this article is prohibited. For additional support, please contact techsupport@uninetimaging.com
Advertisement

Related Manuals for HP P1006 series


Summary of Contents for HP P1006 series
- Page 1 LASERJET P1006 SERIES ® CARTRIDGE REMANUFACTURING INSTRUCTIONS P1006 SERIES TONER CARTRIDGE ® www.uninetimaging.com © 2010 UniNet Imaging Inc. All trademark names and artwork are property of their respective owners. Product brand names mentioned are intended to show compatibility only. UniNet Imaging does not warrant downloaded information. Unauthorized sale, reproduction or distribution of this article is prohibited. For additional support, please contact techsupport@uninetimaging.com...
- Page 2 The system that holds the two halves of the cartridge together is completely new. The good news here is that you don’t have to cut holes in the cartridge to get access to the pins. The toner inside is also new. HP is stating that the toner now has “spherically shaped particles”.
- Page 3 UNINET IMAGING INC. • BROTHER 1240/1650 • DISASSEMBLING THE TONER CARTRIDGE UNINET IMAGING INC. • BROTHER 1240/1650 • ASSEMBLING THE TONER CARTRIDGE HP P1006 SERIES • CARTRIDGE REMANUFACTURING INSTRUCTIONS 1. With the handle facing you, remove the right side screw and end cap from the cartridge.
- Page 4 UNINET IMAGING INC. • BROTHER 1240/1650 • DISASSEMBLING THE TONER CARTRIDGE UNINET IMAGING INC. • BROTHER 1240/1650 • ASSEMBLING THE TONER CARTRIDGE HP P1006 SERIES • CARTRIDGE REMANUFACTURING INSTRUCTIONS 3. Slide the waste/drum section over to the left side. Separate the two halves.
- Page 5 UNINET IMAGING INC. • BROTHER 1240/1650 • DISASSEMBLING THE TONER CARTRIDGE UNINET IMAGING INC. • BROTHER 1240/1650 • ASSEMBLING THE TONER CARTRIDGE HP P1006 SERIES • CARTRIDGE REMANUFACTURING INSTRUCTIONS 6. Remove the two screws and the wiper blade. 7. Clean out all the waste toner from the hopper.
- Page 6 UNINET IMAGING INC. • BROTHER 1240/1650 • DISASSEMBLING THE TONER CARTRIDGE UNINET IMAGING INC. • BROTHER 1240/1650 • ASSEMBLING THE TONER CARTRIDGE HP P1006 SERIES • CARTRIDGE REMANUFACTURING INSTRUCTIONS 8. Coat the new/cleaned wiper blade with your preferred 9. Install the cleaned PCR. Place a small amount of conductive lubricant.
- Page 7 UNINET IMAGING INC. • BROTHER 1240/1650 • DISASSEMBLING THE TONER CARTRIDGE UNINET IMAGING INC. • BROTHER 1240/1650 • ASSEMBLING THE TONER CARTRIDGE HP P1006 SERIES • CARTRIDGE REMANUFACTURING INSTRUCTIONS 12. On the toner supply chamber right side, remove the two screws and end cap.
- Page 8 UNINET IMAGING INC. • BROTHER 1240/1650 • DISASSEMBLING THE TONER CARTRIDGE UNINET IMAGING INC. • BROTHER 1240/1650 • ASSEMBLING THE TONER CARTRIDGE HP P1006 SERIES • CARTRIDGE REMANUFACTURING INSTRUCTIONS 14. Remove the single screw and end from the opposite side.
- Page 9 UNINET IMAGING INC. • BROTHER 1240/1650 • DISASSEMBLING THE TONER CARTRIDGE UNINET IMAGING INC. • BROTHER 1240/1650 • ASSEMBLING THE TONER CARTRIDGE HP P1006 SERIES • CARTRIDGE REMANUFACTURING INSTRUCTIONS 16. Remove the doctor blade and two screws. 17. Clean out all the remaining toner from the hopper. Make sure the magnetic roller seals and the doctor blade seals are all clean.
- Page 10 UNINET IMAGING INC. • BROTHER 1240/1650 • DISASSEMBLING THE TONER CARTRIDGE UNINET IMAGING INC. • BROTHER 1240/1650 • ASSEMBLING THE TONER CARTRIDGE HP P1006 SERIES • CARTRIDGE REMANUFACTURING INSTRUCTIONS 19. When a seal becomes available, remove the seal port plug and install the seal.
- Page 11 UNINET IMAGING INC. • BROTHER 1240/1650 • DISASSEMBLING THE TONER CARTRIDGE UNINET IMAGING INC. • BROTHER 1240/1650 • ASSEMBLING THE TONER CARTRIDGE HP P1006 SERIES • CARTRIDGE REMANUFACTURING INSTRUCTIONS 21. Install the doctor blade and two screws. 22. Install the magnetic roller black bushing side first.
- Page 12 UNINET IMAGING INC. • BROTHER 1240/1650 • DISASSEMBLING THE TONER CARTRIDGE UNINET IMAGING INC. • BROTHER 1240/1650 • ASSEMBLING THE TONER CARTRIDGE HP P1006 SERIES • CARTRIDGE REMANUFACTURING INSTRUCTIONS 25. Place the drum/waste hopper into the toner hopper. Slide it over so the round hinge pins fit into their respective holes.
- Page 13 UNINET IMAGING INC. • BROTHER 1240/1650 • DISASSEMBLING THE TONER CARTRIDGE UNINET IMAGING INC. • BROTHER 1240/1650 • ASSEMBLING THE TONER CARTRIDGE HP P1006 SERIES • CARTRIDGE REMANUFACTURING INSTRUCTIONS 27. With the drum cover spring as shown on the end cap, install the end cap.
- Page 14 RUNNING THE CLEANING PAGE The cleaning page for these machines can only be run from the printer menu. HP recommends that a transparency be used for best results. If a transparency is not available, use copier grade paper with a smooth surface.
Need help?
Do you have a question about the P1006 series and is the answer not in the manual?
Questions and answers