Table of Contents
Advertisement
Available languages
Available languages
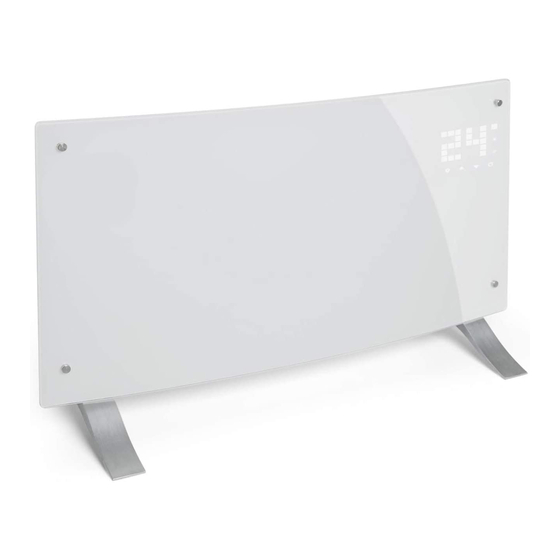
Glaskonvektor
Glass Convector
Heater
Artikelnummer 10037979 10031980
Hinweis:Dieses Produkt ist nur für gut isolierte
Räume oder für den gelegentlichen Gebrauch
geeignet.
Note: This product is only suitable for well
insulated spaces or occasional use.
Nota: Este producto está indicado únicamente en
lugares abrigados o para una utilización punctual.
Remarque : Ce produit ne peut être utilisé que
dans des locaux bien isolés ou de manière
occasionnelle.
Advertencia: Questo prodotto è adatto solo per
spazi ben isolati o uso occasionale.
Advertisement
Chapters
Table of Contents

Related Manuals for Klarstein 10037979


Summary of Contents for Klarstein 10037979
- Page 1 Remarque : Ce produit ne peut être utilisé que dans des locaux bien isolés ou de manière occasionnelle. Advertencia: Questo prodotto è adatto solo per spazi ben isolati o uso occasionale. Artikelnummer 10037979 10031980...
-
Page 3: Table Of Contents
Sehr geehrter Kunde, wir gratulieren Ihnen zum Erwerb Ihres Klarstein Gerätes. Lesen Sie die folgenden Anschluss- und Anwen- dungshinweise sorgfältig durch und befolgen Sie diese, um möglichen technischen Schäden vorzubeugen. Für Schäden, die durch Missachtung der Sicherheitshinweise und unsachgemäßen Gebrauch entstehen, übernehmen wir keine Haftung. - Page 4 Pflichtangaben nach 2015/1188/EU Modellkennung(en) 10031979, 10031980 Angabe Symbol Wert Einheit Angabe Einheit Wärmeleistung Nur bei elektrischen Speicher-Einzelraumheizgeräten: Art der Regelung der Wärmezufuhr Nennwärmeleistung Pnom Manuelle Regelung der Wärmezufuhr mit Nein integriertem Thermostat Mindestwärmeleistung Pmin k. A. Manuelle Regelung der Wärmezufuhr Nein (Richtwert) mit Rückmeldung der Raum- und/oder...
-
Page 5: Sicherheitshinweise
SICHERHEITSHINWEISE Lesen und befolgen Sie die folgenden Sicherheitshinweise, selbst wenn Sie sich mit dem Gerät vertraut fühlen. Bewahren Sie die Bedienungsanleitung zum künftigen Nachschlagen auf. Bei der Verwendung eines elektrischen Gerätes müssen die Sicherheitshinweise befolgt werden, einschließ- lich der Folgenden: •... - Page 6 • Immer in der aufrechten Lage betreiben. • Vor dem Bewegen ausschalten und abkühlen lassen. • Nicht mit einem aufgewickelten Kabel betreiben, da die Bildung von Wärme wahrscheinlich ist und aus- reicht, um eine Gefahr darzustellen. • Die Verwendung eines Verlängerungskabels wird bei diesem Gerät nicht empfohlen. •...
-
Page 7: Geräteübersicht
GERÄTEÜBERSICHT Luftauslass Bedienfeld Schalter Füße... -
Page 8: Montage
MONTAGE Freistehende Montage (Standfüße) -
Page 9: Bedienfeld
BEDIENFELD Taste für Einstellungen 7 Anzeige „Hohe Heizstufe“ 2 Pfeiltaste „Hoch“ 8 Anzeige für die Zeitschaltuhr 3 Pfeiltaste „Runter“ 9 Temperaturanzeige 4 Taste Ein/Aus 10 Zahlenanzeige LED 5 Betriebslampe Heizelement 11 LED-Anzeige ein/aus 6 Anzeige „Niedrige Heizstufe“ 12 Wahlschalter Heizstufe BEDIENUNG Inbetriebnahme Nehmen Sie das Gerät vorsichtig aus dem Karton. - Page 10 Gerät mit der Ein/Aus-Taste (4) einschalten. Nun leuchtet in der Anzeige die aktuelle Raumtemeratur auf. Die werkseitig voreingestellte Temperatur ist 35 °C. Einstellen der Temperatur Drücken Sie Einstellungstaste (1). Die Zahlen „10“ und „9“ blinken. Dann die Pfeiltasten (2 und 3) drücken, um die Temperatur um 1 °C zu erhöhen oder zu verringern. Die höchs- te Temperatureinstellung ist 45 °C und die niedrigste 5 °C.
-
Page 11: Reinigung
dienfeld unter Zahlenanzeige. Dann wacht das System auf und Sie können Einstellungen vornehmen. Eingabeton beim Drücken der Tasten Beim Drücken der Tasten auf dem Bedienfeld gibt es einen Ton. Abschaltsicherung Das Gerät ist mit einem Temperatur-Begrenzungsschalter ausgestattet, der das Gerät im Fall einer Überhit- zung automatisch abschaltet. -
Page 12: Contents
Dear Customer, Congratulations on purchasing this equipment. Please read this manual carefully and take care of the follow- ing hints on installation and use to avoid technical damages. Any failure caused by ignoring the items and cautions mentioned in the operation and installation instructions are not covered by our warranty and any liability. - Page 13 Mandatory statement according to 2015/1188/EU Model identifier(s): 10031979, 10031980 Item Symbol Value Unit Item Unit Heat output Type of heat input, for electric storage local space heaters only Nominal heat output Pnom manual heat charge control, with integrated thermostat Minimum heat output Pmin manual heat charge control with room and/or (indicative)
-
Page 14: Safety Instructions
SAFETY INSTRUCTIONS Read and follow all the instructions in this manual even if you feel you are familiar with the product, and find a place to keep it handy for future reference. Read all instructions before using this appliance and keep them for future reference. - Page 15 • The use of an extension cord with this appliance is not recommended. • Do not remove plug from power socket until the appliance has been switched off. • Do not remove plug from power socket by pulling the supply cord-always grip plug. •...
-
Page 16: Product Overview
PRODUCT OVERVIEW air outlet control panel switch feet... -
Page 17: Installation
INSTALLATION Freestanding installation (Feet installation and removal) -
Page 18: Control Panel
CONTROL PANEL Setting Button 7 High heating indicator 2 Up Button 8 Timer indicator 3 Down Button 9 Temperature indicator ( in °C) 4 Power button 10 LED number display 5 Heating element working indicator 11 LED screen on/off button 6 Low heating indicator 12 Low/high heating selection OPERATION... - Page 19 Setting the temperature Press“ 1 „to set the temperature, “ 10 „and“ 9 „will flash , then press“ 2 „or“ 3 „arrow buttons to add 1“C or reduce 1·c. The maximum setting temperature is 45“C, while the minimum one is 5“C. Keeping pressing“ 2 „or“...
-
Page 20: Cleaning
CLEANING Cleaning It is very easy to clean behind it. Hold two sides of the heater ,after upwards pull the heater forwards. then you can clean behind. After cleaning, the heater must be fixed in the normal position. Storage If you do not plan to use the heater for extended periods of time, it is recommended that the heater is cleaned and then stored (preferably in its original packaging) in a cool dry place.
Need help?
Do you have a question about the 10037979 and is the answer not in the manual?
Questions and answers