
Subscribe to Our Youtube Channel
Related Manuals for Flow Hive Hybrid 3


Summary of Contents for Flow Hive Hybrid 3
- Page 1 AUSTRALIAN MADE If we look after the bees they will look after us, and the honey really is an amazing bonus. FLOW HIVE ASSEMBLY GUIDE ® Flow Hive Hybrid 3 Frame ®...
- Page 2 • Read all instructions first. • If you are unfamiliar with wood work, you may like to ask a friend or someone from your nearest beekeeping club to help. • We’ve put together some great assembly support videos, view them here: www.honeyflow.com/assembly. •...
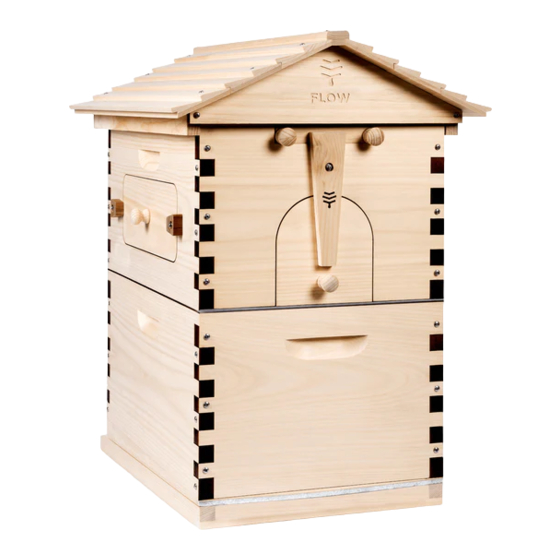
- Page 3 COMPONENTS OF A FLOW HIVE HYBRID FLOW HIVE ROOF INNER COVER Flow Key Access Cover Side Observation Window Cover Latch HYBRID SUPER Rear Your Flow® Observation Latch Frames sit Window here Cover QUEEN EXCLUDER BROOD with Brood Frames SCREENED BOTTOM...
- Page 4 BROOD BOX ASSEMBLY PARTS HARDWARE 24 x 1 " 8G pan head screws To assemble box sides and ends • 2 x box side panels • 2 x box end panels Note: There are no aligning strips NOTE: Rebate/rabbet is at top ASSEMBLY Cut binding tape and lay out all pieces of your brood box.
- Page 5 FLOW HIVE ROOF ASSEMBLY PARTS • 1 x ridge cap • 1 x front gable (taller) • 2 x side rails HARDWARE • 1 x rear gable (shorter) • 6 x 'shingle' panels 6 x 1 " 8G 12 x 1 "...
- Page 6 (see inset diagram). The metal bracing strip sits across the notched ends. 1. Lay out all the pieces of your Flow® Hybrid Super. Screw the metal strip in place (pre-drilling may avoid 2. Dry fit all the pieces together to make a box (as per the splitting the wood).
- Page 7 ASSEMBLY NOTE 4 brood frames are used in the Hybrid Super. These are located two either side of the Flow Frames. ASSEMBLY Metal strip...
- Page 8 Hybrid Roof Super Inner Queen cover Excluder Brood Brood Screened Screened Bottom Bottom Board Board Australian Made Flow Hive Hybrid 3 Assembly Guide Revision: 08.17-1 All content copyright © 2017 Flow® Printed on 100% recycled paper using environmentally friendly inks.
Need help?
Do you have a question about the Hive Hybrid 3 and is the answer not in the manual?
Questions and answers