Table of Contents
Advertisement
Advertisement
Table of Contents

Related Manuals for AVer VB342

Summary of Contents for AVer VB342
- Page 1 VB342 Video Soundbar User Manual...
- Page 2 The information contained in this documentation is subject to change without notice. In no event will AVer Information Inc. be liable for direct, indirect, special, incidental, or consequential damages arising out of the use or inability to use this product or documentation, even if advised of the...
- Page 3 © 2018 AVer Information Inc. All rights reserved. All rights of this object belong to AVer Information Inc. Reproduced or transmitted in any form or by any means without the prior written permission of AVer Information Inc. is prohibited. All information or specifications are subject to change without prior notice.
-
Page 4: Table Of Contents
Overview ............................. 2 Pan and Tilt Angle ........................3 Remote Controller ........................4 Remote Controller Battery......................5 Setup VB342 ............................6 Device Connection ........................6 Wall Mount Installation ........................ 7 Use VB342 ............................9 Make a Video Call ........................9 LED Indicator .......................... -
Page 5: Package Contents
Package Contents Mount 1. VB342 unit 7. Screws(x4) for wall mount 2. Power plug & Power adapter 8. Screws(x2) for TV mount 3. Remote Controller 9. Mount rubbers(x 2) 4. USB cable 10. Quick start guide 5. USB type-A to type-C adapter 11. -
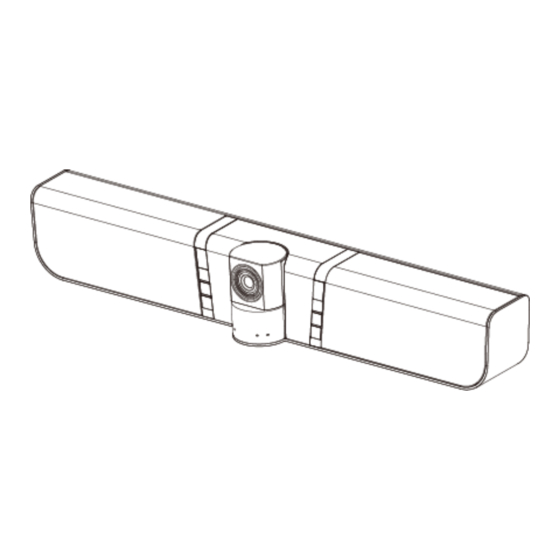
Page 6: Product Introduction
Product Introduction Overview (1) Camera Preset (2) Mute Audio In (3) Volume + IR sensor (4) Volume - Reset (5) Power DC 12V PHONE IN HDMI OUT (10) (11) (12) (13) (14) (15) (10) DC 12V Power Jack (14) MIC Input (11) USB port(to PC) (15) HDMI port (12) USB port... -
Page 7: Pan And Tilt Angle
Pan and Tilt Angle ±40º ±15º... -
Page 8: Remote Controller
Remote Controller Button Function 1. Power Turn on/off the VB342 unit. 2. Audio input Switch audio input sources. Use the direction button on the 3. Camera direction control remote to control the direction of the camera. Press the direction button to move the camera or press and hold for continuous pan or tilt. -
Page 9: Remote Controller Battery
Remote Controller Battery [Note] Remove the battery film tab before first use. 2. Lightly touch battery and completely pull out 1. Push and press remote cover toward back end. the film tab blocking the battery. To replace the battery. Press clip holder toward back end to release Place new CR2032 battery + side up under the battery. -
Page 10: Setup Vb342
Setup VB342 Device Connection 1. Connect VB342 to PC with provided USB cable. If you like to use type-C connector on newer PC, connect provided adapter to type-A end of cable, then connect type-C side of adapter to PC. 2. Connect the power to the VB342 and camera head will move, and the power indictor will light up. -
Page 11: Wall Mount Installation
1. Please refer to the following drilling dimension for drilling the wall mount holes. 500.0mm 28.5mm 2. Drill 2 holes on the wall and screw the screws into the holes. Leave some space between wall and screws for hanging the VB342 on the wall. - Page 12 3. Install the wall mount bracket on the VB342 unit. 4. Hang the VB342 on the wall.
-
Page 13: Use Vb342
, Adobe Connect , WebRTC, and etc.) on your laptop/PC. 3. Set the VB342 camera as the primary camera and speakerphone for your video application (refer to your video application user guide). You can now make your call. 4. The VB342 is a plug-and-play conference camera. The system requires no special drivers, but we do recommend installing the AVer PTZApp for a better user experience. -
Page 14: Aver Ptzapp
Skype. Click on the Skype plug-in request to accept the plug-in; this enables funcationality on the Remote Control. 2. During your video call, you can use the AVer PTZApp to pan, tilt and zoom the camera in/out and enable/disable the backlight feature. - Page 15 PTZApp. If you have more than one AVer VC, CAM, or VB devices connected to this PC/Mac PTZApp is running, you can click on the drop down list to select other AVer VC, CAM, or VB device. Function icon: Click it to switch to the function’s page.
- Page 16 Settings: To setup parameters of the camera and speakerphone. Click the Save button to save all settings. To change all the settings, back to the default values, click the Factory Default button. Diagnostic Utility: To display the S/W and F/W version and the devices connection status. You can also test the camera and speakerphone status, and update the firmware of the camera.
- Page 17 Normal Un-normal Connection diagnostic: Display devices connection status. If the AVer PTZApp has detected that some of the devices are not connected well, the diagram will display an “//” and “?” on the device to indicate the connection has a problem. If the camera is in use by another application, it will display...
- Page 18 Test Camera: Click the Test Camera button to check the camera status. Click to view camera live video. Also, you can adjust the camera direction and view of the zoom in/out. To leave the page, click the Abort Diagnostic button. ...
- Page 19 Update Now: Allows the user to update the VB342 camera’s firmware. Click” Update Now”. A dialog will display the current firmware version and available new firmware version (internet connection is required). To auto update, click “Auto Update” and update process will start. The new firmware will be downloaded first;...
-
Page 20: Full Screen Mode
Full Screen Mode PTZApp can switch to full screen mode. Move the mouse to the right corner bottom of the video screen and a “ ” icon is displayed on video screen. Click “ ” icon and video screen will switch to full screen mode.
Need help?
Do you have a question about the VB342 and is the answer not in the manual?
Questions and answers